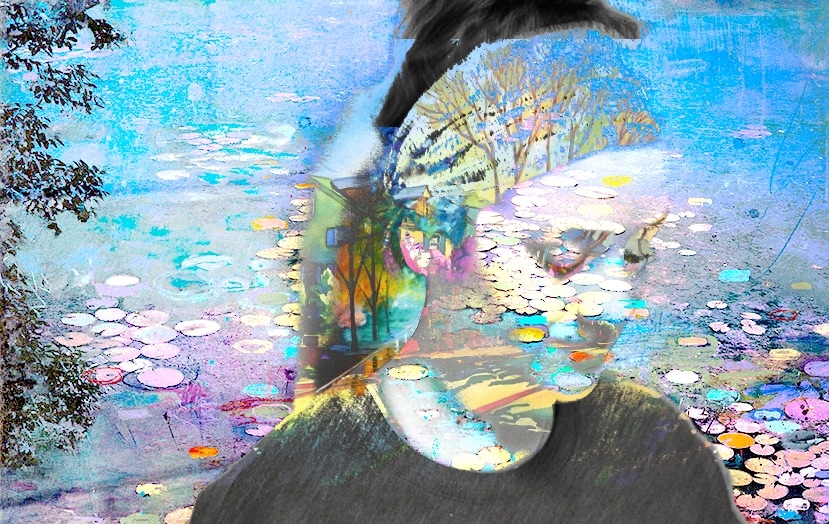
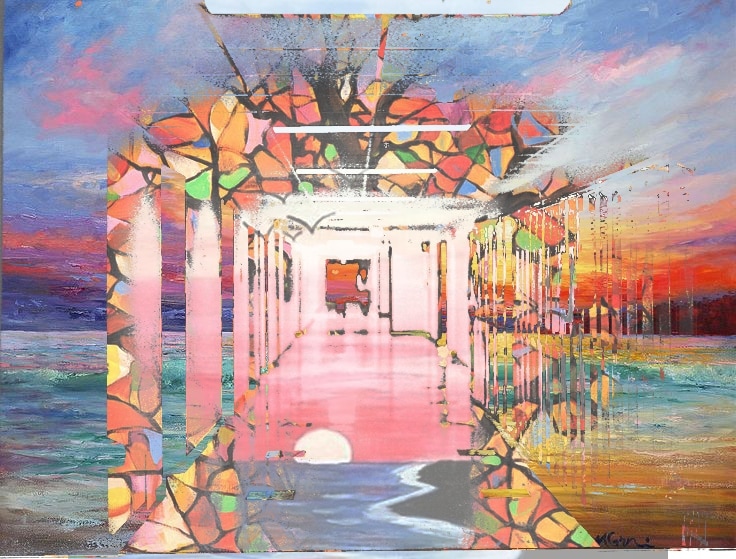
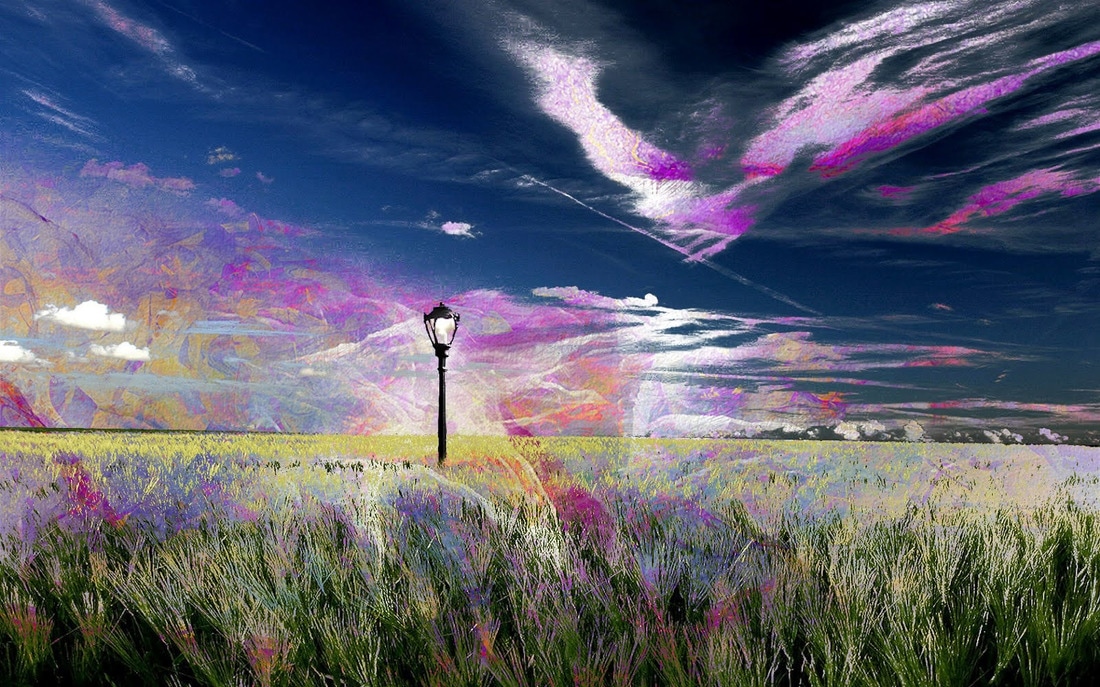
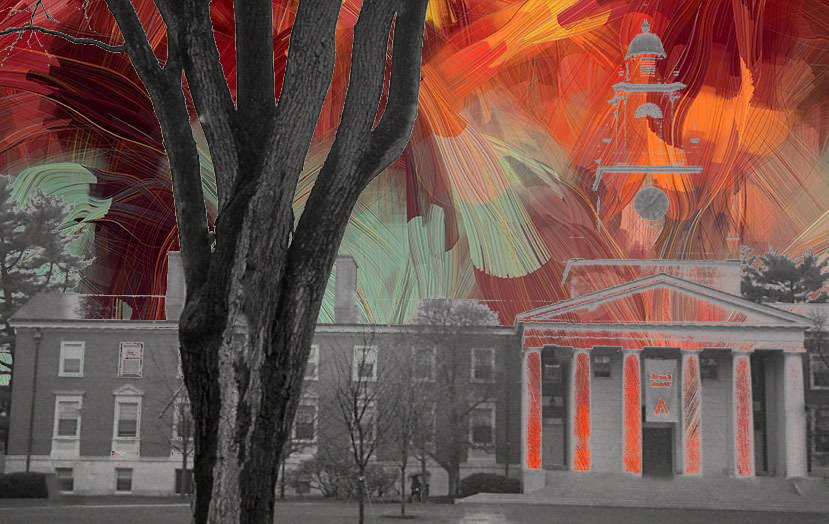
Photoshop Color Range -Shadows, Midtones and Highlights
Assignment: Using the COLOR RANGE tool, replace the value ranges (highlights, midtones, and shadows) of a black and white photograph with a color image. You will end up with three different unique images from the same photograph.
Repeat this process with a different photograph.
You will end up with a total of 8 images to post to Weebly. There will be two original photographs and six color range images.
Repeat this process with a different photograph.
You will end up with a total of 8 images to post to Weebly. There will be two original photographs and six color range images.


|
Instructions
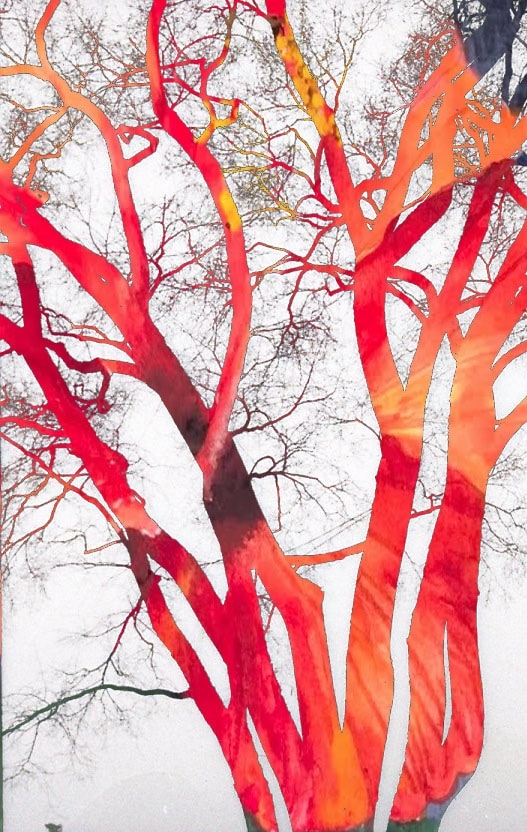
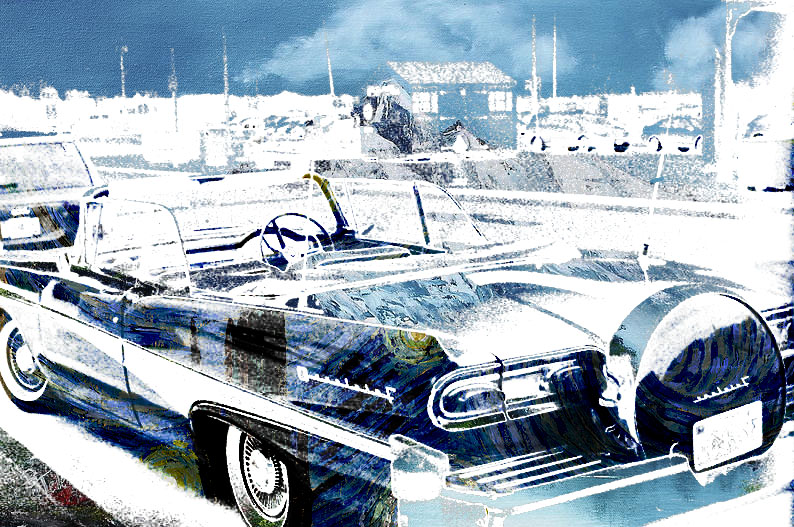
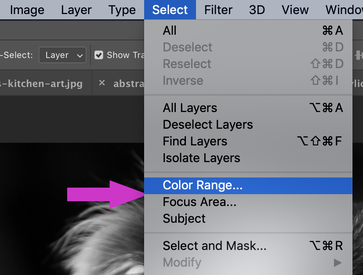
In order to create the color range effect you will need one of your black and white photographs, and one very colorful photograph of your choice. Pexels.com is an excellent site to find high quality photographs. 1. Open Photoshop. 2. Open your black and white photo by selecting FILE > OPEN, find your photo, then select OPEN. 3. Open your colorful photo by selecting FILE > OPEN, find your photo, then select OPEN. 4. Go to the black and white photo. 5. Select SELECT > COLOR RANGE |
|
|
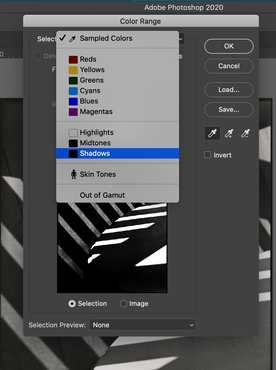
6. The COLOR RANGE menu should be open. Click on SELECT and scroll down to SHADOWS. Click OK.
7. Press COMMAND and J to make the SHADOWS a layer. 8. Move your mouse to that layer in the layer palette. Hover the mouse over the rectangle in the layer. The mouse icon should change to a hand icon. Press and HOLD the COMMAND key down and click on the layer. This action will make the SHADOWS active and you will see the marching ants. 9. Go to the colorful photo. Select the photo by pressing COMMAND and A. Copy the photo by pressing COMMAND and C. 10. Go back to the black and white photo. 11. Select EDIT > PASTE SPECIAL > PASTE INTO. This action pastes the color photo into the SHADOWS COLOR RANGE. Repeat the above procedure but use MIDTONES in Step 7 instead of SHADOWS. Repeat again, but use HIGHLIGHTS in Step 7 instead of SHADOWS. |
|
