In this assignment your objective is to capture movement and/or time by weaving two photographs together. This alternative photographic technique creates an interesting effect and texture to your work. The gallery below shows exemplar examples for your reference.
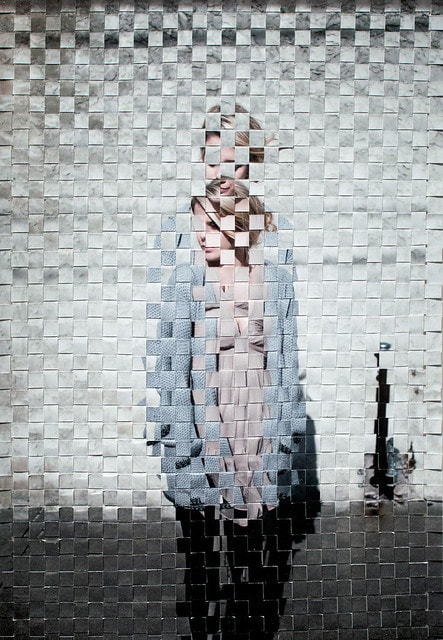
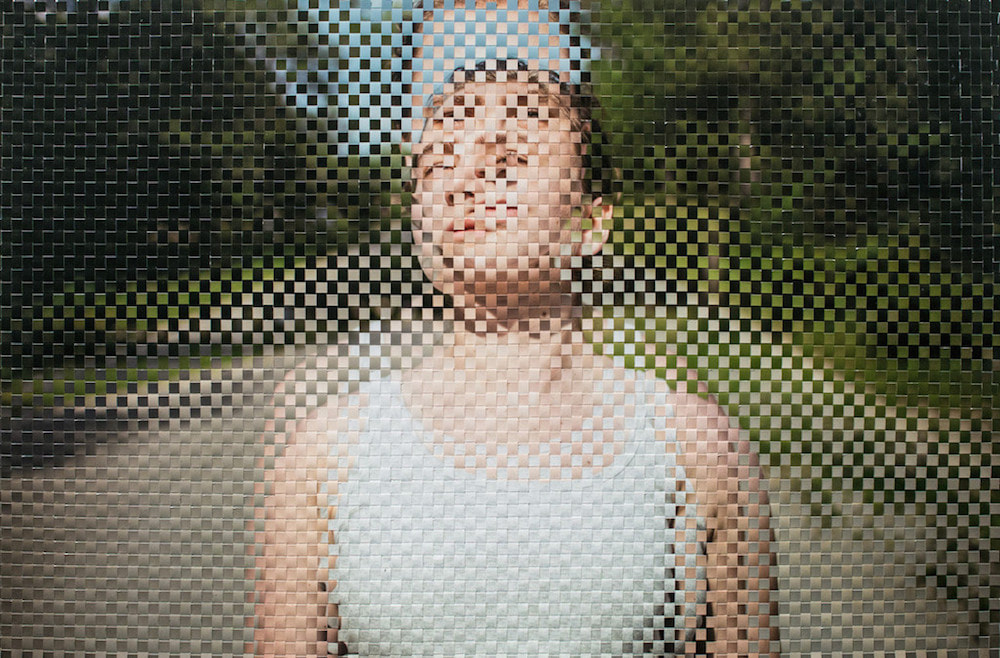
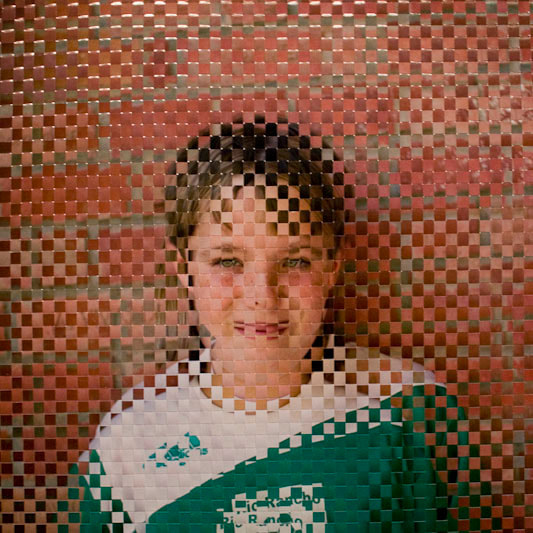
The following gallery of weaves use two photographs of the same person in the same setting. The difference in the photos is that the person moves their position at a different time (one minute later or 5 minutes later). When these photos are weaved together the new photograph has a translucent or ghostly effect. The weavings might be communicating about the passage of time or how you can't escape yourself. What do you see in the weavings? In Jason Chen's weavings you can easily see the edges of the cut photographs. He used photographic paper. David Samual Stern's weavings fit together in a way that appears almost seamless. He uses vellum drafting paper which is thinner and more translucent than photograph paper.

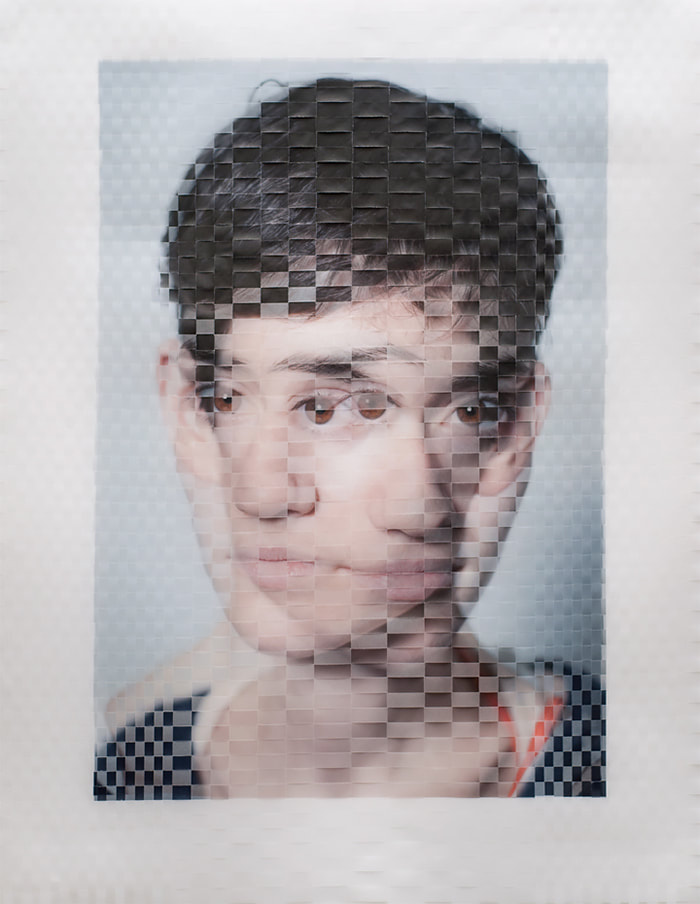
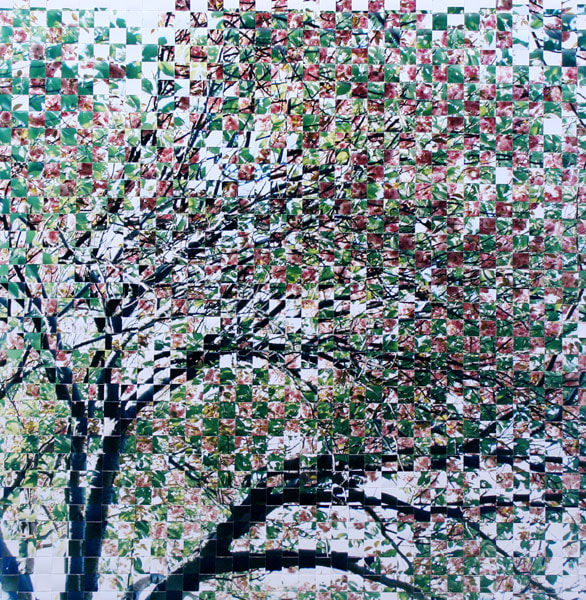
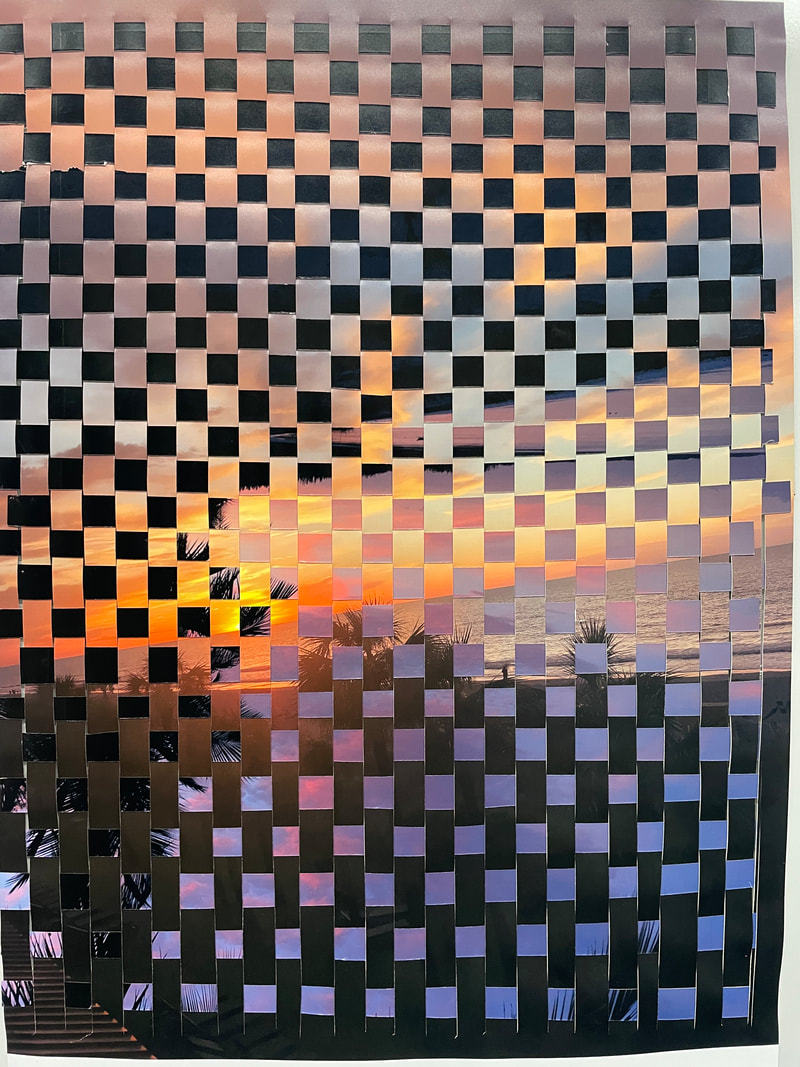
The church photo weaving uses two photographs of the exact same setting but at two different times in the day, 2 PM and 9PM. The second weaving uses one photo from springtime and one from summertime of the same tree. The last weaving is of a brother and a sister. Each sibling was photographed in the exact same location, so that you really have to look closely to see the difference.

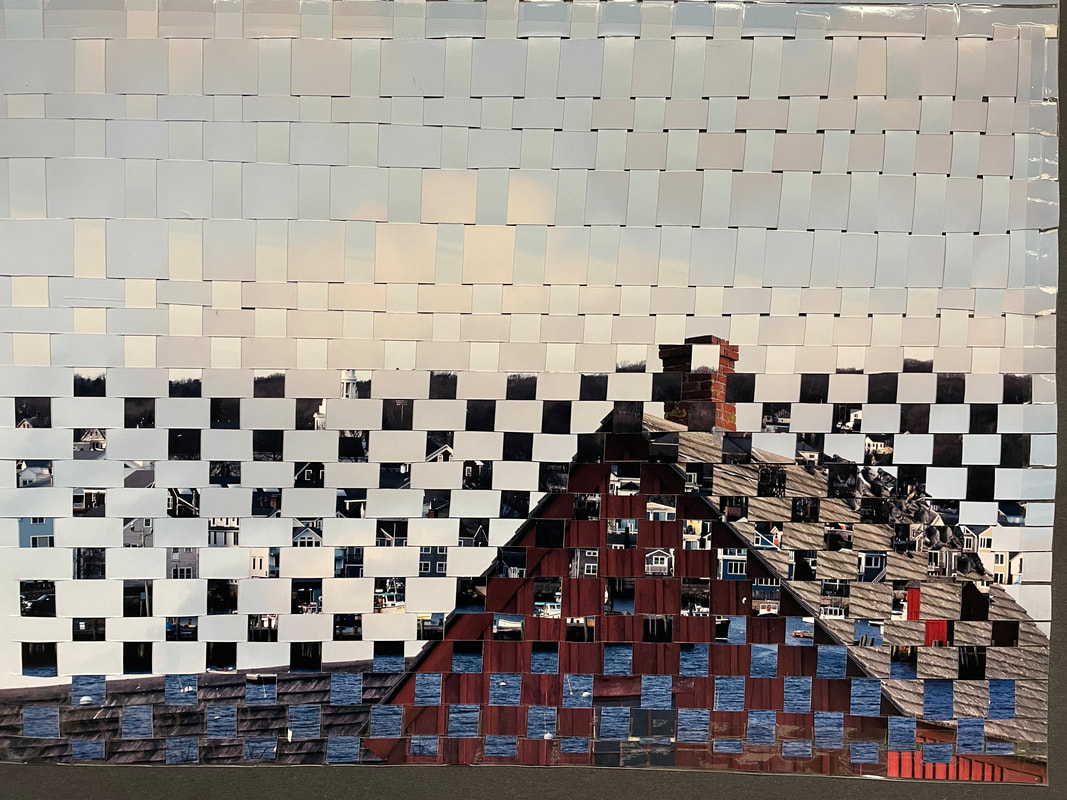
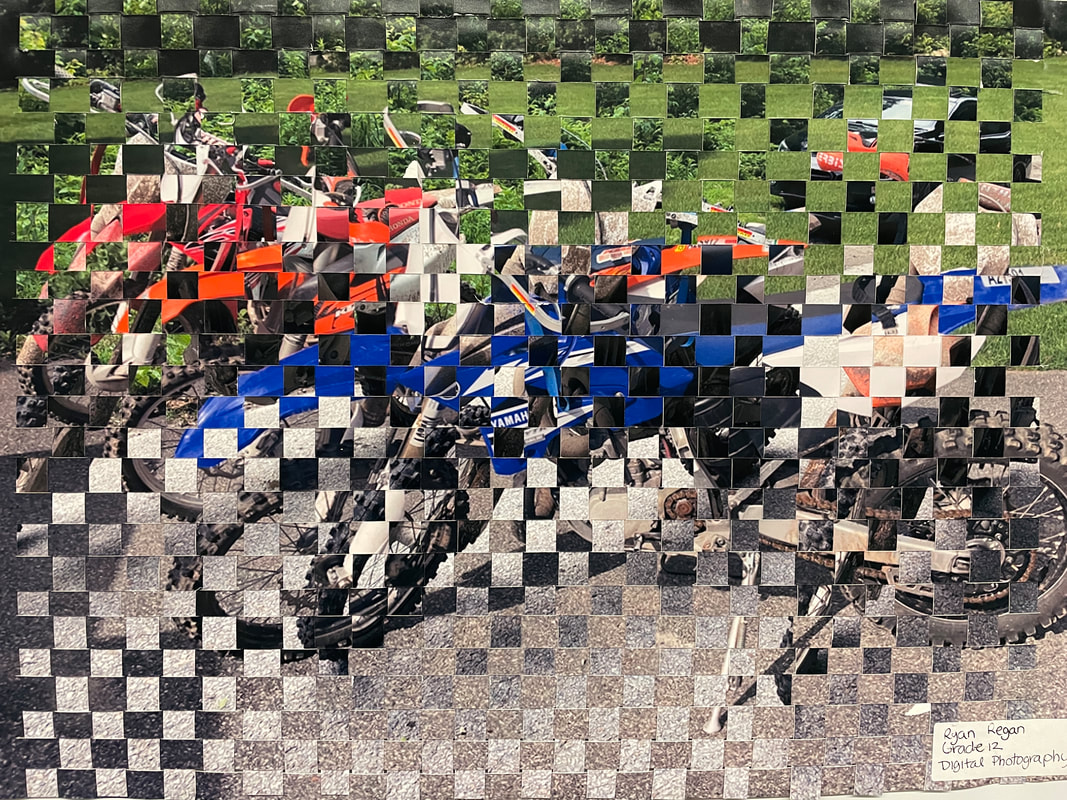
Student Weaved Collages
INSTRUCTIONS
1. Decide how you will capture the passage of time or movement.
2. Take 4 photographs of your subject so you have a variety of choices to use for the weaving.
3. Upload photos to your computer and open all the photos in Photoshop. Use the Blend mode option to decide which two photos you will use for the weaving.
4. Print the two photos on glossy paper.
5. Cut one photo into straight vertical slices leaving a 1/4 inch border uncut. This will make it easier to weave the other photo slices into this section.
6. Cut the other photo into straight horizontal slices.
7. Weave the horizontal slices into the vertical slices section, using the pattern, over, under, over under. Glue just the ends.
8. Trim any excess or uneven edges of the finished weaving.
