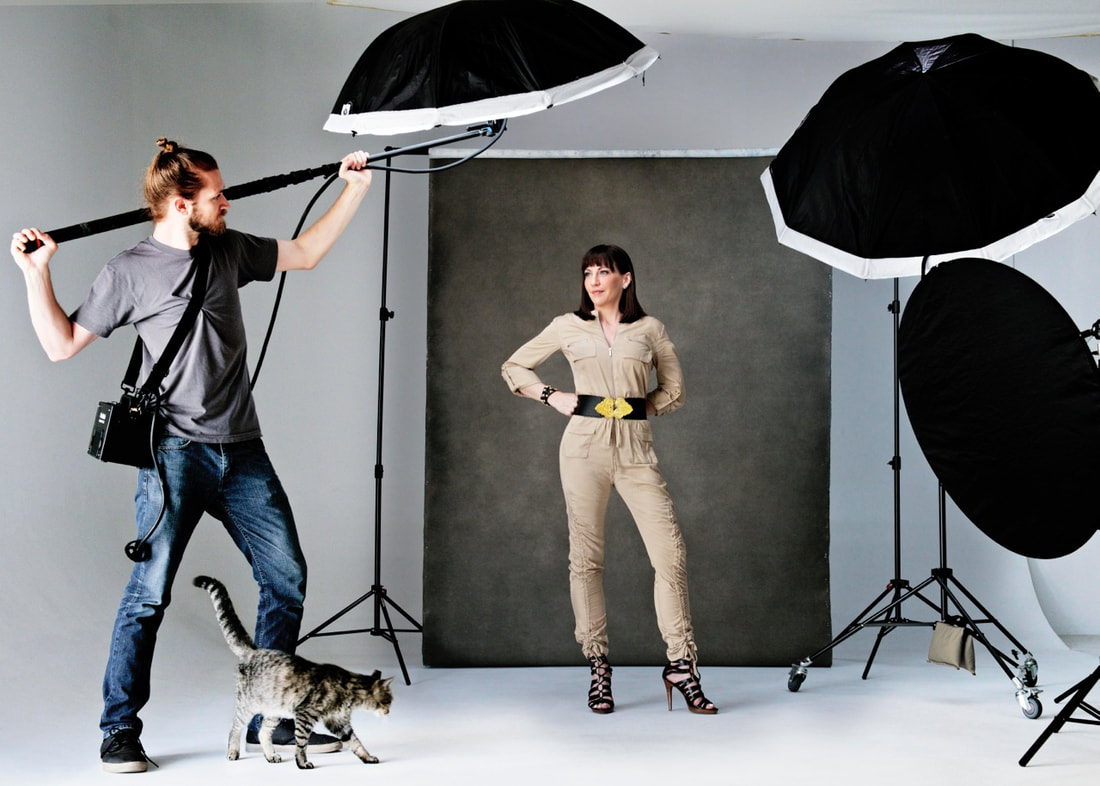
BUTTERFLY LOOP REMBRANDT RIM SPLIT


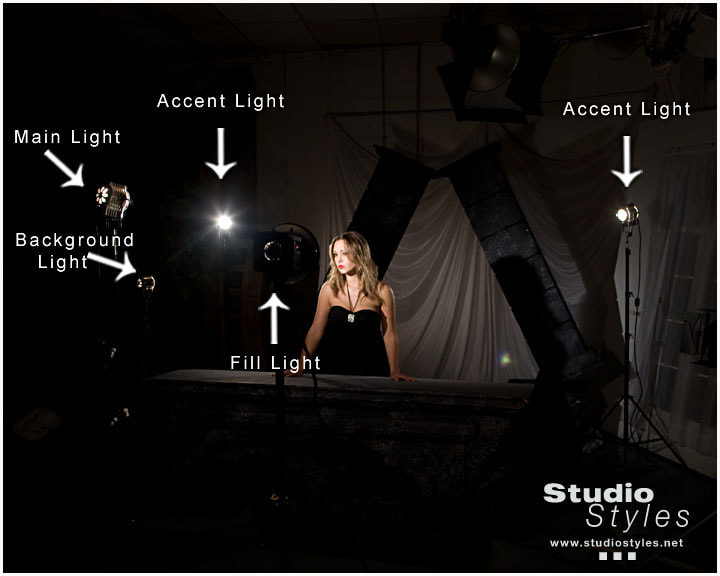
PROFESSIONAL STUDIO LIGHTING SET-UP
|
|
Introduction
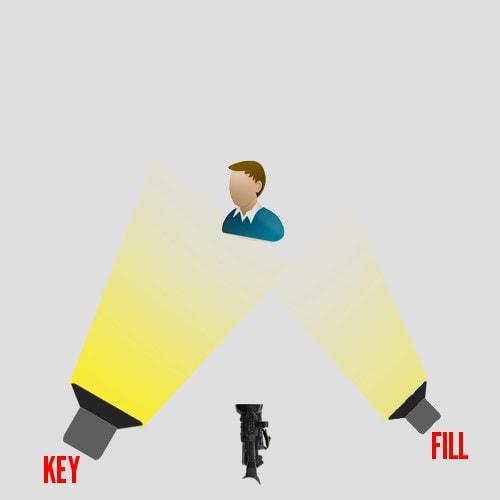
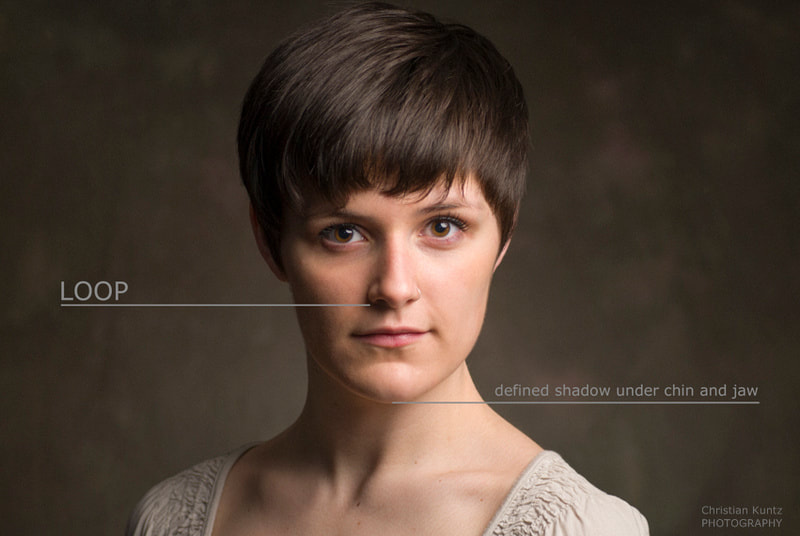
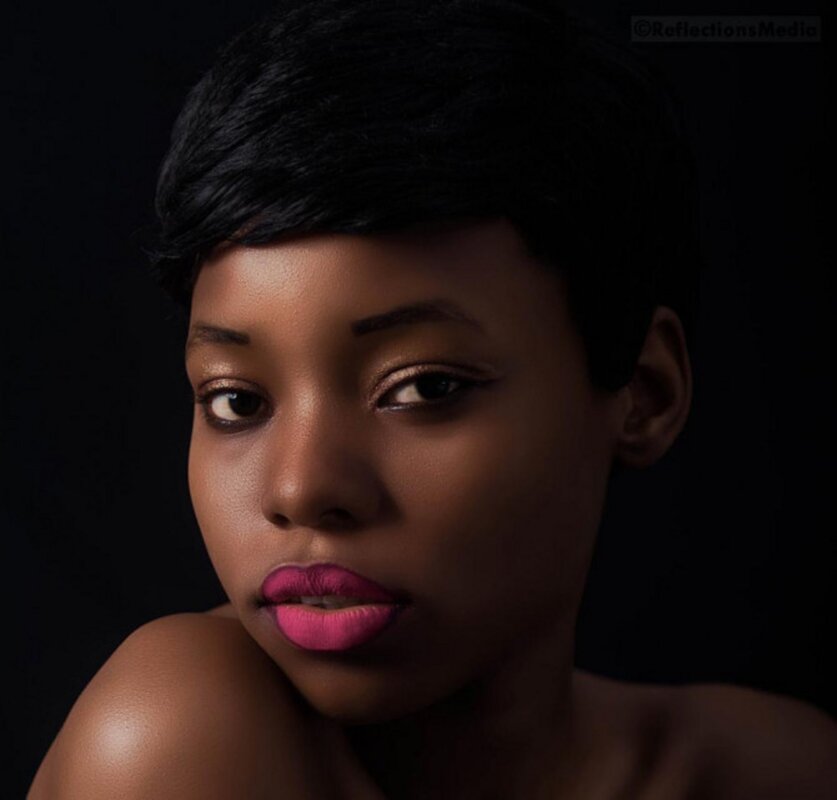
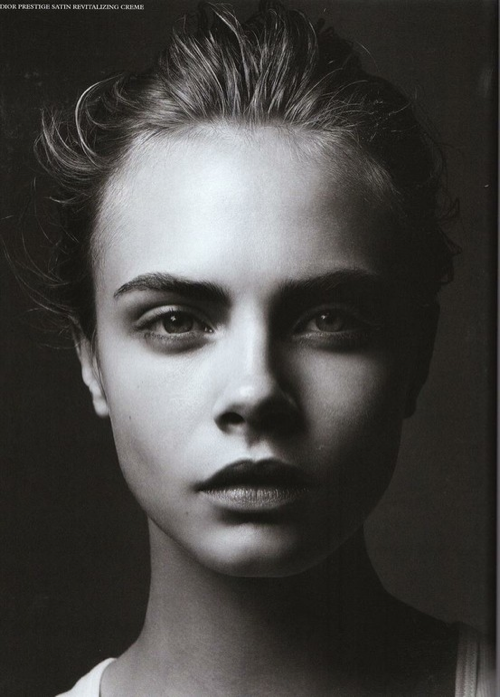
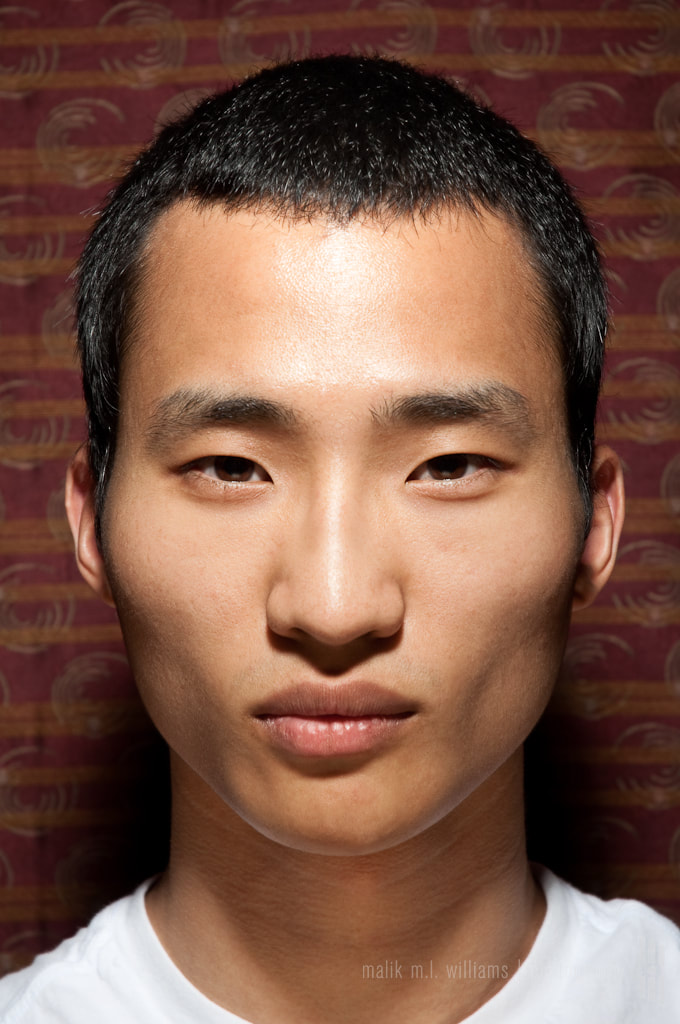
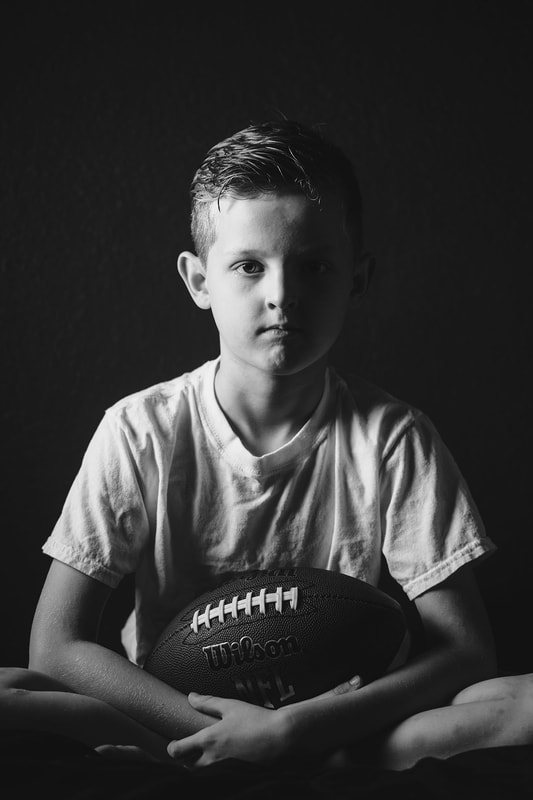
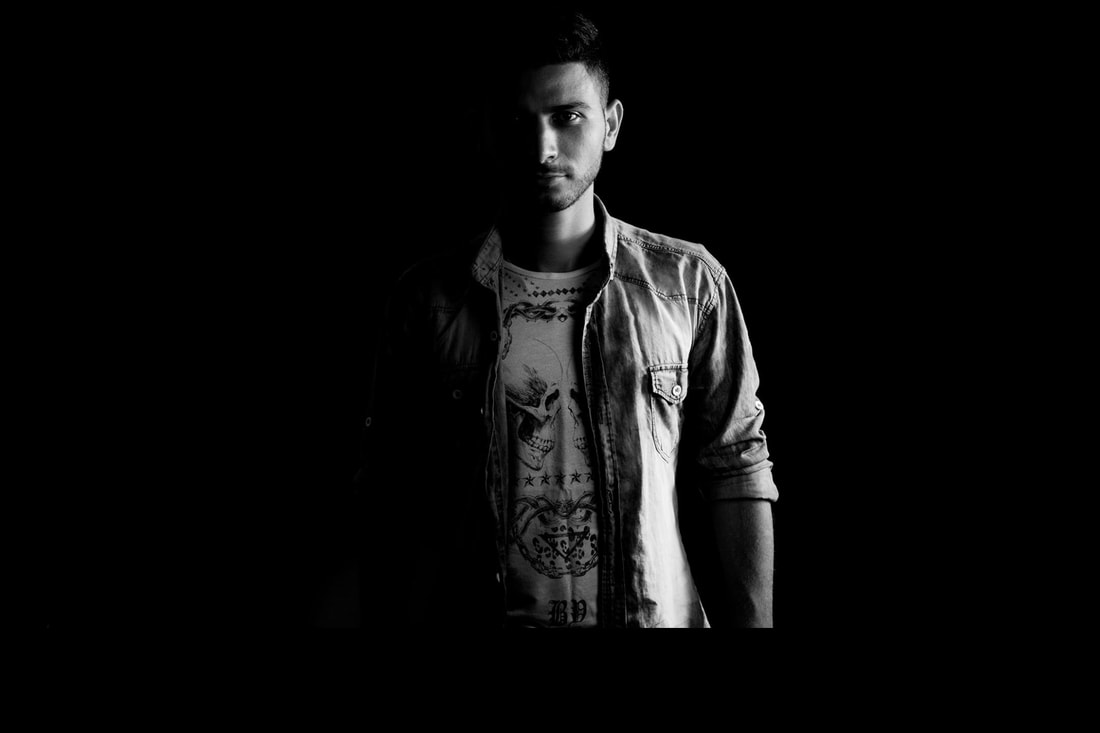
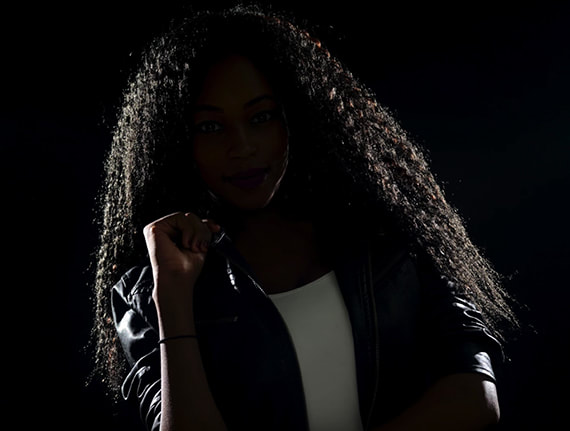
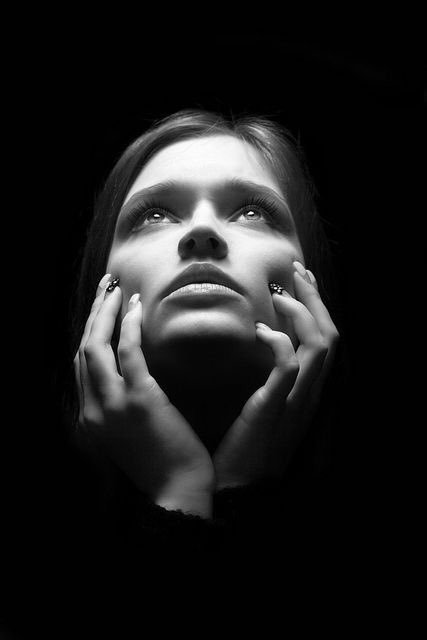
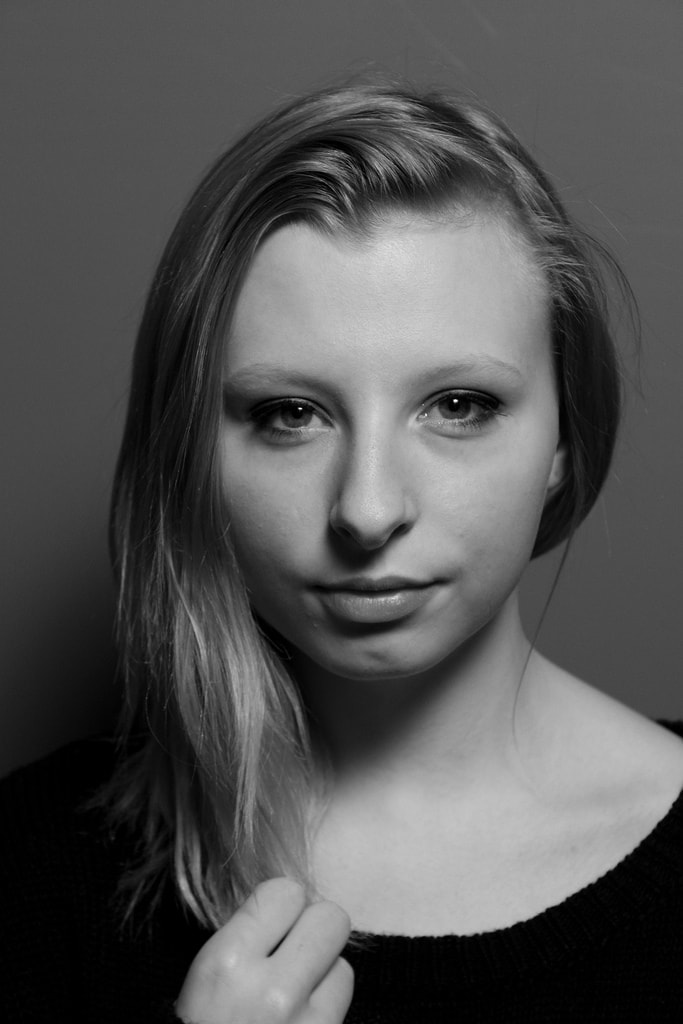
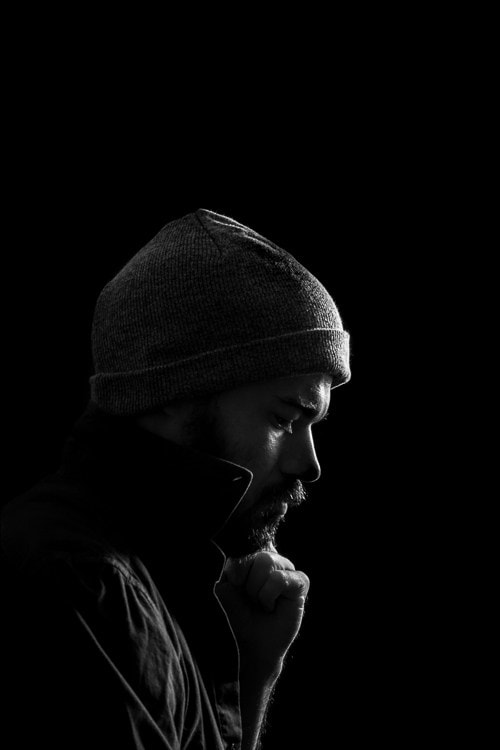
In this lesson you will learn 5 classic lighting techniques used for portraits: Butterfly Lighting, Loop Lighting, Rembrandt Lighting, Rim Lighting and Split Lighting. Professional artists throughout the centuries have generally chosen to use lighting that is flattering to the subjects they paint or photograph. Common sense tells us that most people want to look as attractive as possible and lighting is a big part of making that happen. Historical portrait lighting has been studied and distilled into five classical lighting patterns that today are widely used by both painters and photographers. In a professional photography studio, shooting classic lighting involves using three or more lights. Having more than one light allows the photographer more options and better control of the light that illuminates the subject. In our classroom you will only use one light source. Only one light is needed to demonstrate basic classic lighting styles and still achieve flattering portraits.
Part 1 - Research
You will research one of the five classic lighting styles that are commonly used by professional photographers to make flattering portraits and share your results with a group of students.
Directions:
Step 1:
Add a new page to your Weebly Website and label it "Classic Lighting".
Step 2:
Pick a Classic Lighting Style out of a box.
Step 3:
Answer the following questions, in a text box on your Weebly Website, about your assigned classic lighting style.
1. What is the purpose of your lighting style? Why use it?
2. How do you set up a "single light source" to demonstrate your lighting technique?
3. How should the subject (the person in the photo) be positioned/pose?
Step 4:
Find 4 examples of your chosen classic lighting style by searching Google images. Download these images to your desktop. Add a new gallery to your Classic Lighting page and upload your photos.
Part 2 - Find, Share and Compare
Step 1:
Find a student in the class who shares your Classic Lighting style. Share and compare notes. Add to your research if need be.
Step 2:
The slip of paper that you picked has a color on it. Meet up with the other students that share the same color. This will be your group for the portrait photo shoot.
Part 3 - Classic Lighting Portrait Photo Shoot
You will set up a portrait photo shoot with your shared color group and demonstrate the 5 classic lighting styles on three distinctly different backgrounds, using one light.
Step 1:
Take turns taking portraits of the 5 classic lighting styles.
Each lighting style should be done three times:
1: On a white or very light background.
2: On a black or very dark background.
3: On a background that is a busy design.
Step 2:
Download a total of 15 photographs and place in a new gallery on your Classic Lighting Weebly page. Caption each photo with the appropriate Classic Lighting style.
Part 4 - Critique
You will present your best portrait for a Gallery Walk. After the viewing the class will Pair and Share comments and then share with the class.