There are basic rules of composition that beginner photographers should learn to understand how to create interesting and aesthetically pleasing arrangements of subjects that will keep a viewer interested in their photographs. These rules are guidelines to help you make better photos and improve you observation skills. Many photographers disagree with the idea of teaching these guidelines. They state that a photographer should follow their feelings about composition. I completely agree that seasoned photographers should follow their instincts, but beginners should have a solid foundation of basic theories and rules that can be built upon with more practice.
Before you take any photograph ask yourself,
"What story am I telling with this photograph?"
or "What is my subject?"
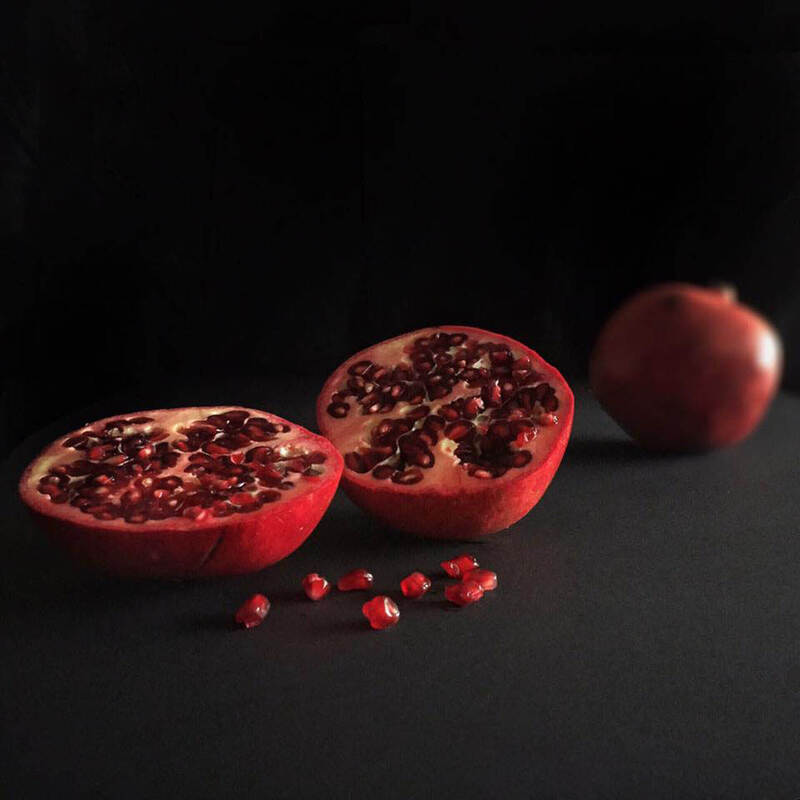
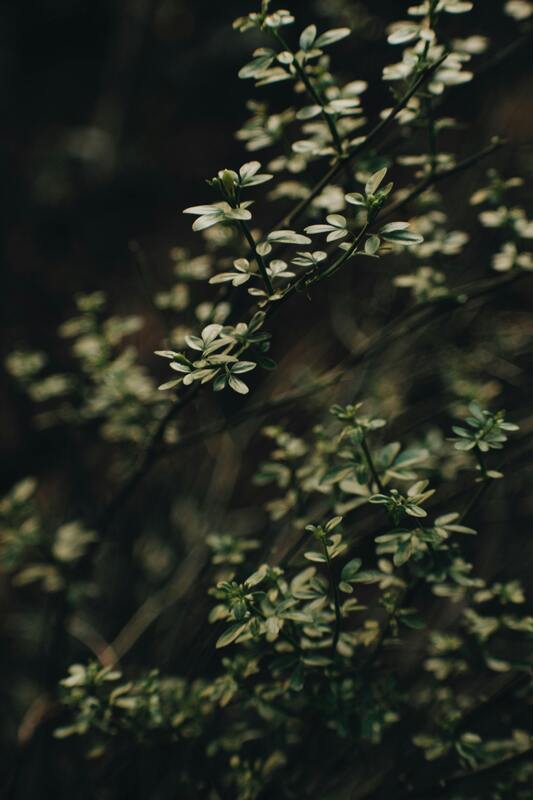
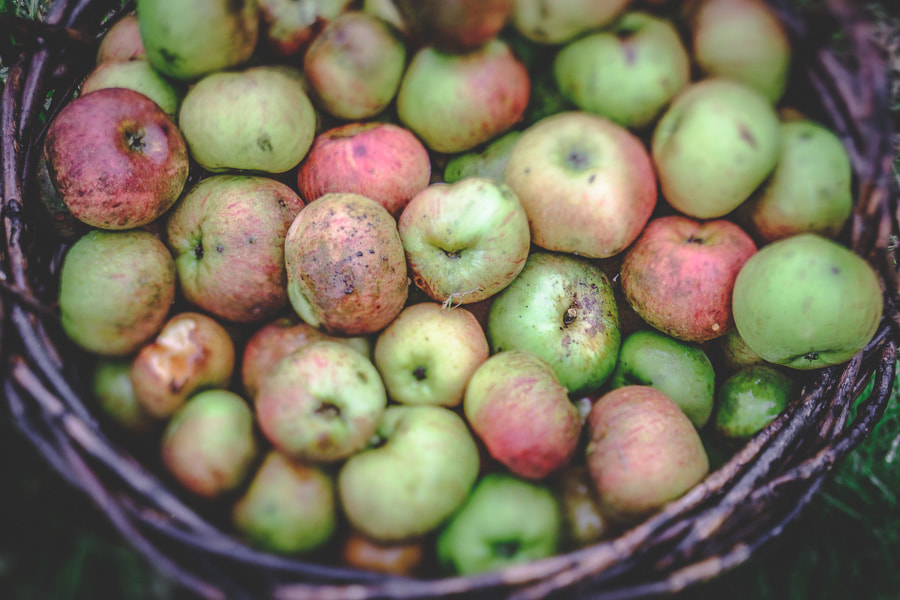
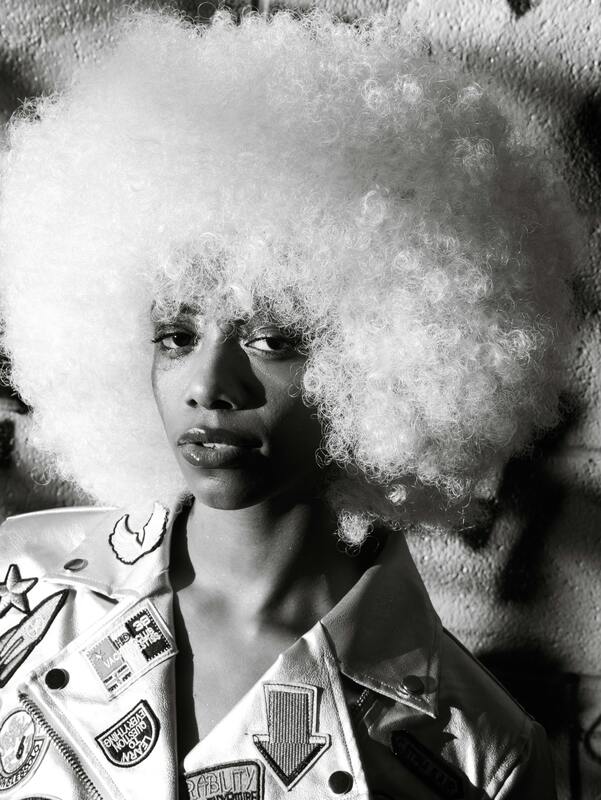
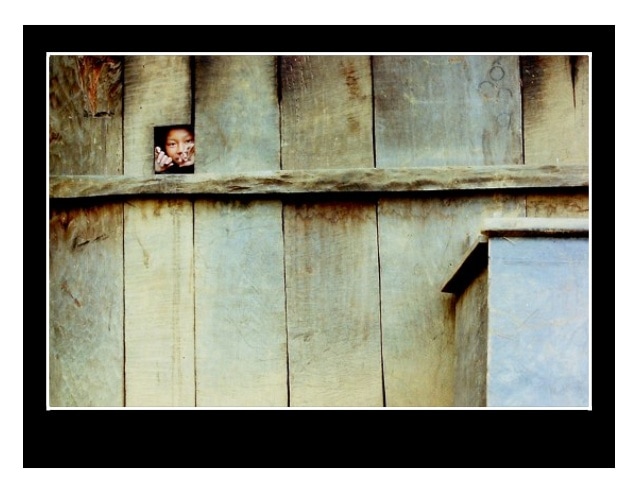
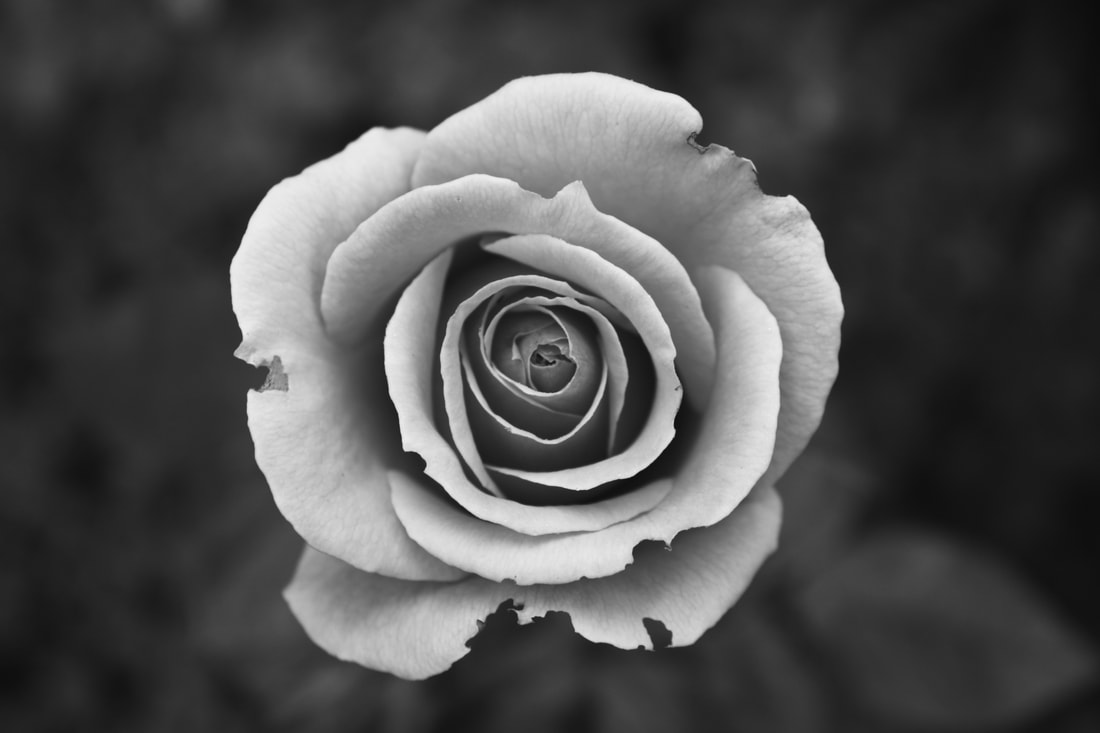
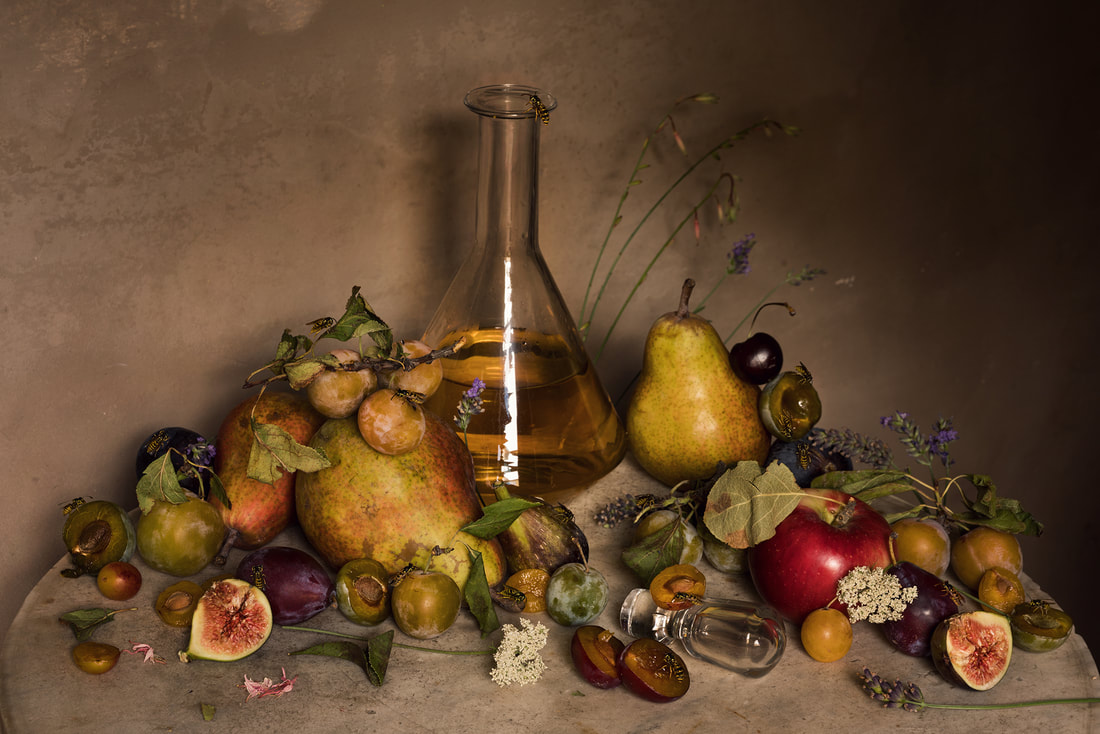
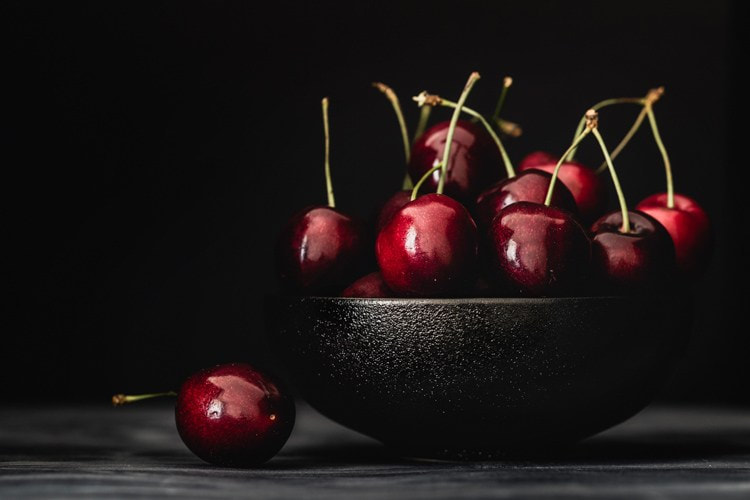
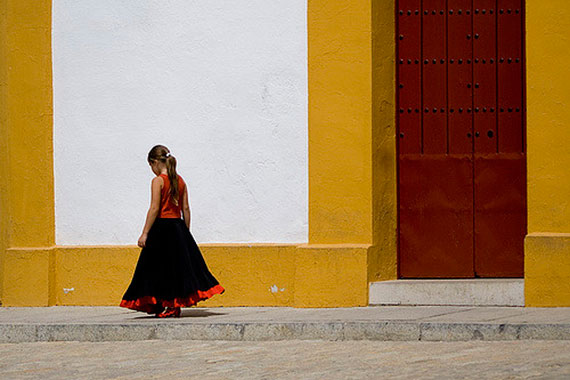
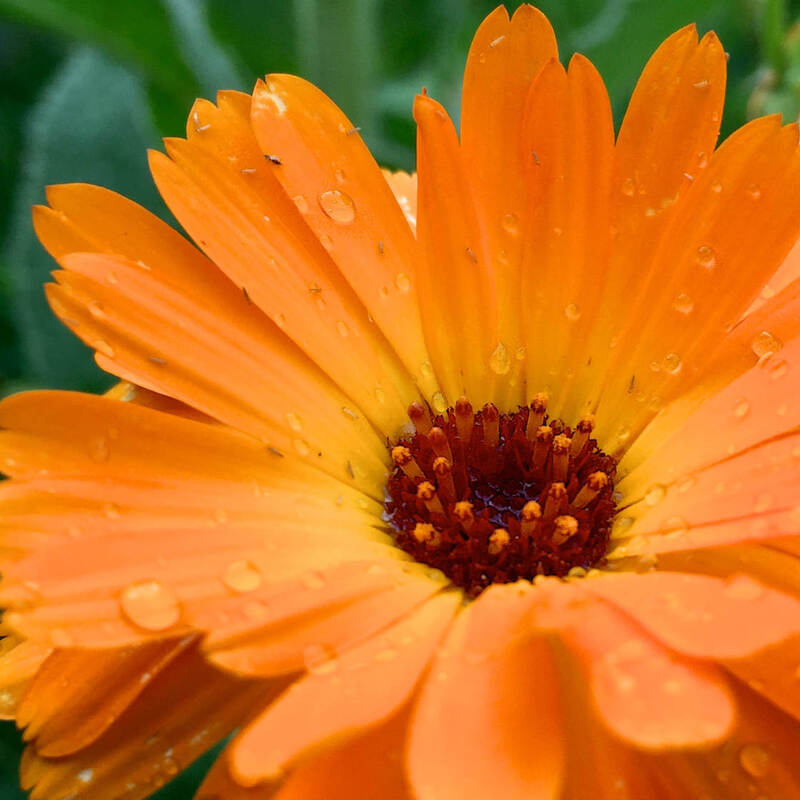
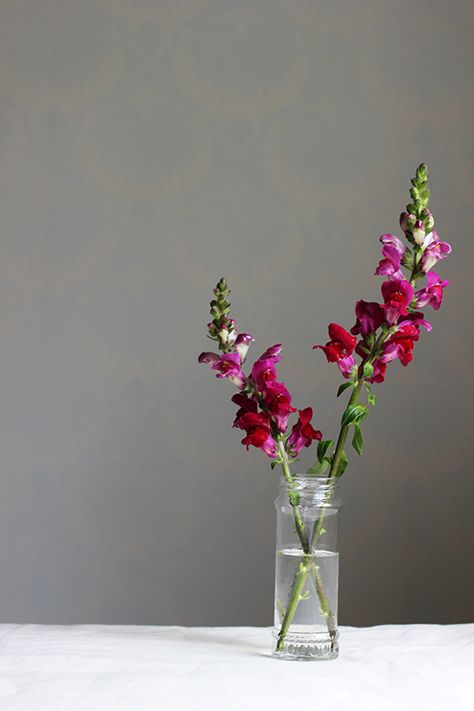
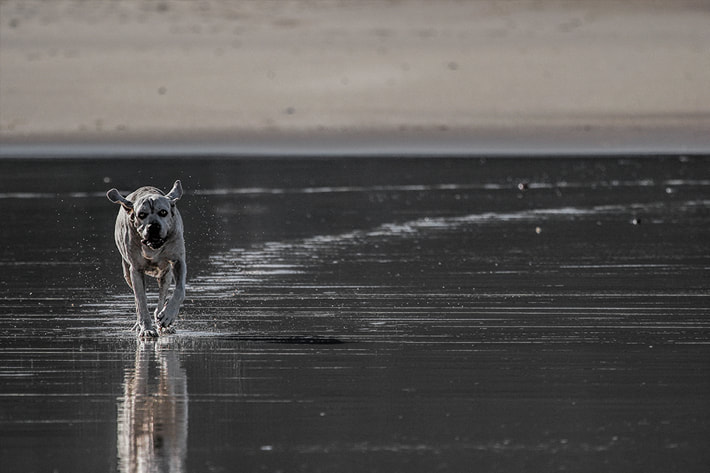
# 1 SIMPLIFYThis rule is all about keeping the composition very simple. There is no doubt about what the subject is when you use this rule. There are three ways to simplify the composition.
1.. Use a non-distracting background Simplify the composition by getting close to your subject, leaving a little space around it. The background that you see should be simple and non-distracting to the subject. 2. Fill the frame with the subject One way to simplify the composition and focus on the subject is to get close enough to your subject so that it fills the entire frame. There is a little bit of background in this photo, but the subject is CLEARLY the subject. 3. Zoom in one part of the subject You can also create a simple composition by zooming in on part of your subject and focusing on a particular detail. There isn't a background in this photo. It is ALL SUBJECT. ASSIGNMENT Take three photographs for each simplify category: fill the frame, non-distracting background, and zoom in. Edit the photographs in Photoshop as needed and post to your Weebly website in a gallery labeled SIMPLIFY. Use a Non-distracting Background Fill the Frame Zoom in
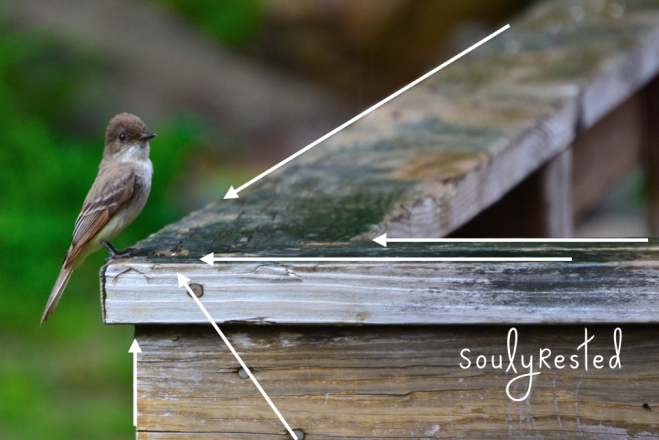
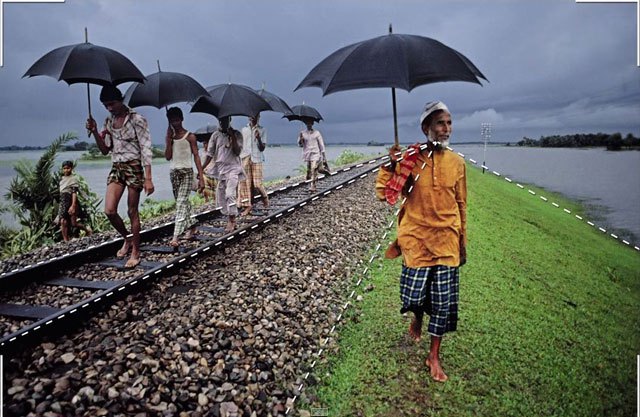
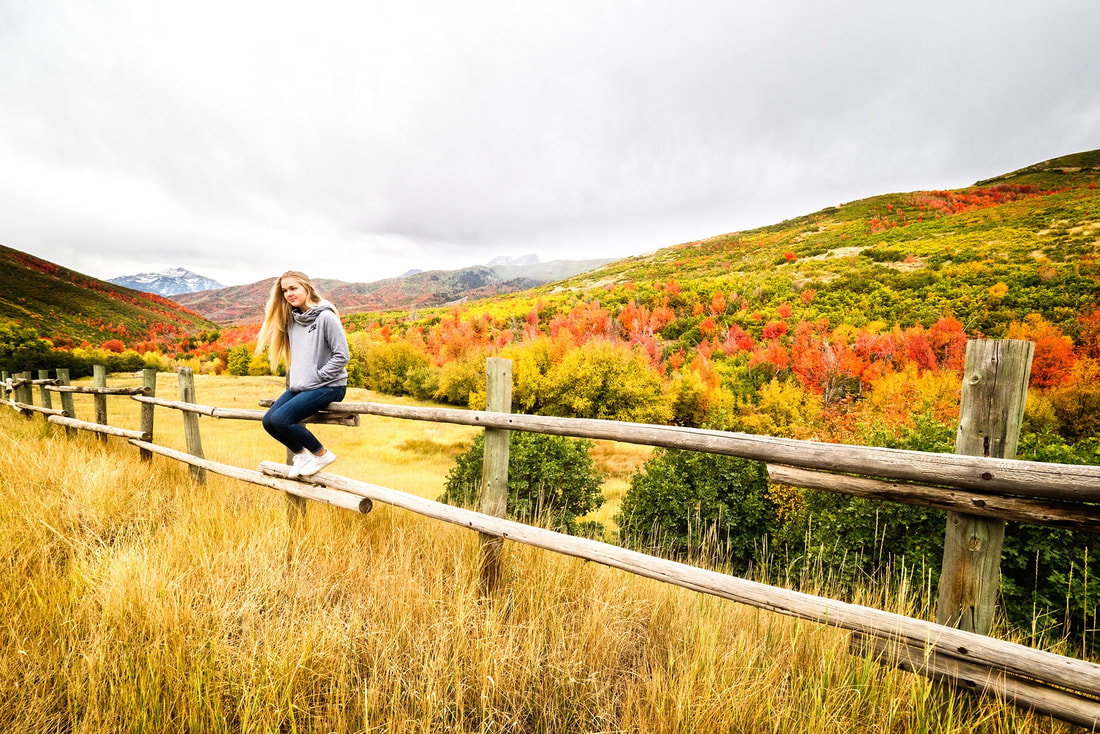
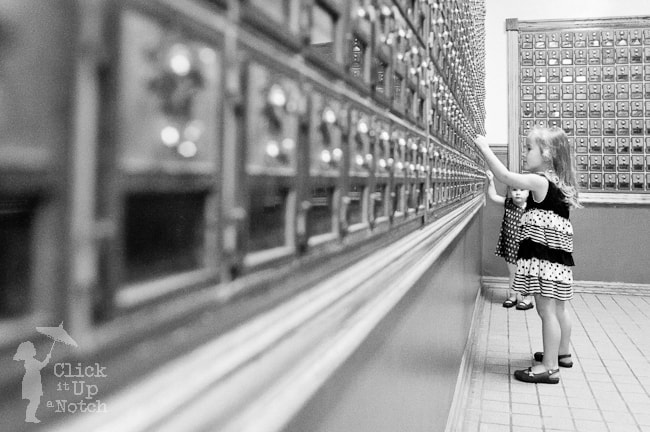
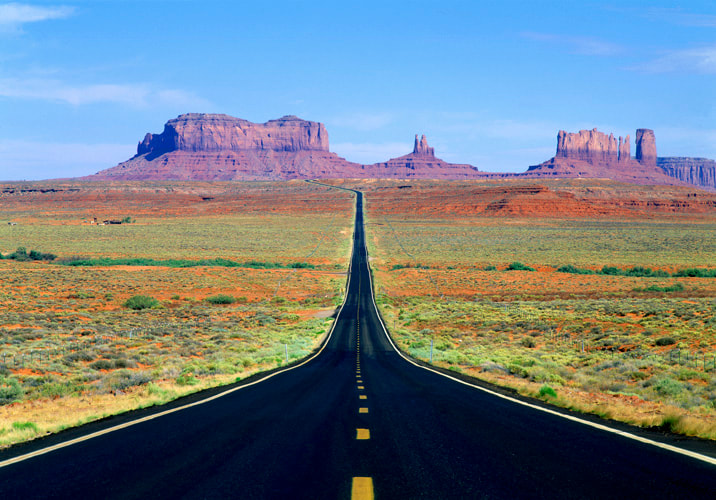
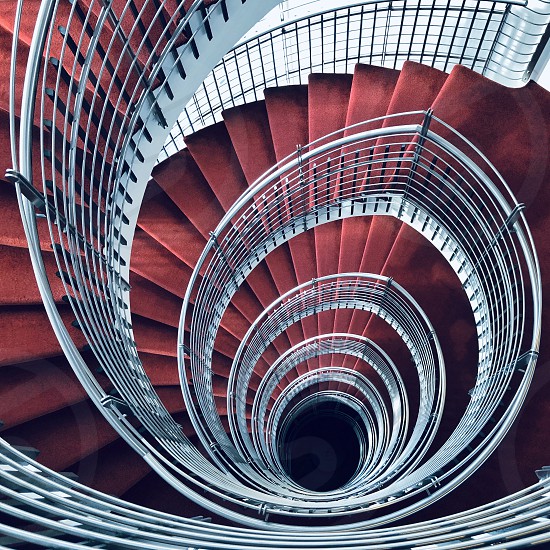
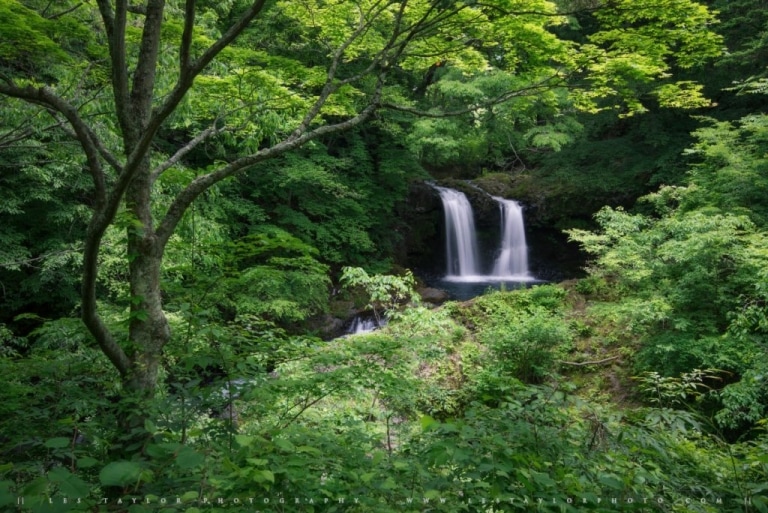
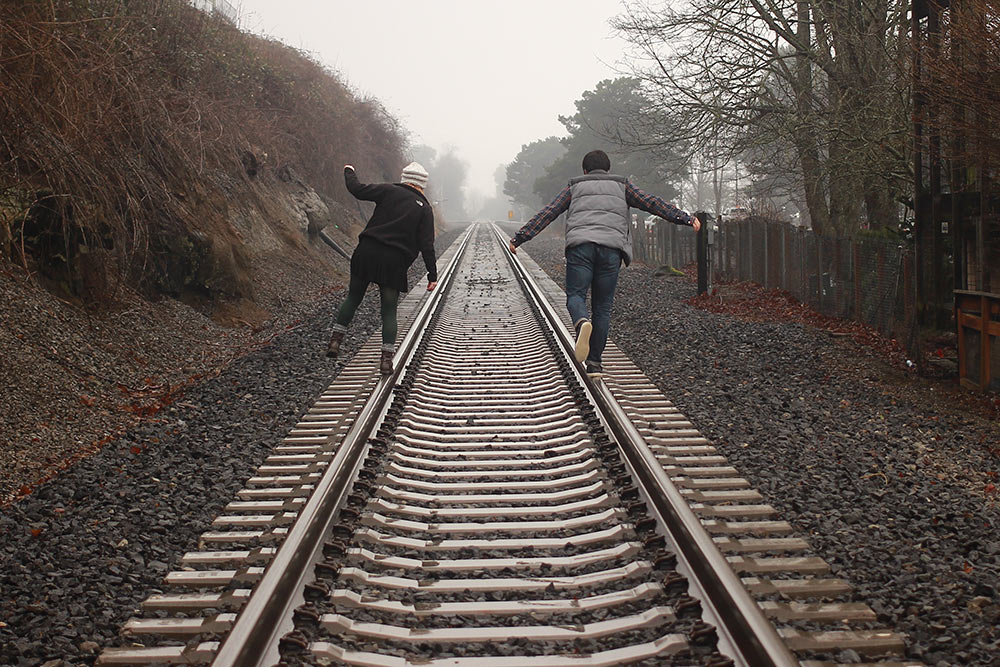
# 2 LEADING LINESThe “leading lines” rule is a technique that uses lines within the photo to lead attention to your subject.
Here are a few items that can be leading lines in photography: roads, highways, paths, pathways, steps, stairways, rails, railings trees, branches, sticks, walls, fences, shorelines, rivers, arms, legs buildings, windows, doors, anything that creates a line, There are three ways to apply this rule to create interesting compositions.
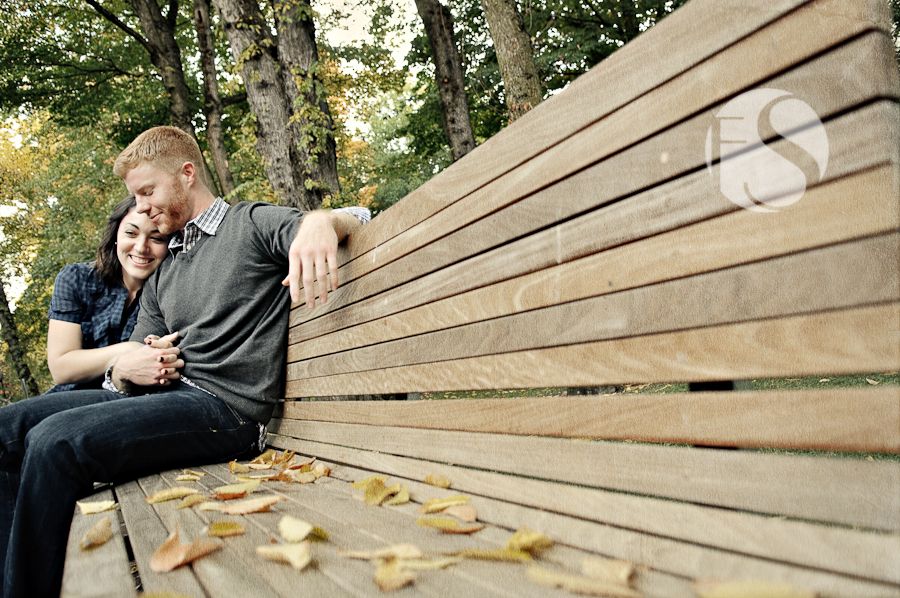
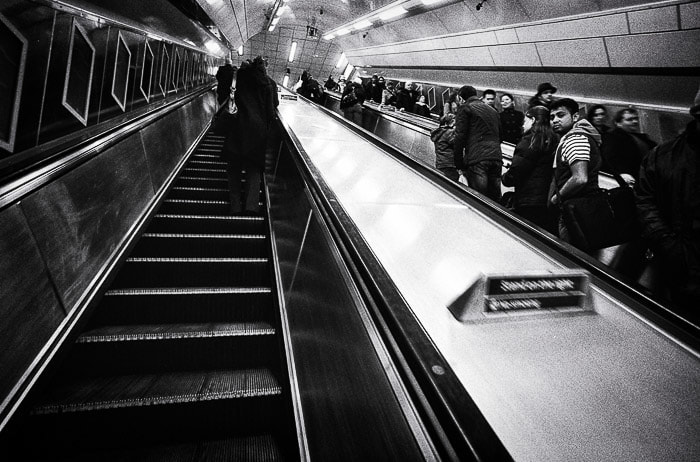
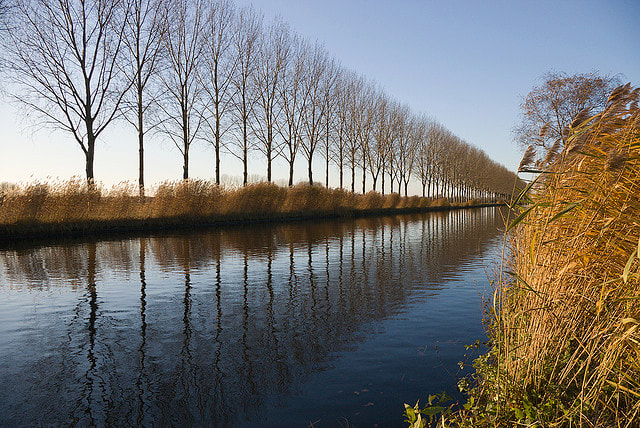
3. The third technique is to use the lines to create an interesting design. The lines are the main
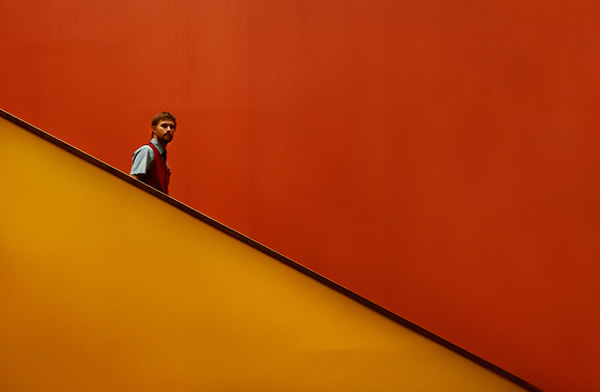
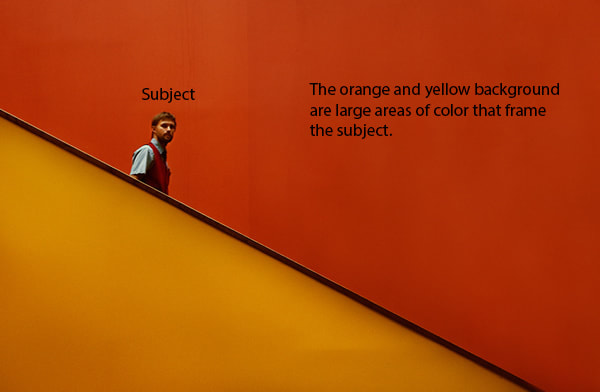
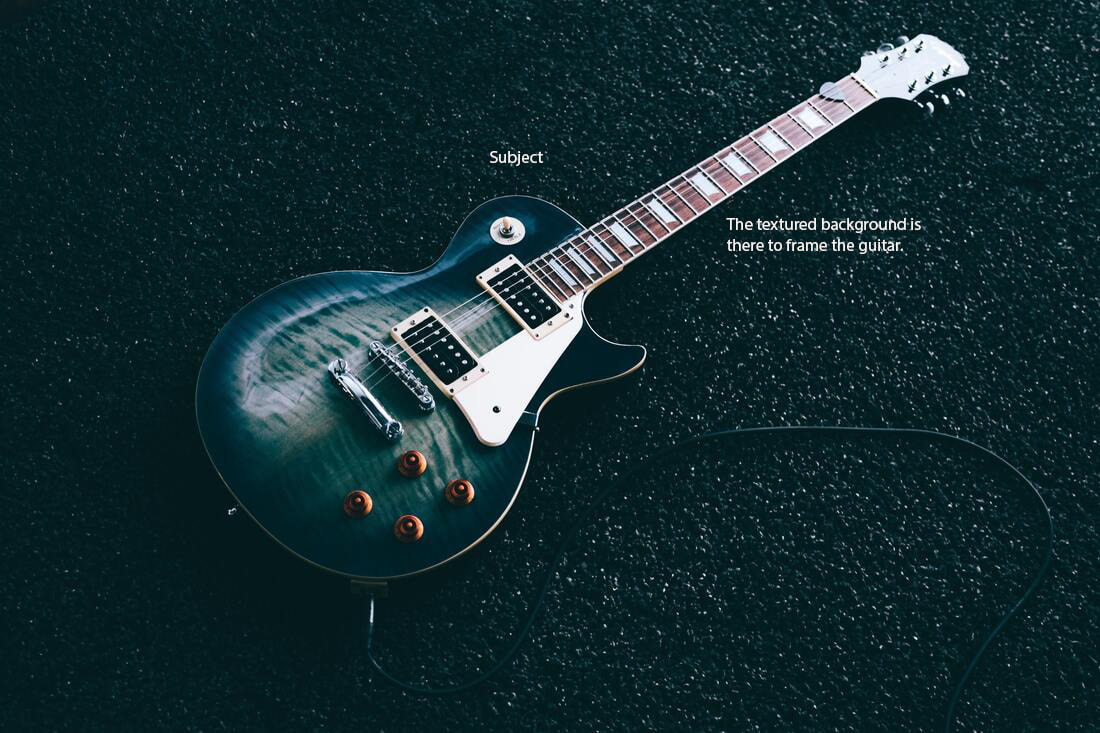
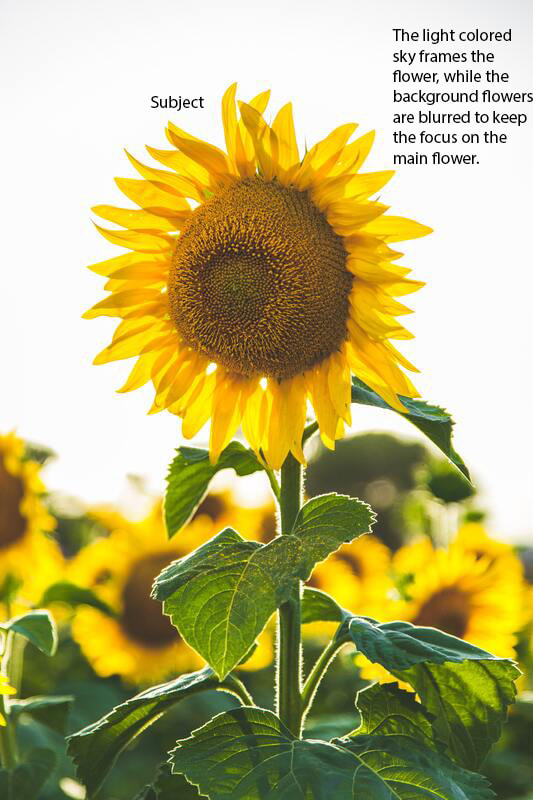
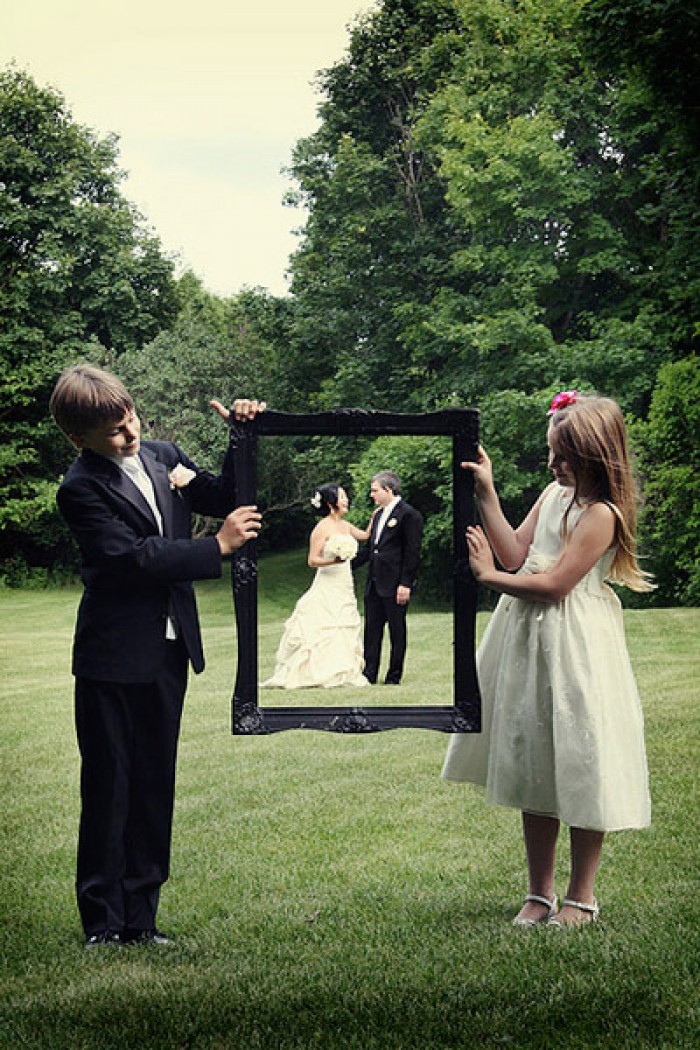
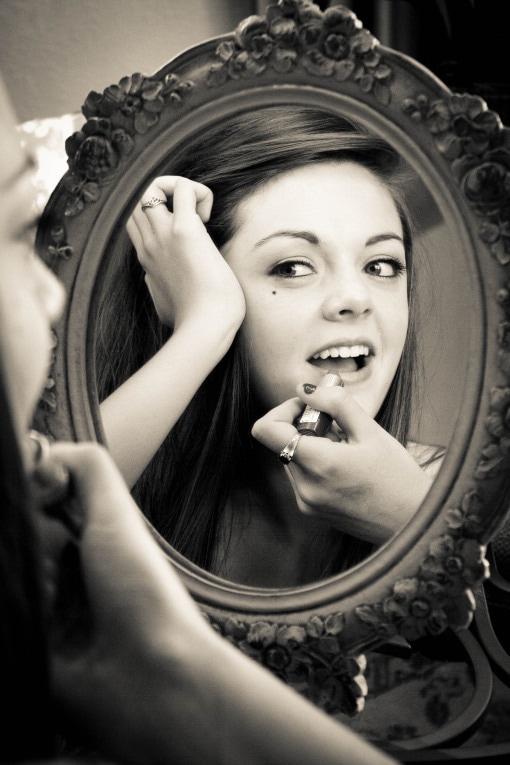
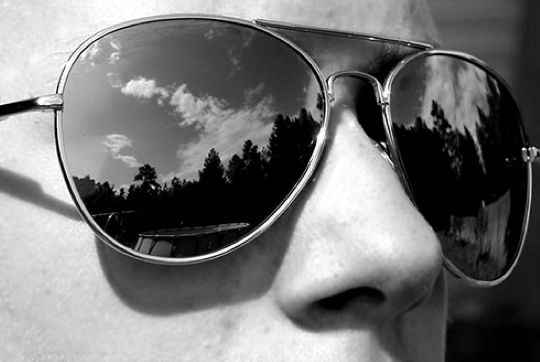
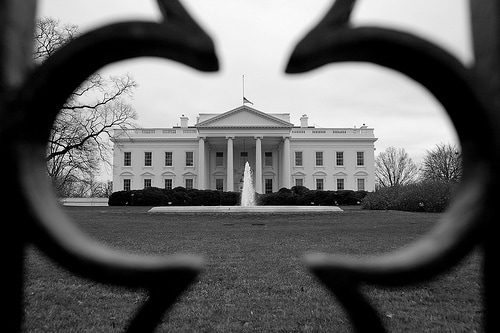
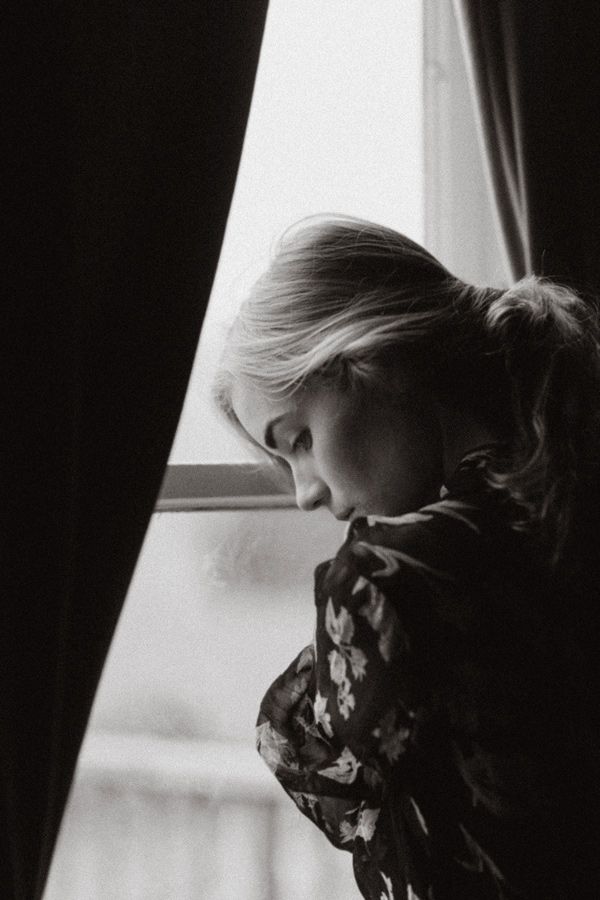
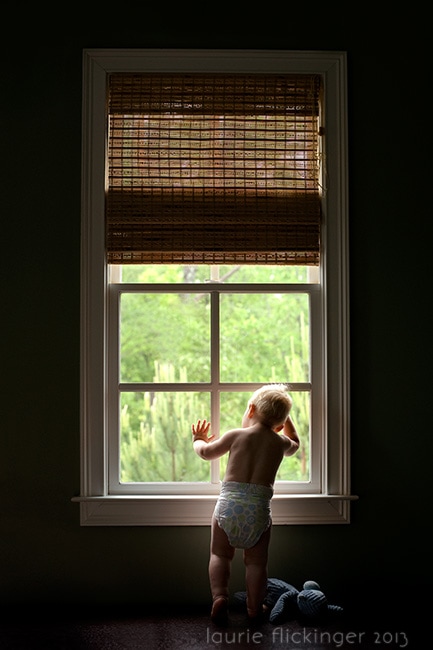
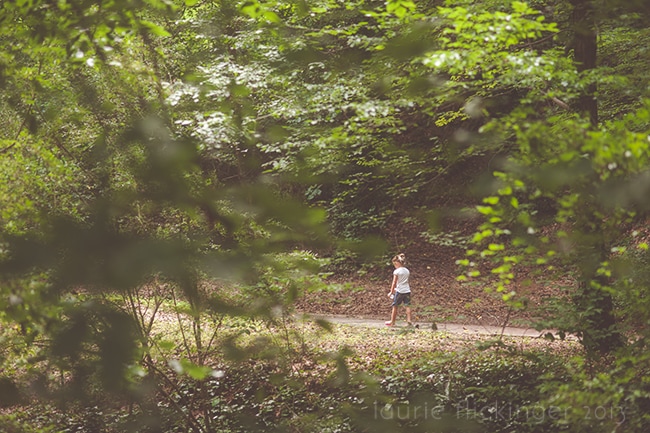
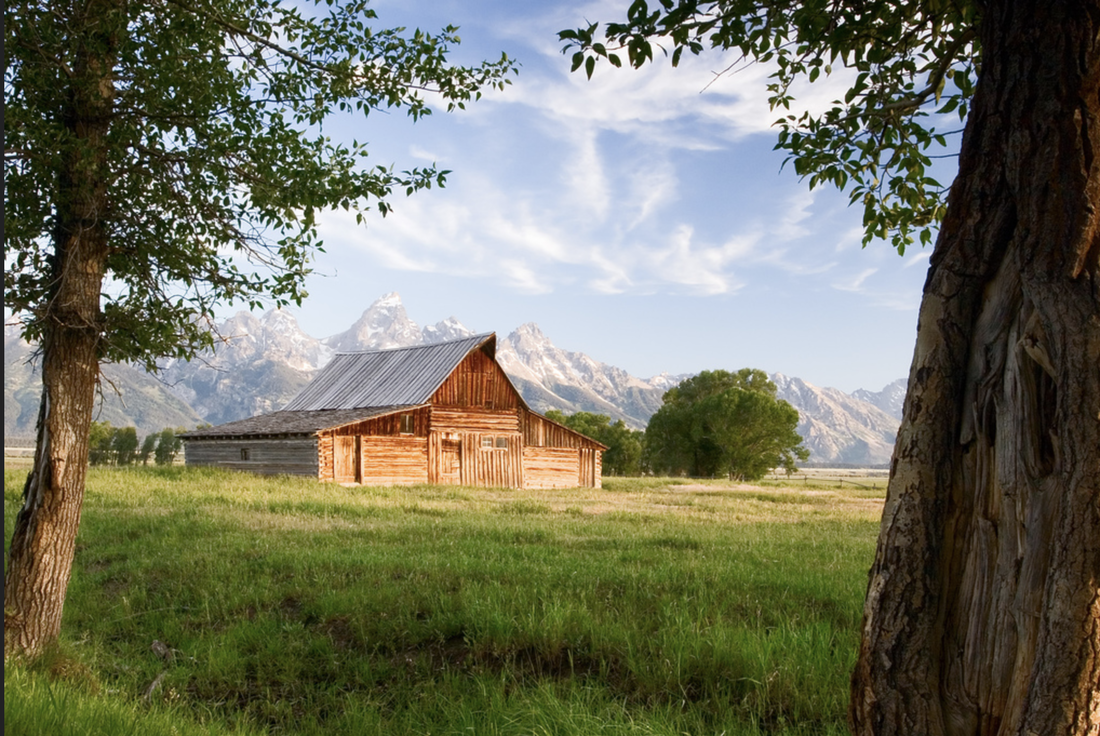
In this manner the photograph becomes fine art # 3 FRAMINGThe Framing Rule is a technique to bring focus to the subject of the photograph using a frame. You use elements within the scene to frame the subject.
There are 4 different framing techniques. 1. Use a literal frame, such as a mirror or empty picture frame. 2. Use architecture - fences, railings, buildings, window or door frame. 3. Use nature - trees, fields of flowers, branches, rocks, etc. 4. Use areas of high contrast light and dark. Assignment1. Take a total of 4 photographs for this assignment. You may choose any or all of the subcategories for this rule.
2. Place your photographs in a gallery on your website. Label each photo with the appropriate subcategory. |


# 4 BALANCE
|
When you think ‘balance,’ an image may come to mind of a scale, equally weighted on both sides.
When it comes to art and photography composition, balance doesn’t necessarily mean that the photograph is symmetrical, or equally weighted on both sides. |


|
Balance is the principle of art concerned with equalizing the elements (main subject, background area, secondary subjects, negative space, etc.) in an image to create a composition that feels complete or balanced. This is also referred to as Visual Balance.
To understand balance in art you must understand that every element in the frame has a visual weight. People, buildings, animals, colors, values, textures, lines, and shapes all have a visual weight. Bright colors have more visual weight than pastel colors. A large item will have more visual than a small item of the same object. The key to balance is to understand the visual weight of everything in the composition and arrange the elements to create harmony with each other.
Harmony = Balance
Harmony = Balance
|
These elements typically have more visual weight.
|


|
There are three types of balance...
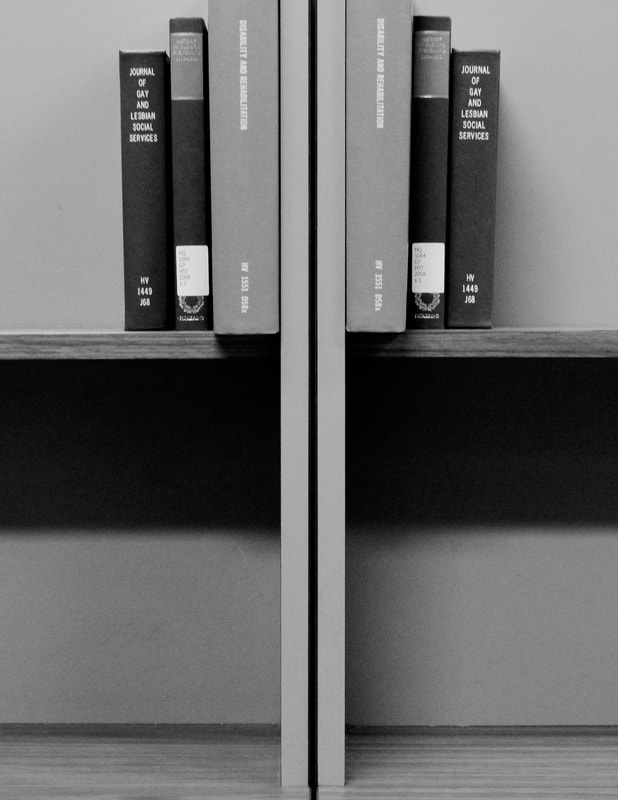
1. Symmetrical Balance or formal balance.
2. Asymmetrical Balance or informal balance.
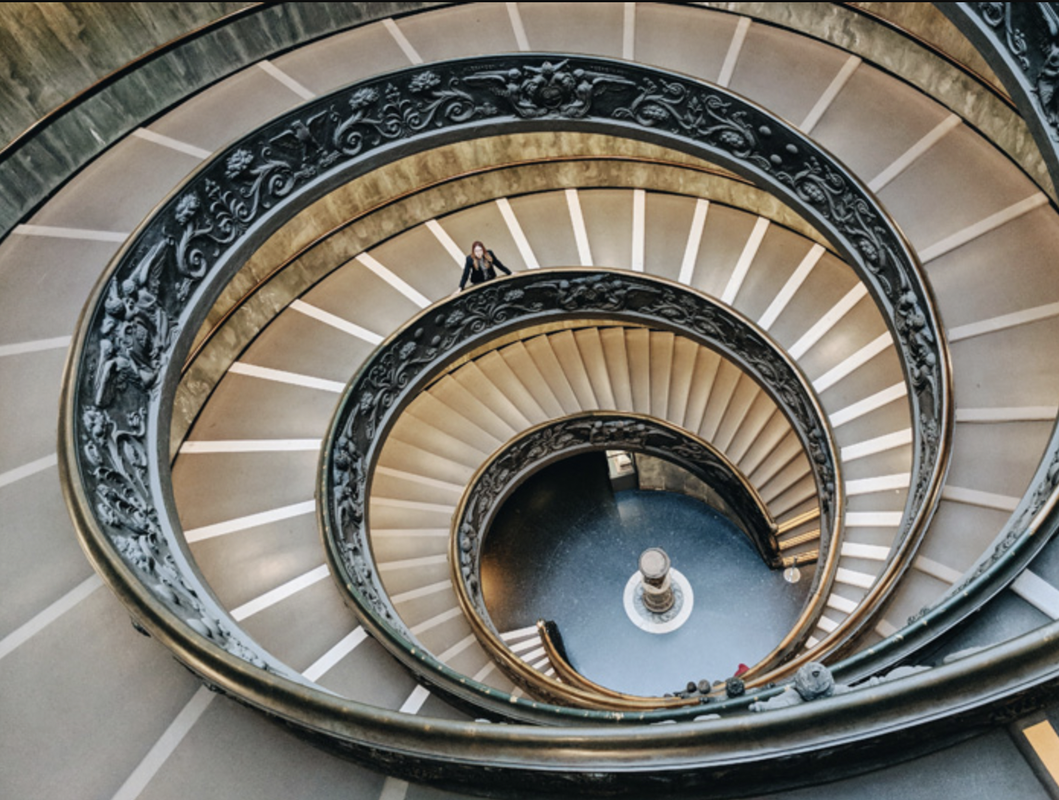
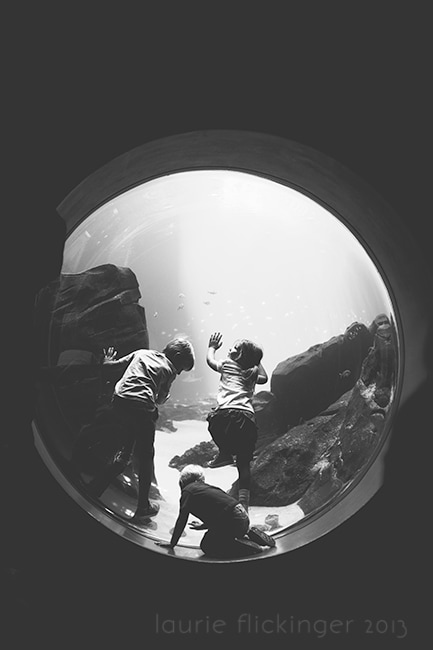
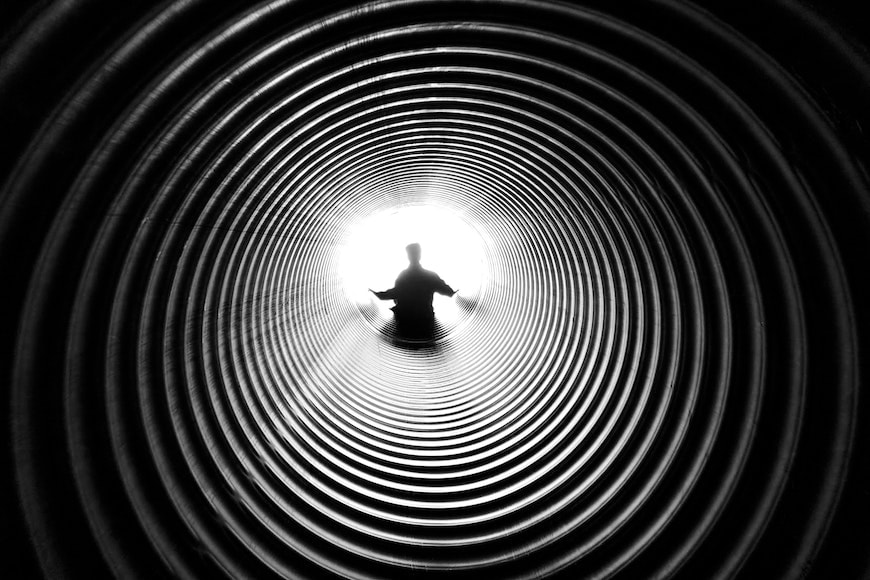
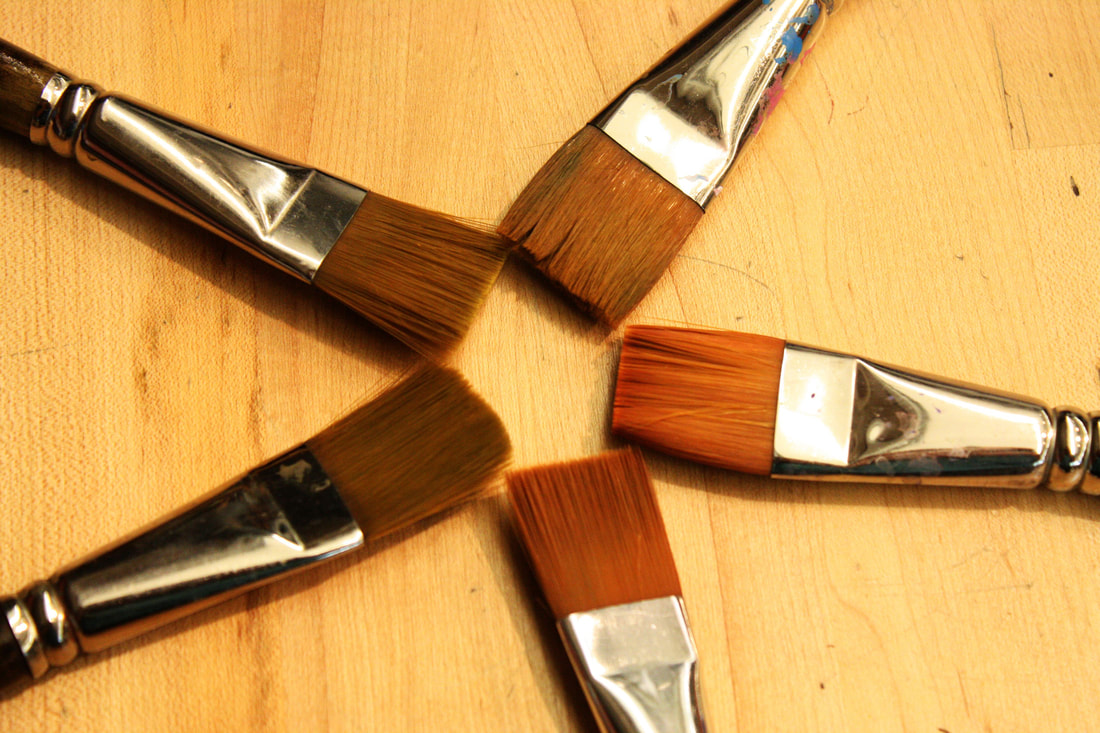
3. Radial Balance or circular balance.
1. Symmetrical Balance or formal balance.
2. Asymmetrical Balance or informal balance.
3. Radial Balance or circular balance.


Assignment
Take 2 photographs that demonstrate symmetrical balance.
Take 2 photographs that demonstrate asymmetrical balance.
Take 1 photographs that demonstrates radial balance.
Publish the 5 photographs to your Weebly website, and label with the appropriate type of balance - symmetrical, asymmetrical and radial.
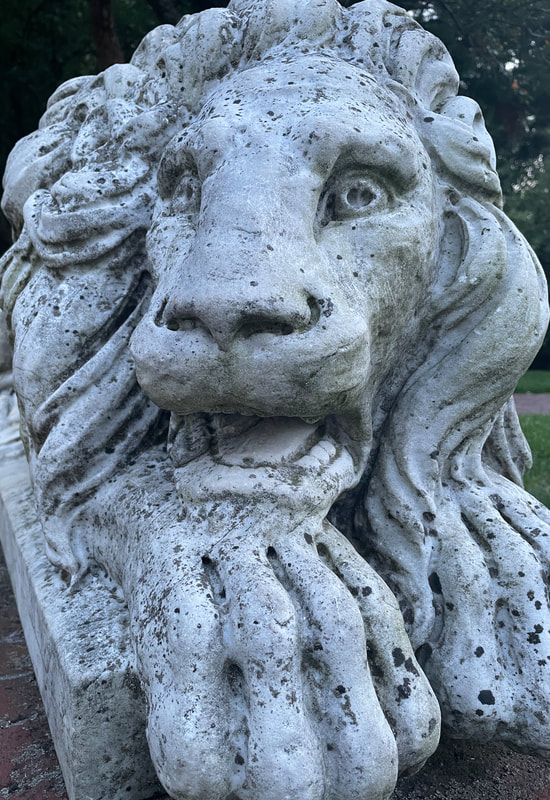
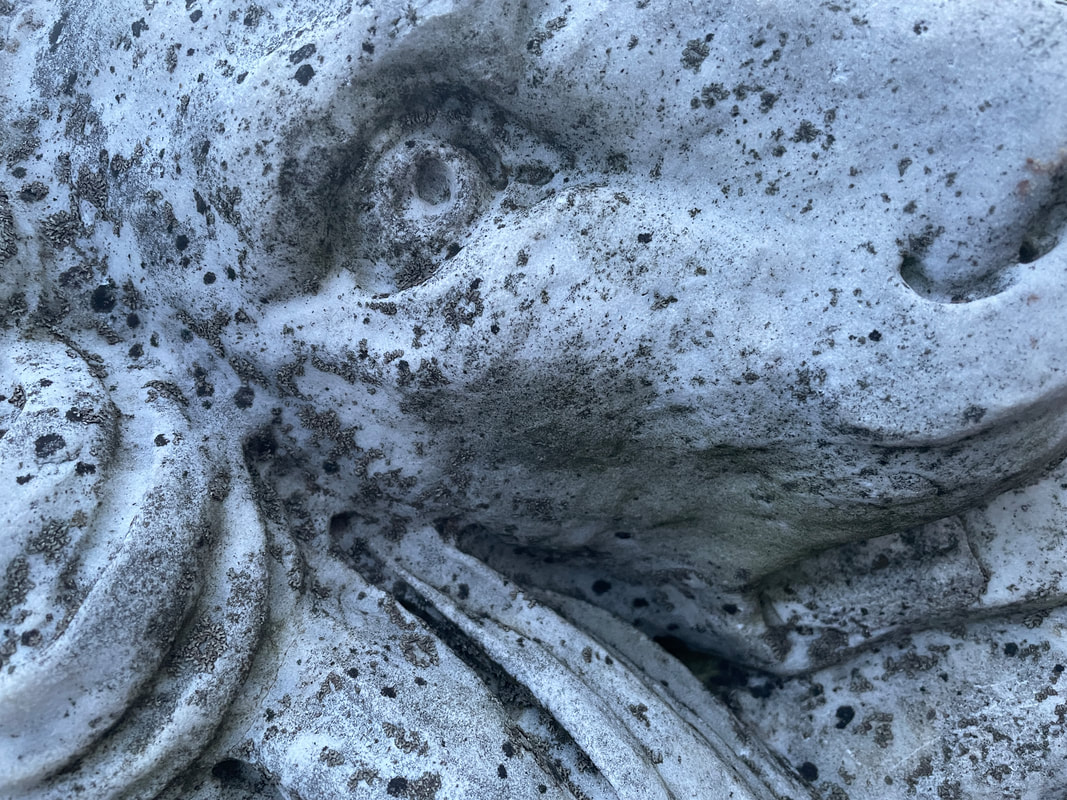
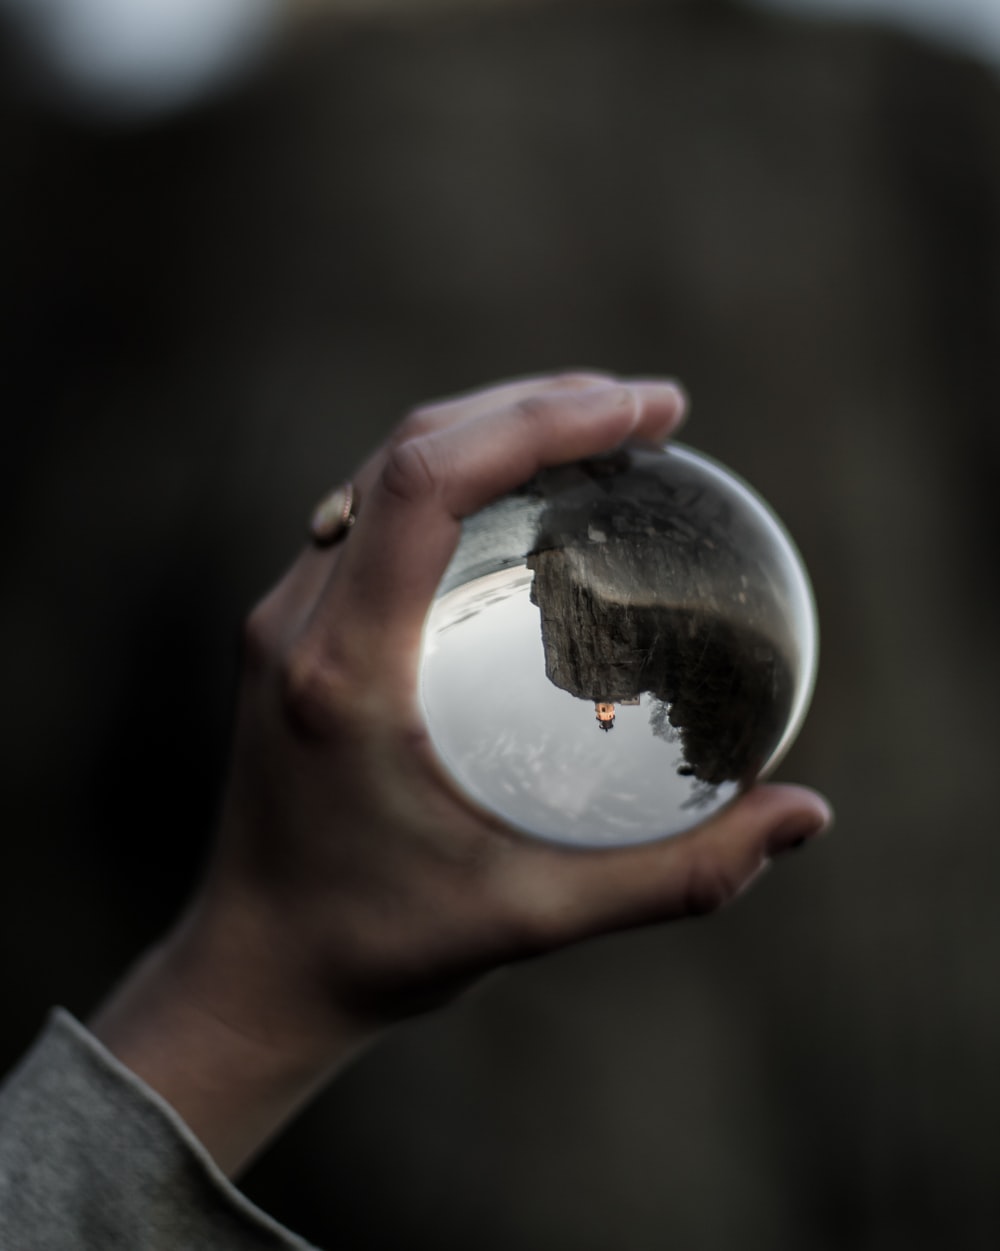
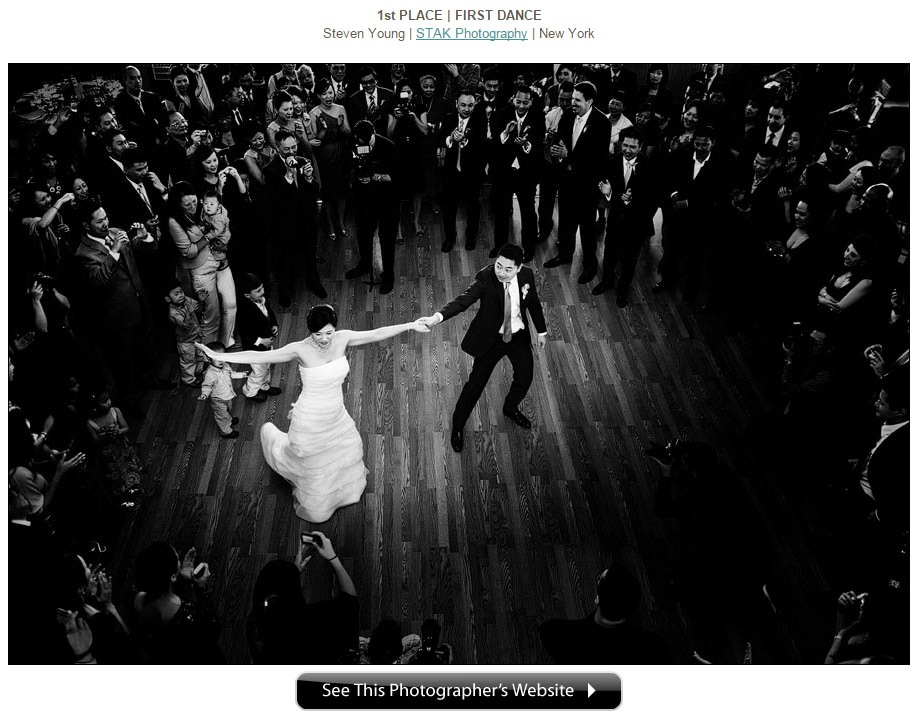
# 5 POINT-OF-VIEW - bird's eye & worm's eye
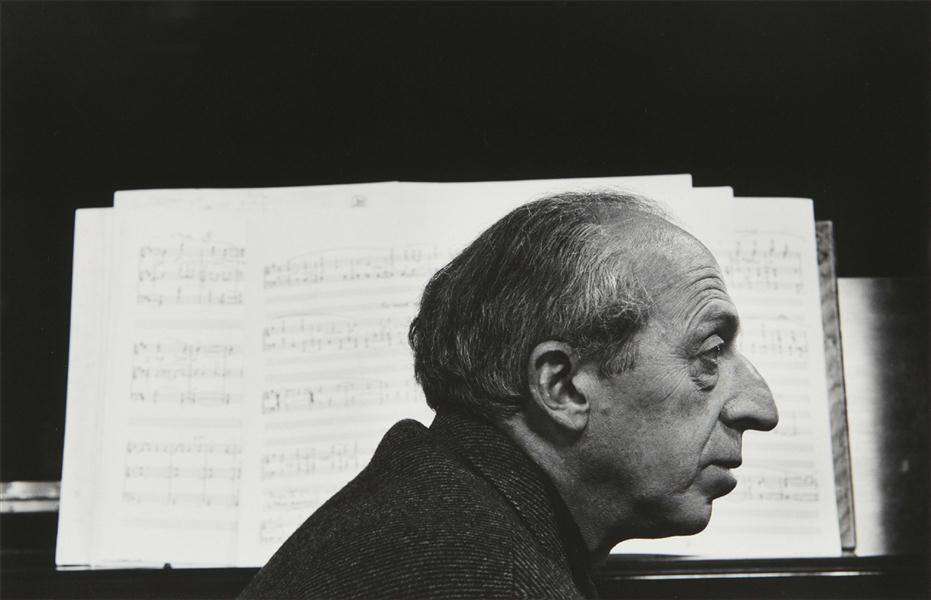
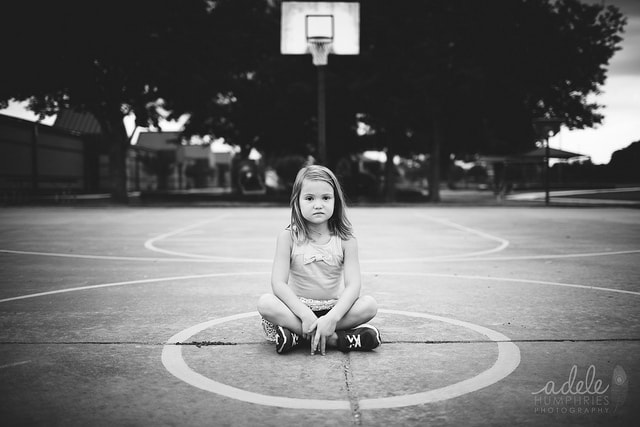
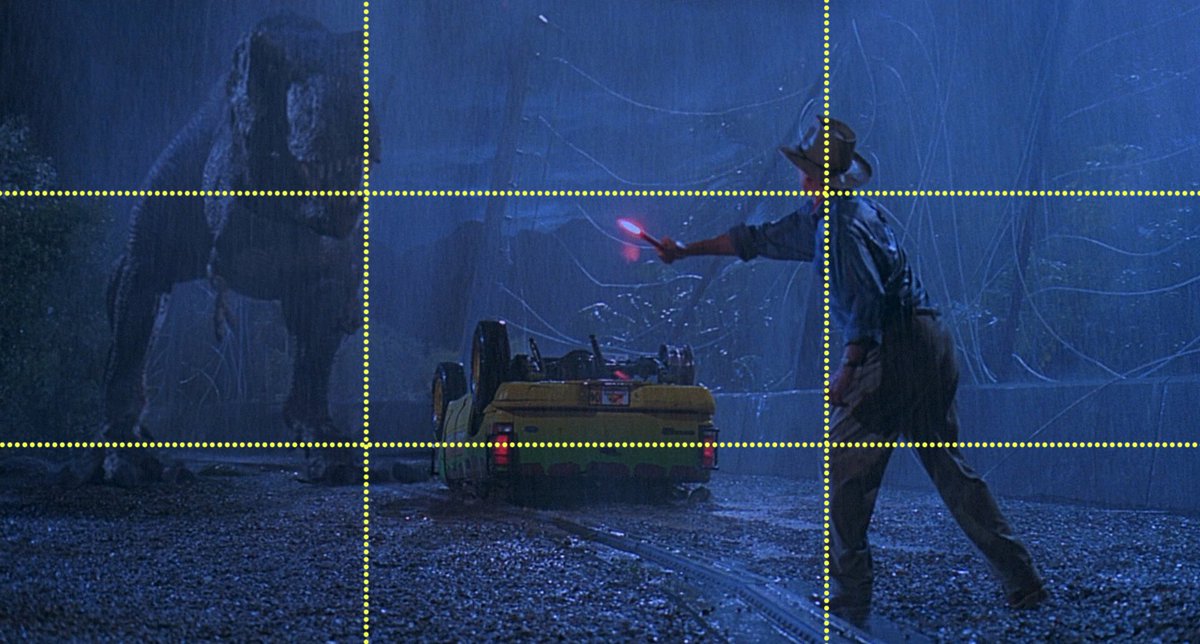
# 6 RULE OF THIRDS
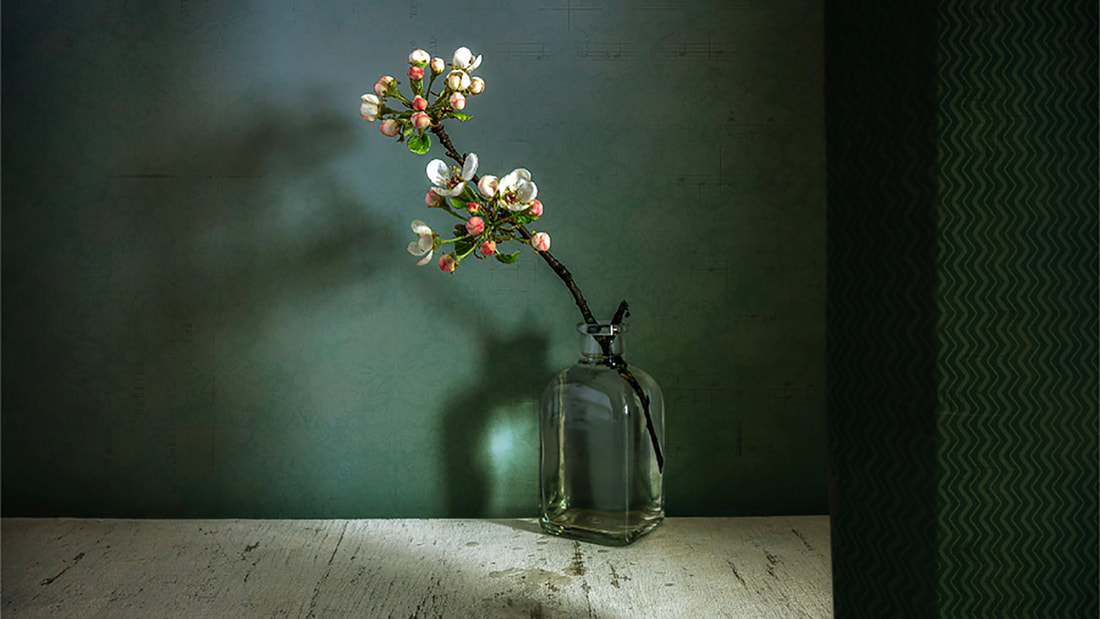
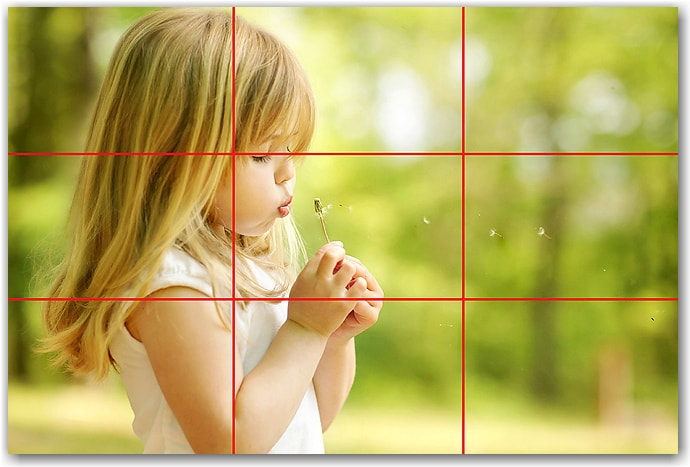
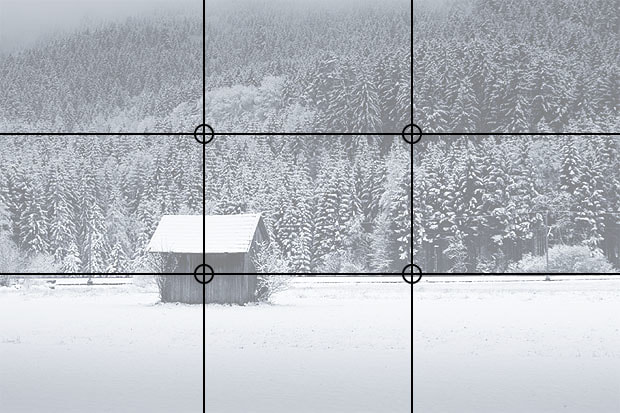
The Rule of Thirds is a composition technique that creates eye pleasing arrangements and/or negative space for visual flow.
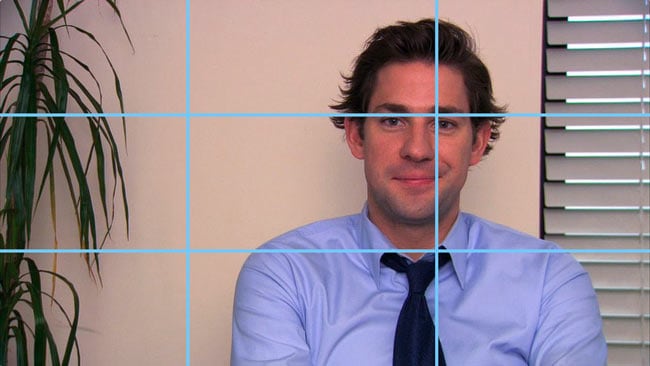
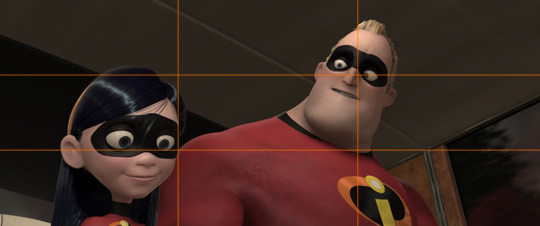
In this rule a grid is used for placement of the subject (focal point or center of interest). The grid has nine even squares or rectangles, like a tic-tac-toe grid. The important subjects or elements in your photo should be placed along these lines or their intersections. Following this technique creates more visual energy and interest in the composition compared to simply placing the subject in the center of the photo.
There are 5 ways to use the rule of thirds.
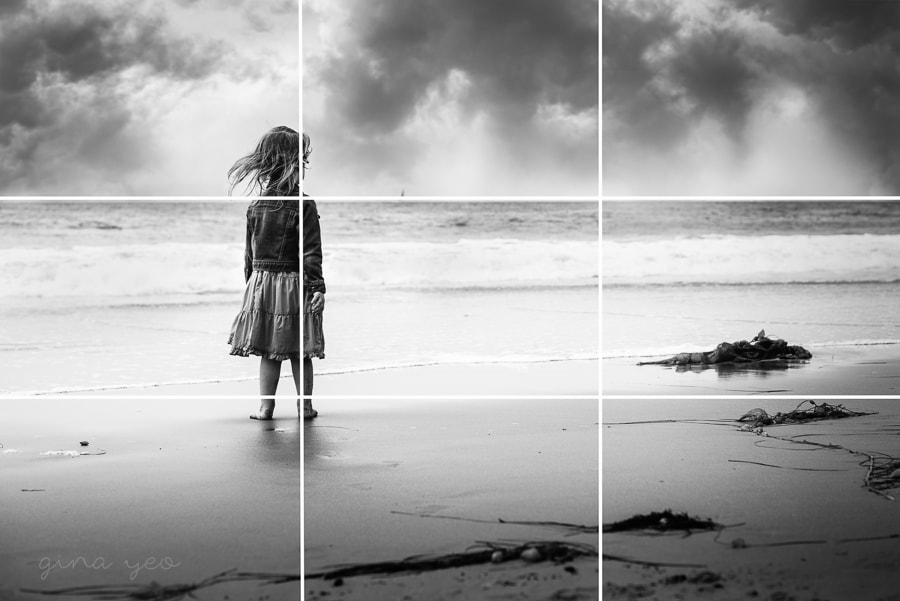
1. Place the subject on a vertical line.
2. Place the subject at an intersection of a vertical and horizontal line.
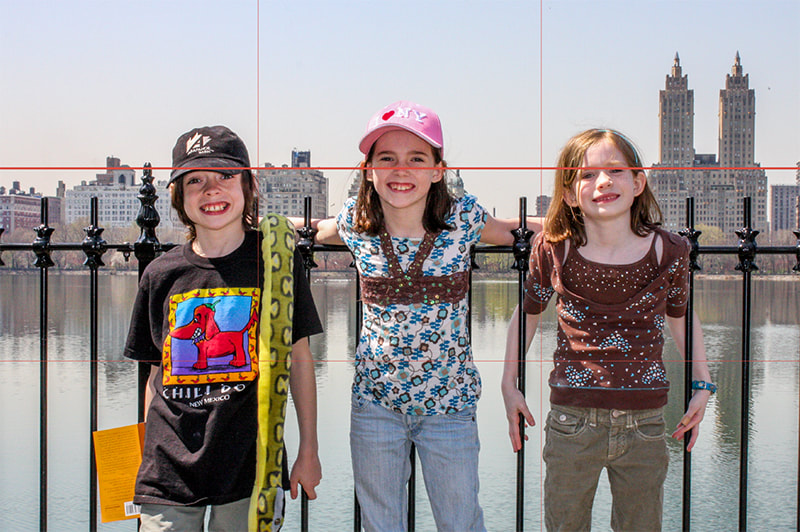
3. Place horizon lines on one of the horizontal lines.
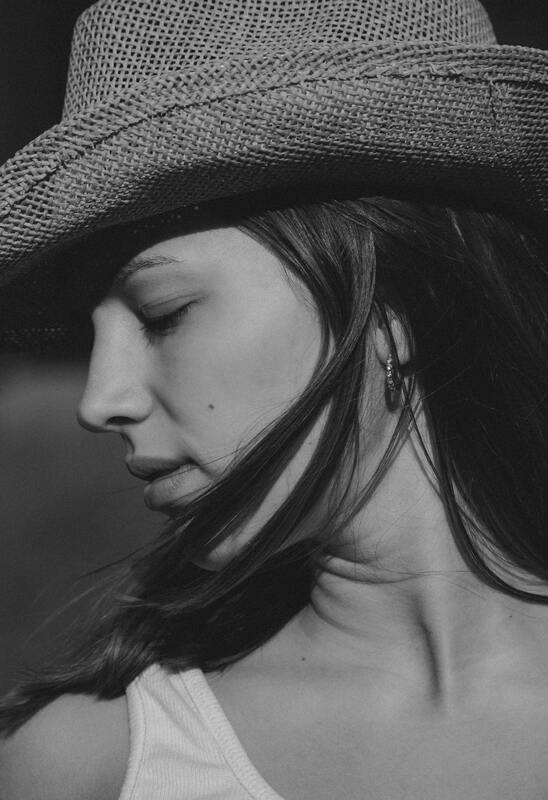
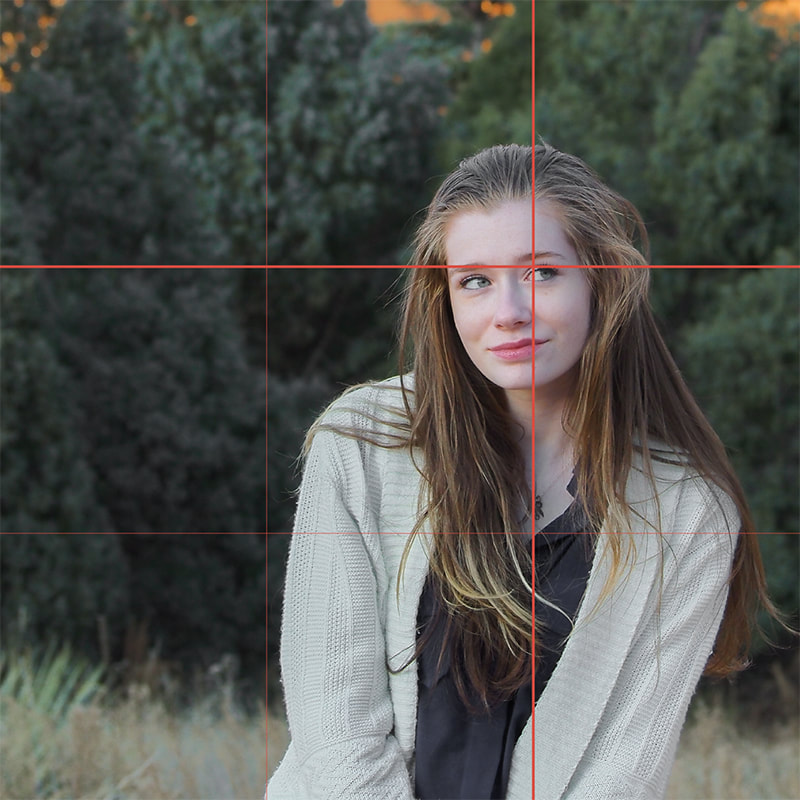
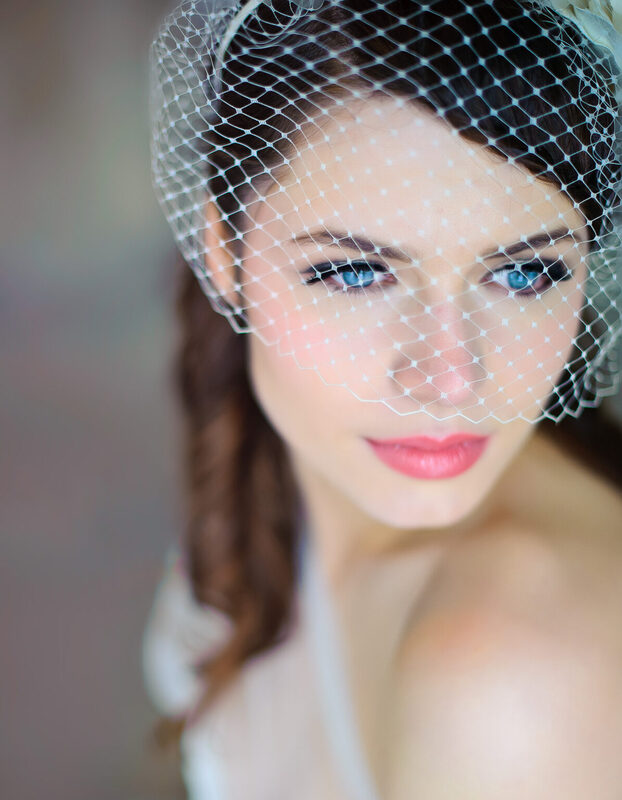
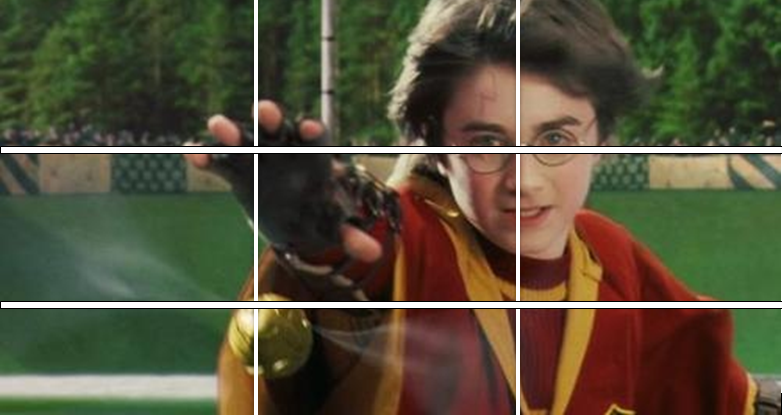
4. If the subject has eyes, place the eyes on the top horizontal line which is also called the eye level line.
5. The subject fills 1/3rd of the frame and the negative space fills 2/3rds of the frame, or vice versa.
In this rule a grid is used for placement of the subject (focal point or center of interest). The grid has nine even squares or rectangles, like a tic-tac-toe grid. The important subjects or elements in your photo should be placed along these lines or their intersections. Following this technique creates more visual energy and interest in the composition compared to simply placing the subject in the center of the photo.
There are 5 ways to use the rule of thirds.
1. Place the subject on a vertical line.
2. Place the subject at an intersection of a vertical and horizontal line.
3. Place horizon lines on one of the horizontal lines.
4. If the subject has eyes, place the eyes on the top horizontal line which is also called the eye level line.
5. The subject fills 1/3rd of the frame and the negative space fills 2/3rds of the frame, or vice versa.


1. Skill Building Assignment
Look through your camera for 3 of your own photographs that can be applied to the rule of thirds. If you can't find three, try to find 2 photos. Place the Rule of Thirds grid on your photographs using the following directions.
- Open Photoshop and create a new document that is 4" x 6".
- Create a rule of thirds grid with the ruler guides.
- Place your embedded photograph into the 4" X 6" document.
- Take a screenshot of your photo and upload it to Weebly.
- Repeat the above steps for your other photos, too.
2. Photography Assignment
Part 1
Take 6 different photographs of the same subject using the various Rule of Thirds options. Use a different Rule of Thirds position for each photograph.
Rule of Thirds options:
Take 6 different photographs of the same subject using the various Rule of Thirds options. Use a different Rule of Thirds position for each photograph.
Rule of Thirds options:
- Subject is on the left or right vertical line.
- Horizon line is on the top or bottom horizontal lines.
- Subject is on one of the 4 intersections of horizontal and vertical lines.
- Eyes are placed on the top horizontal line (also called the eye line).
- The subject fills up 2/3rds of the frame or vice versa.
Part 2
Choose your 4 best photographs and create a simple collage in Photoshop. Your photographs must line up in the center of your collage. (I'll go over the specifics in class).
-Document size: 8 1/2" x 11"
-Document background: black or a very dark color
-Photographs should have 35 - 45 pixels white border
-Label each photo with the specific rule of thirds that is applicable to that photo.
-Only when you're finished with the assignment, save document as a jpeg.
-Publish to your Weebly website and submit a notification in Schoology.
Home Assignment - My Best Photos
Take one photograph for each of the rules on this page.
Leading Lines
Simplify
Framing
Point of view
Balance
Rule of Thirds
This photograph should be the best you can do at this moment. You will take the photos outside of school so you can find objects and subjects that are interesting to you. Think like an artist and take photos that mean something to you or communicate your view of the world.
You will have one to complete this assignment.
If you forget all these rules, remember this...
1.Think before you take photographs.
2. Focus on your subject.
3. Be aware of the background behind your subject.
4. Hold your camera still.
2. Focus on your subject.
3. Be aware of the background behind your subject.
4. Hold your camera still.
