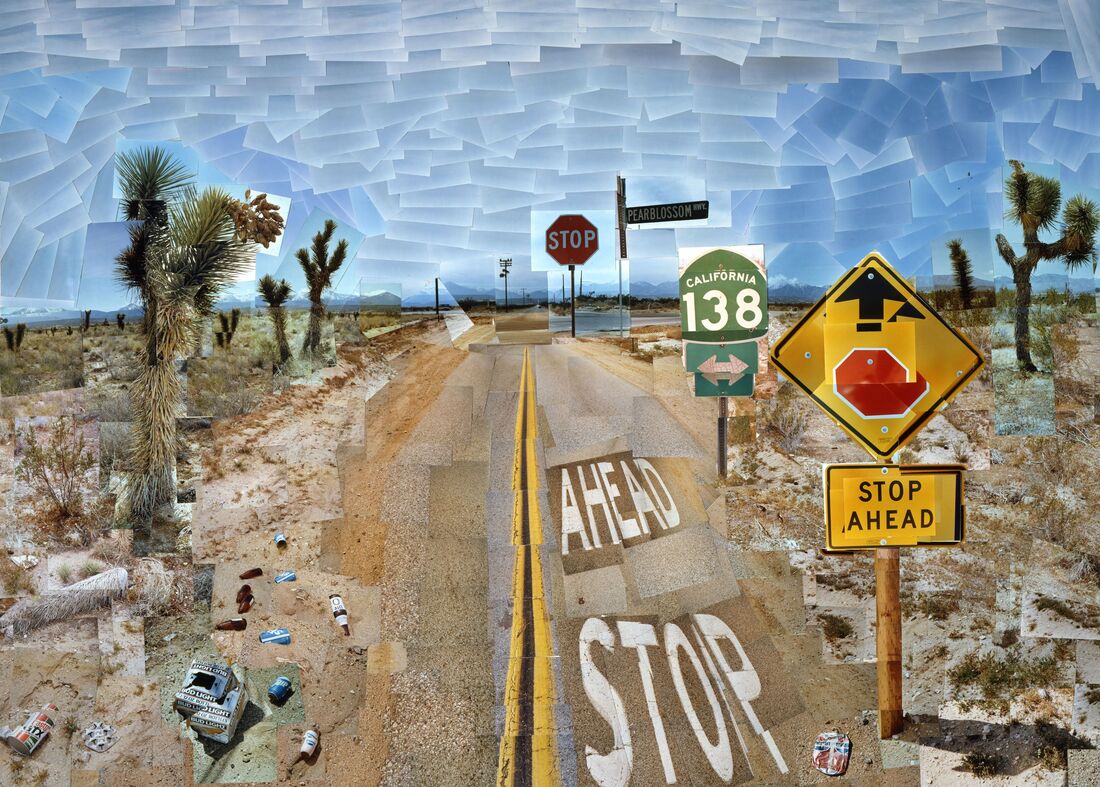
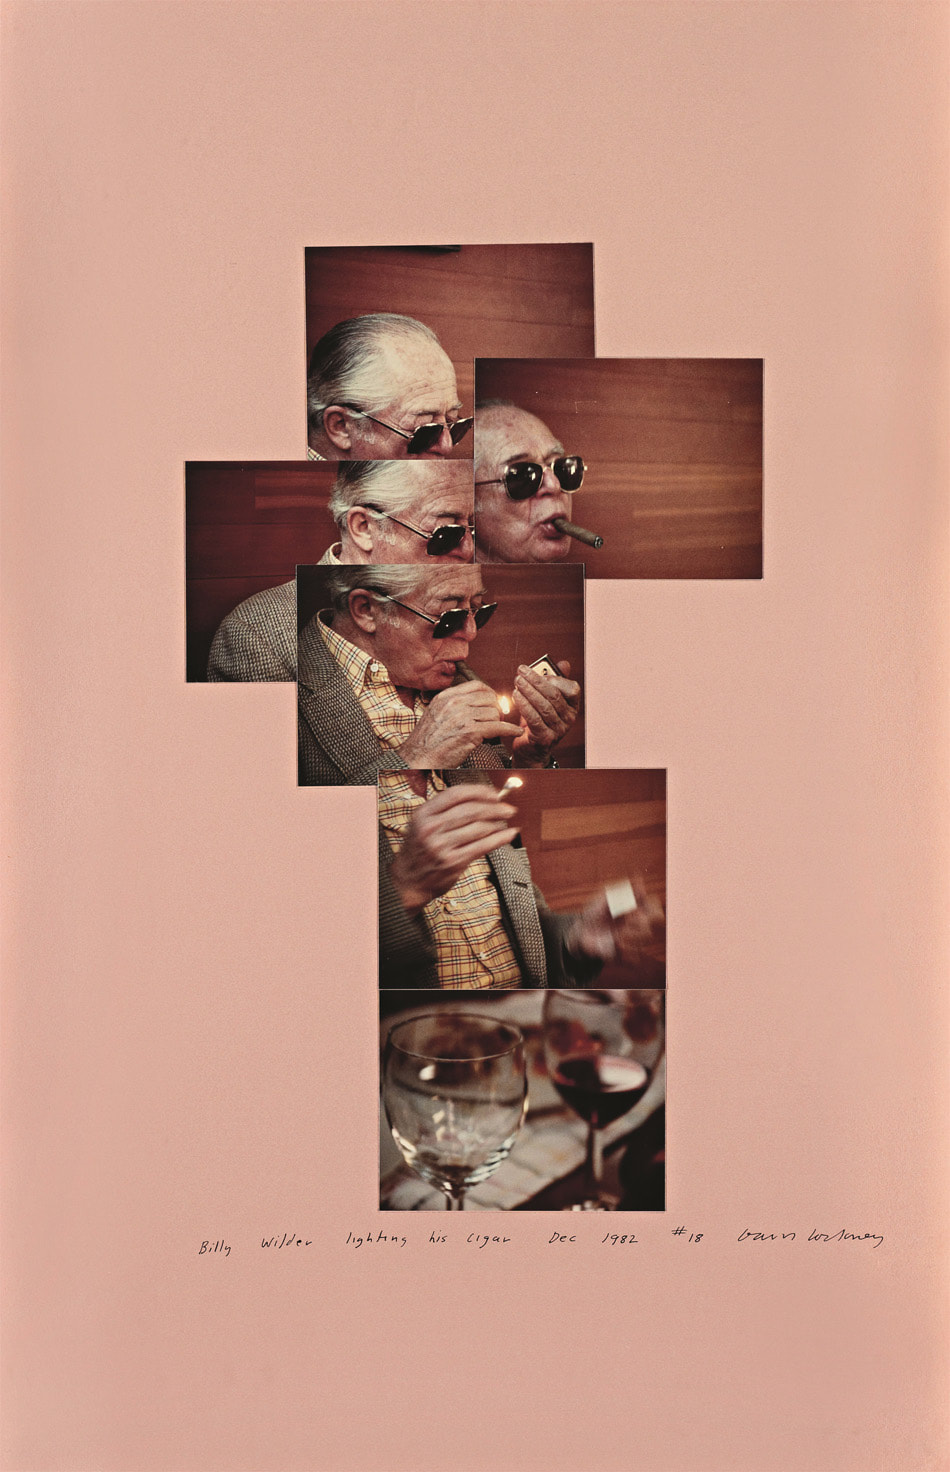
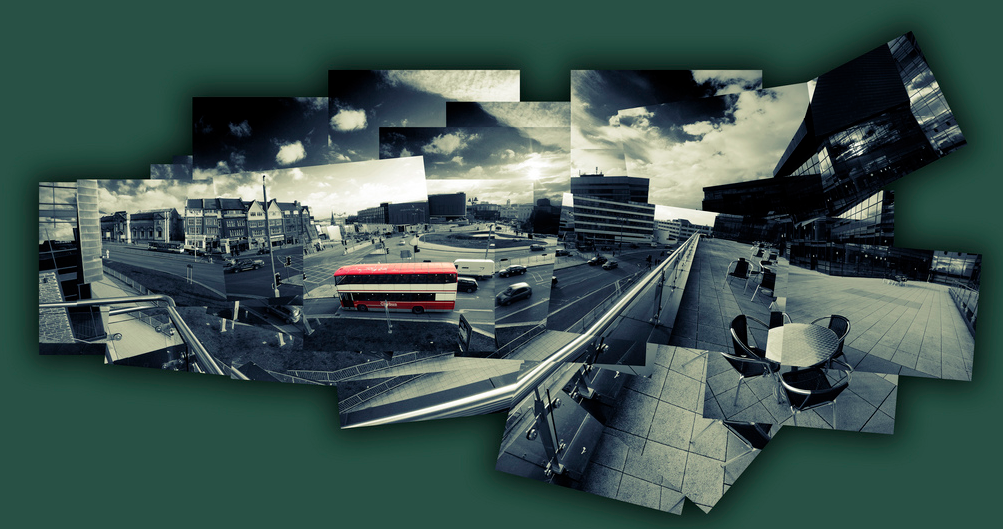
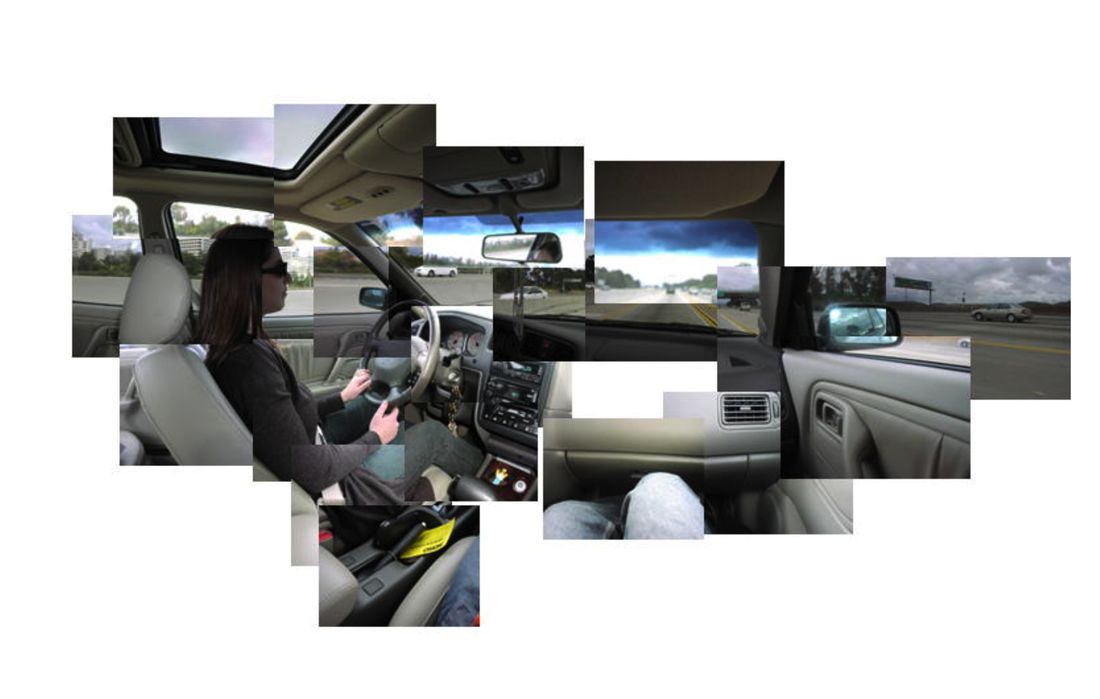
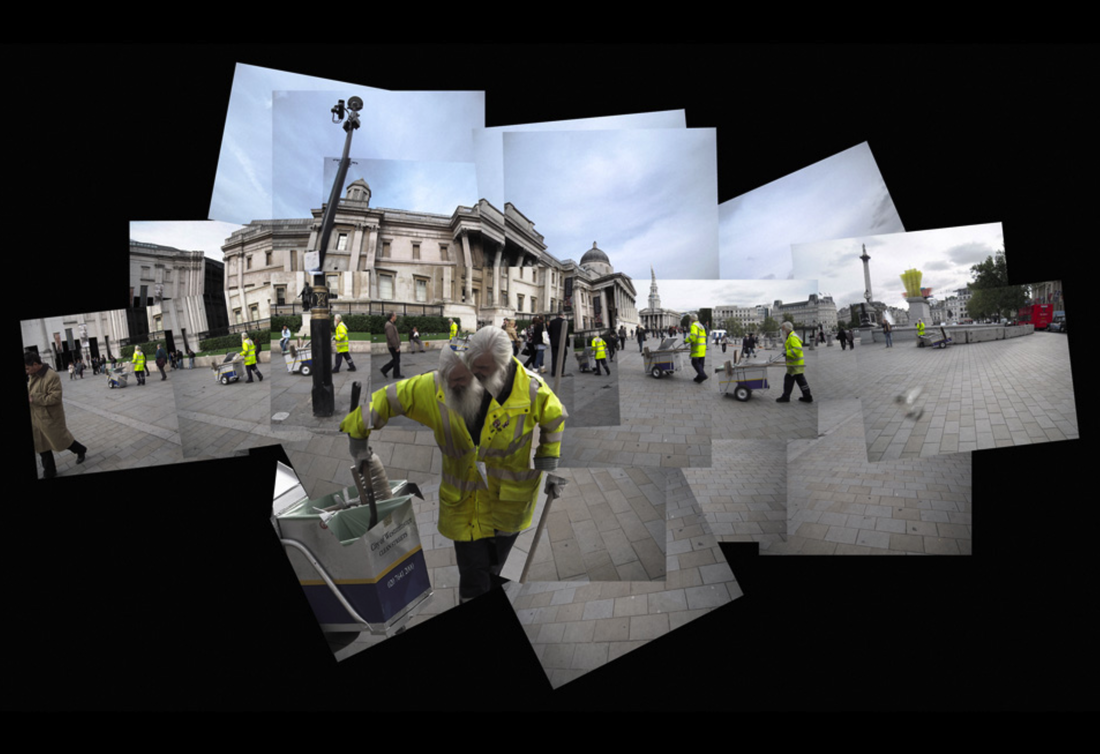
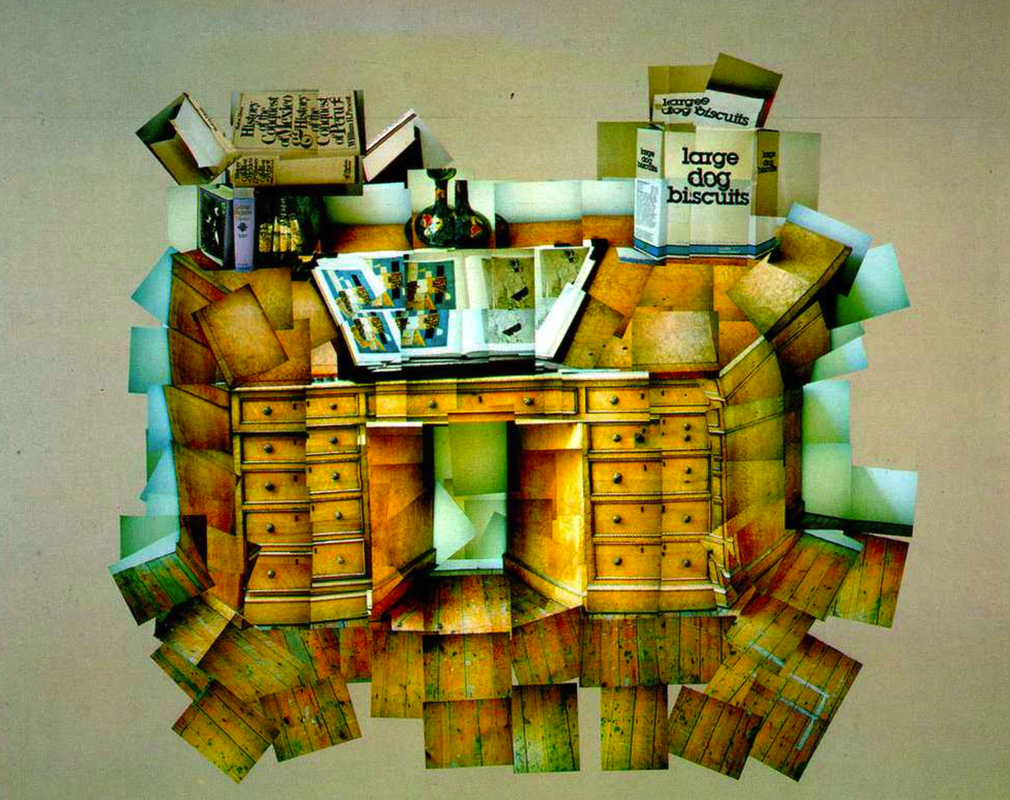
INTRODUCTIONPearblossom Highway is one of David Hockney’s best known photo-collages. Hockney called his photo- collages “Joiners”. He invented this technique when he took a series of polaroid images and joined them together to form a large picture. He realized that the final patch worked collaged image had a better illusion of space when compared to a single photo. He also discovered he could demonstrate the passing of time or telling a story in Joiners, too. 'Pearblossom Highway' shows a crossroads in a very wide open space, which you only get a sense of in the western United States. . . . [The] picture was not just about a crossroads, but about us driving around. I'd had three days of driving and being the passenger. The driver and the passenger see the road in different ways. When you drive you read all the road signs, but when you're the passenger, you don't, you can decide to look where you want. And the picture dealt with that: on the right-hand side of the road it's as if you're the driver, reading traffic signs to tell you what to do and so on, and on the left-hand side it's as if you're a passenger going along the road more slowly, looking all around. So the picture is about driving without the car being in it.' David Hockney |
PATCH WORK
BREAKING OUT
OF THE CONFINES OF A SINGLE IMAGE |
HOCKNEY JOINERS


ASSIGNMENT #1
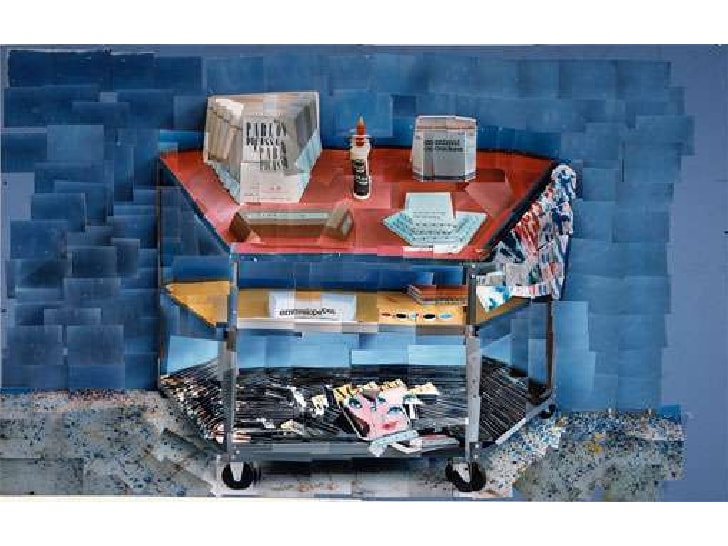
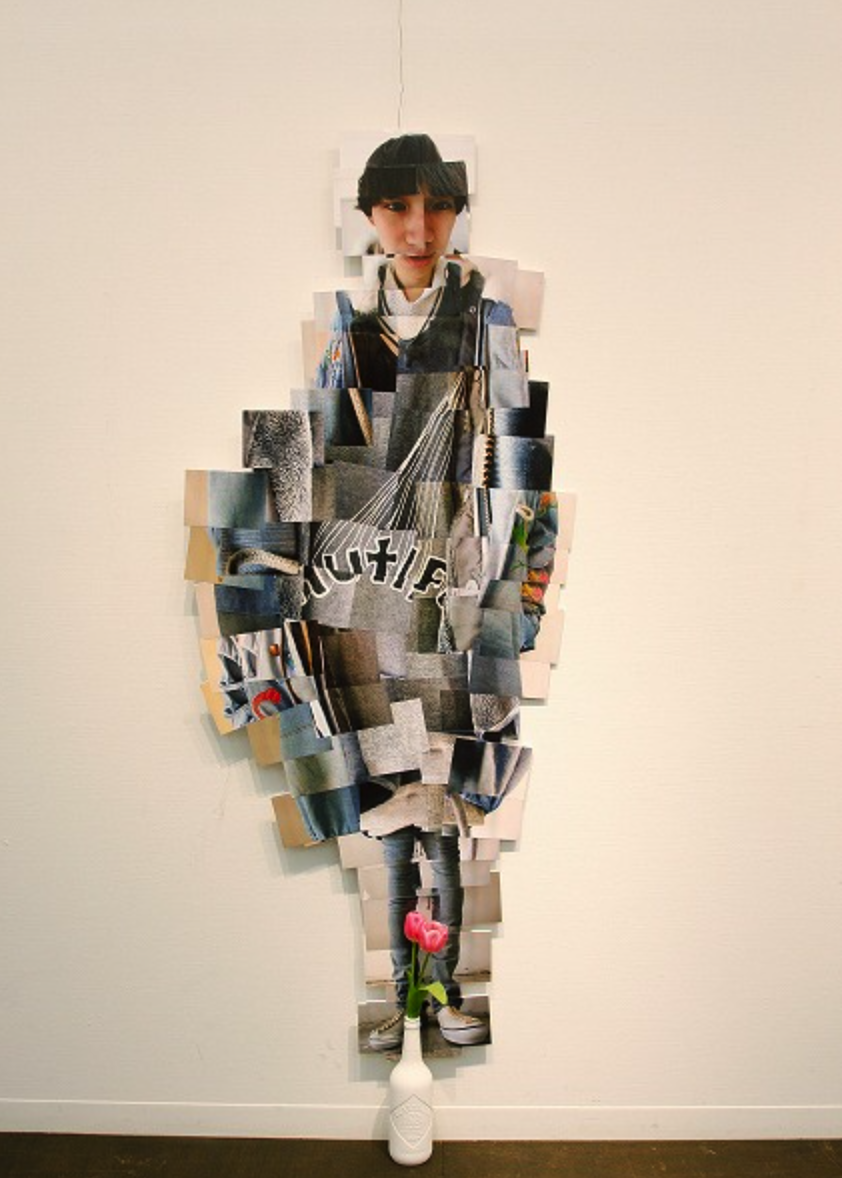
This assignment is the experimenting phase. You will see what does and doesn't work with this technique. In class I will demonstrate how to take 15 photographs for a Hockney Joiner. You will take photographs of a 3D object in class. I will then show you how to put the photos together using Photoshop. (25 points)
Choose a 3D object will be the subject of your joiner.
Take at least 15 photographs.
Edit the joiner together in Photoshop.
You may not CROP any photographs. The planning stage is essential to the success of this project.
The final joiner must include negative/empty space around it to act as a frame.
ASSIGNMENT #2 |
|
This assignment is where you will demonstrate your proficiency with the Joiner photo-collage. You have two options to choose.
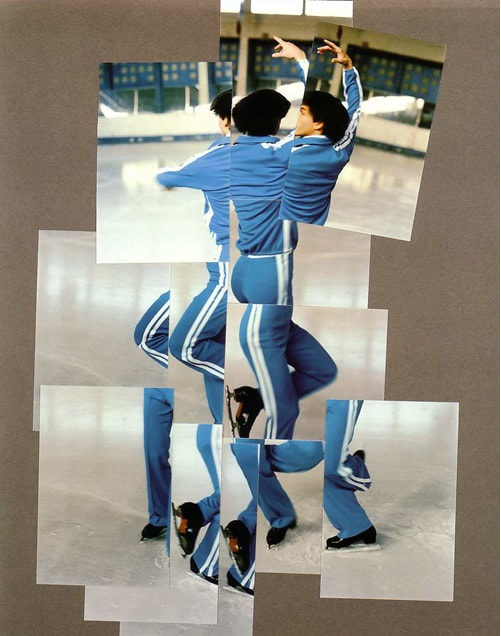
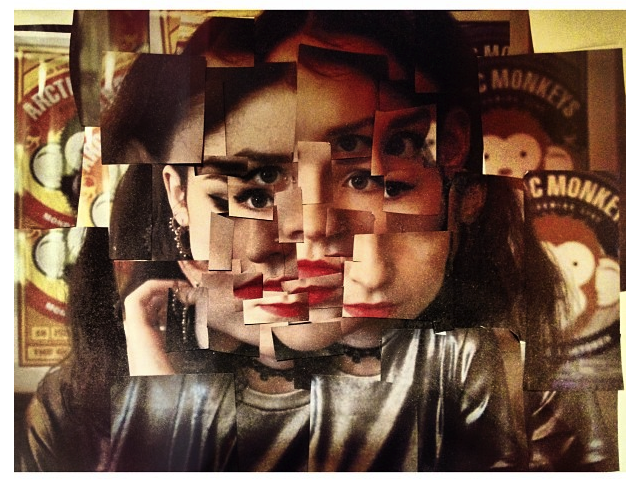
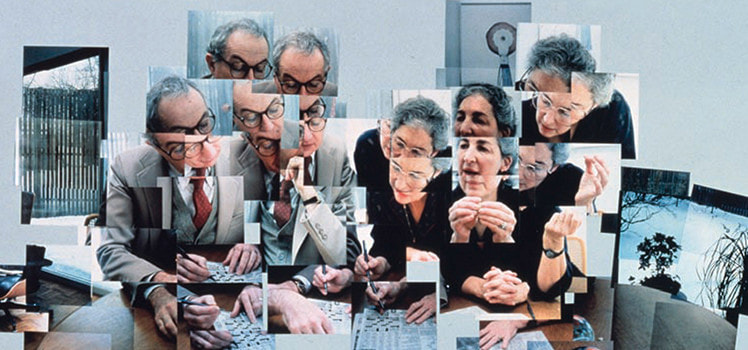
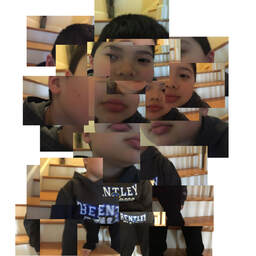
Option A: Passage of Time or Movement
Create a joiner/photo-collage that demonstrates passage of time, or movement inspired by David Hockney's Joiners. You must take at least 30 photographs, at home, to complete this assignment. In most cases, though, you will need to take more than 30 photographs.
The joiner/photomontage will be pieced together using Photoshop. You will use LAYERS, MOVE TOOL, and RESIZE to make the photomontage. You may not use the CROP tool. You must use the original unedited photograph. You will use your creative decision making skills to decide how to put the image together. Do the images line up or not? Do the images overlap or not? Save your project as a photoshop (psd) file and a jpeg file. You need the psd file for Assignment #3.
The finished joiner/photo-collage must have a uniform white border to frame the work.
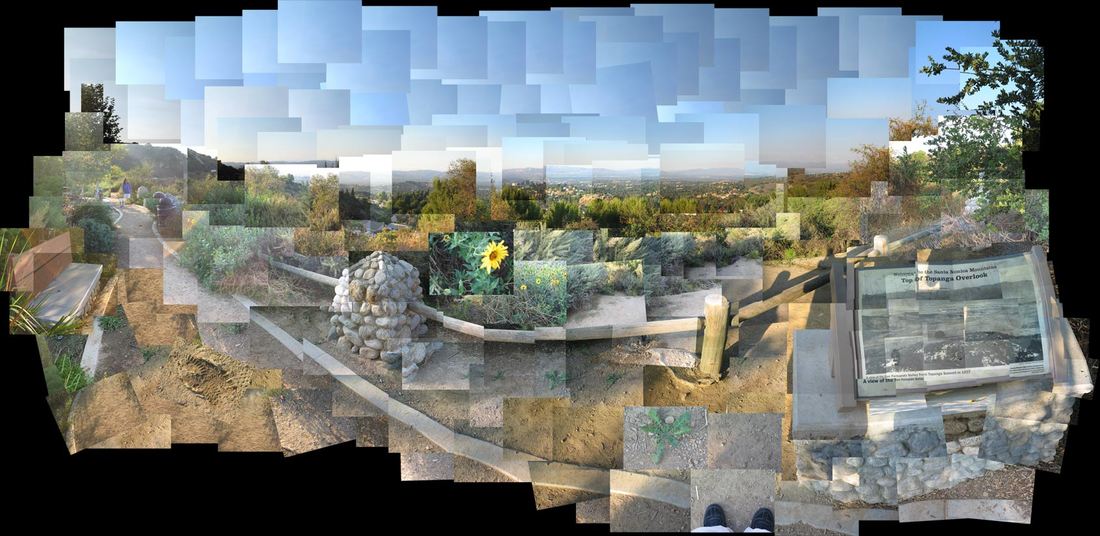
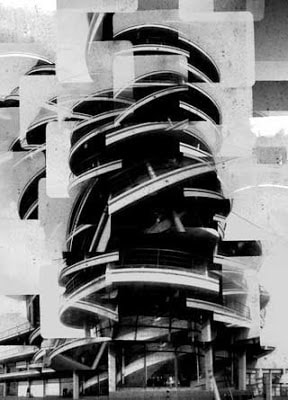
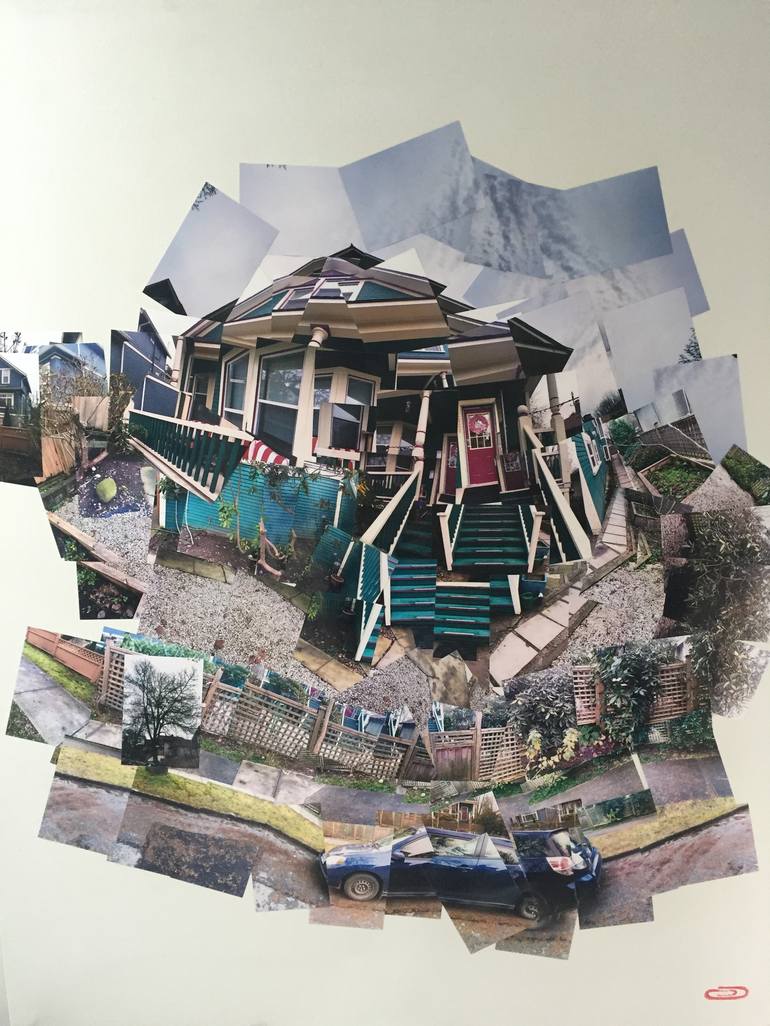
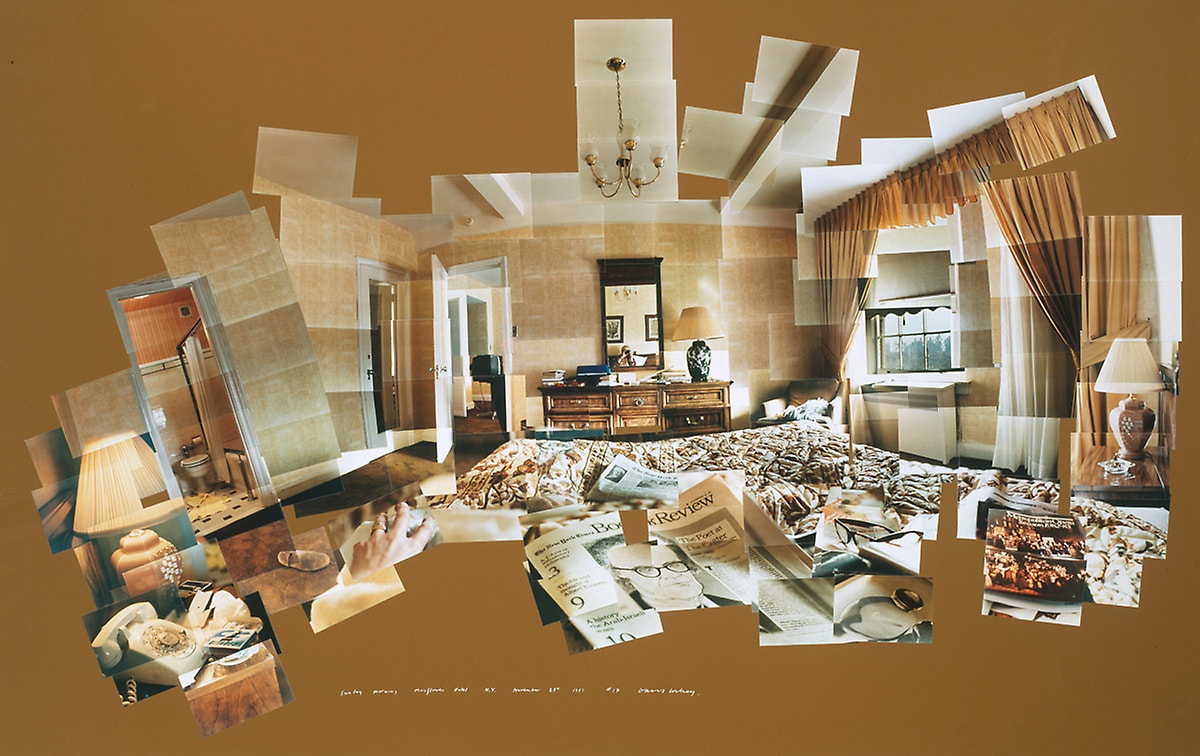
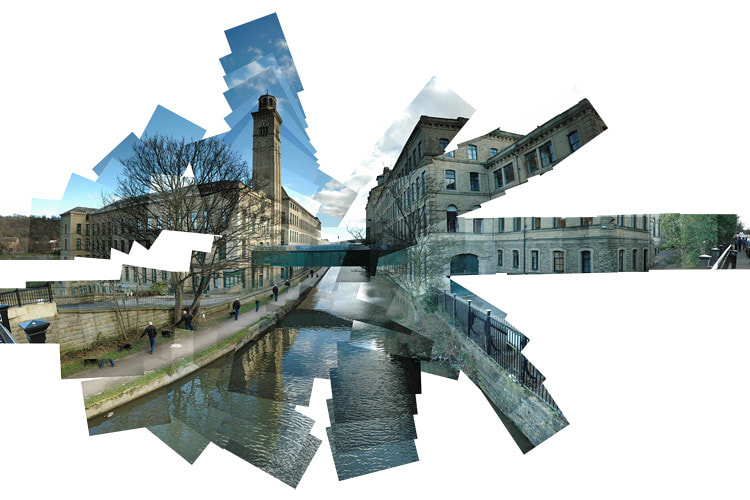
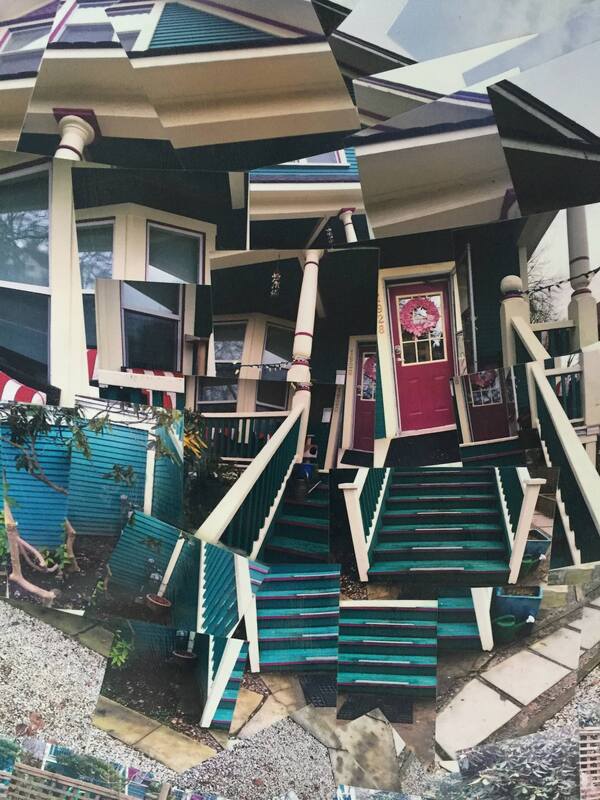
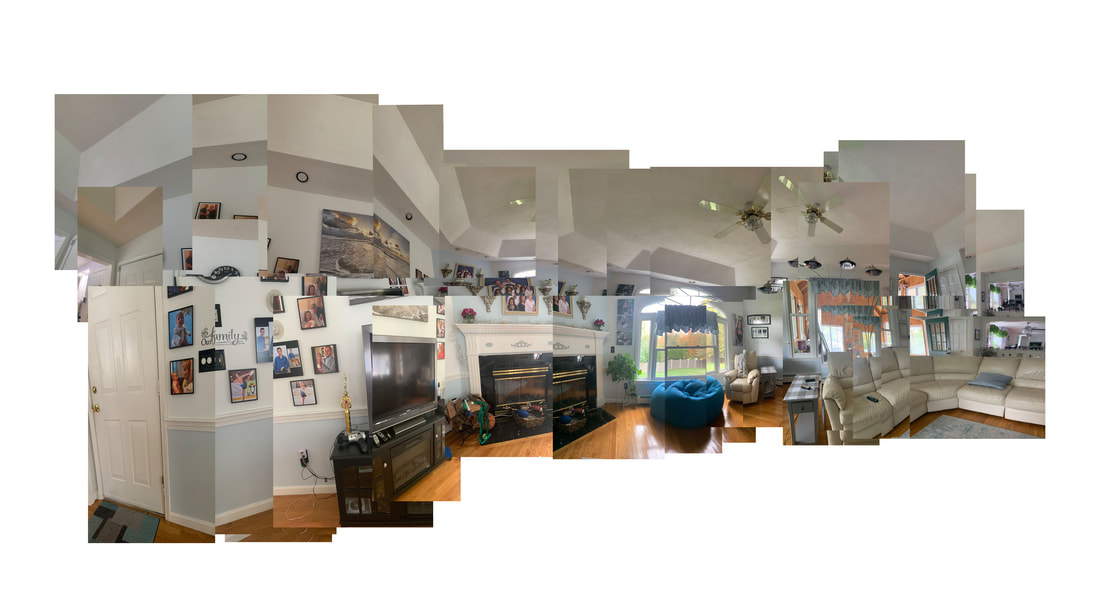
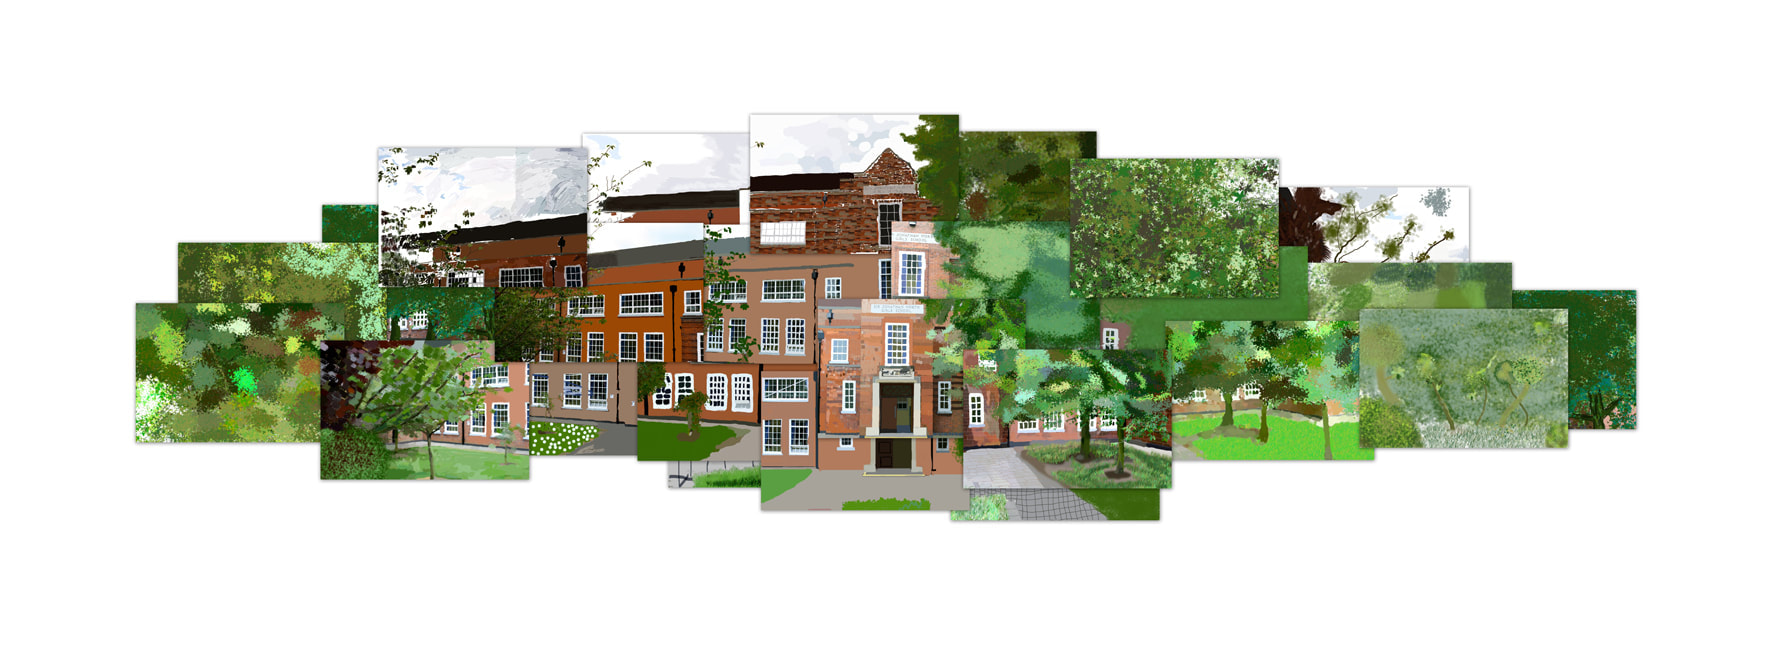
Option B: Building or Room |
|
Create a joiner/photo-collage of the front of a building or an entire room inspired by David Hockney's Joiners. You must take at least 30 photographs, at home, to complete this assignment. In most cases, though, you will need to take more than 30 photographs.
The joiner/photomontage will be pieced together using Photoshop. You will use LAYERS, MOVE TOOL, and RESIZE to make the photomontage. You may not use the CROP tool. You must use the original unedited photograph. You will use your creative decision making skills to decide how to put the image together. Do the images line up or not? Do the images overlap or not? Save your project as a photoshop (psd) file and a jpeg file. You need the psd file for Assignment #3.
The finished joiner/photo-collage must have a uniform white border to frame the work.
ASSIGNMENT # 3
|
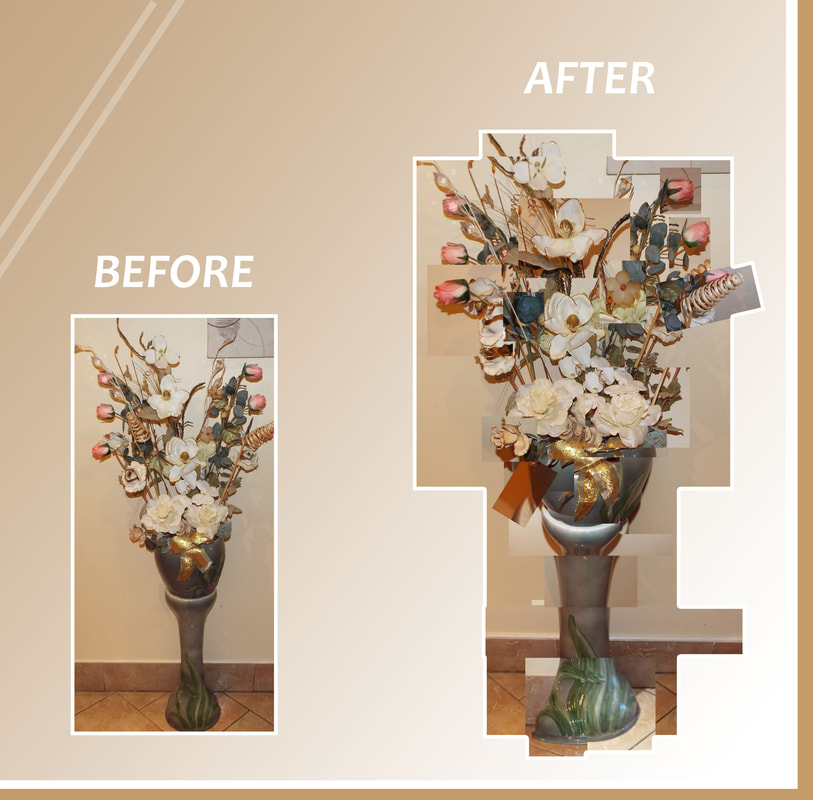
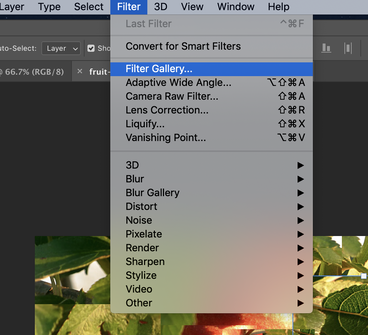
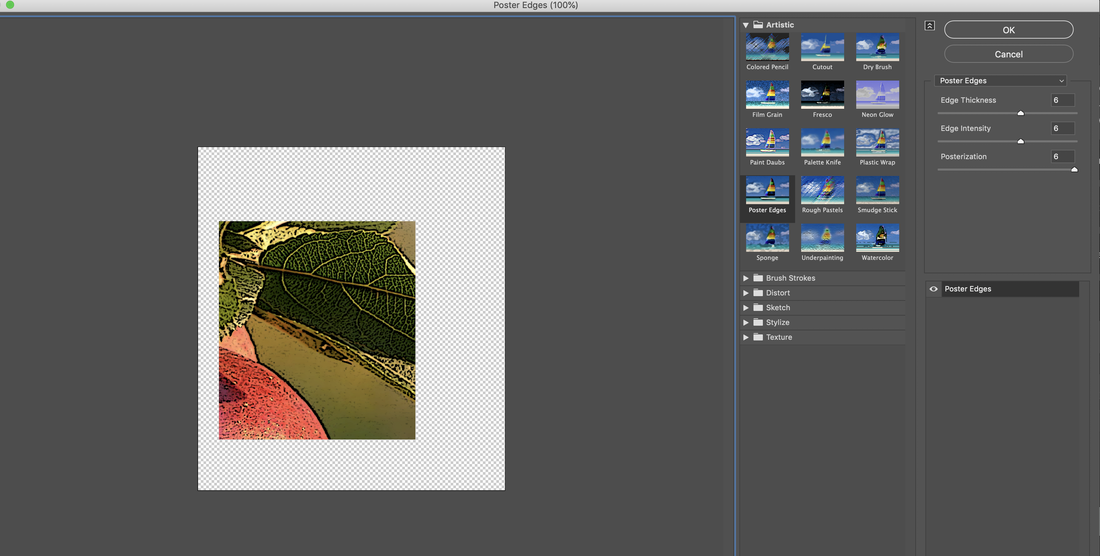
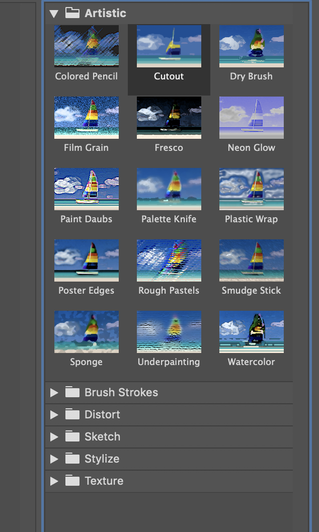
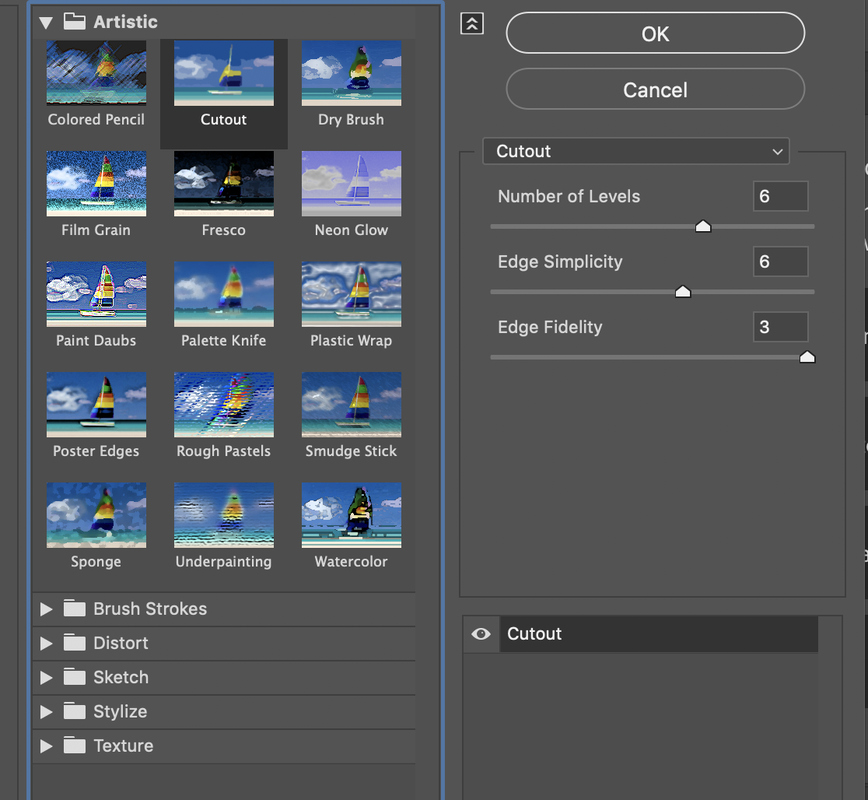
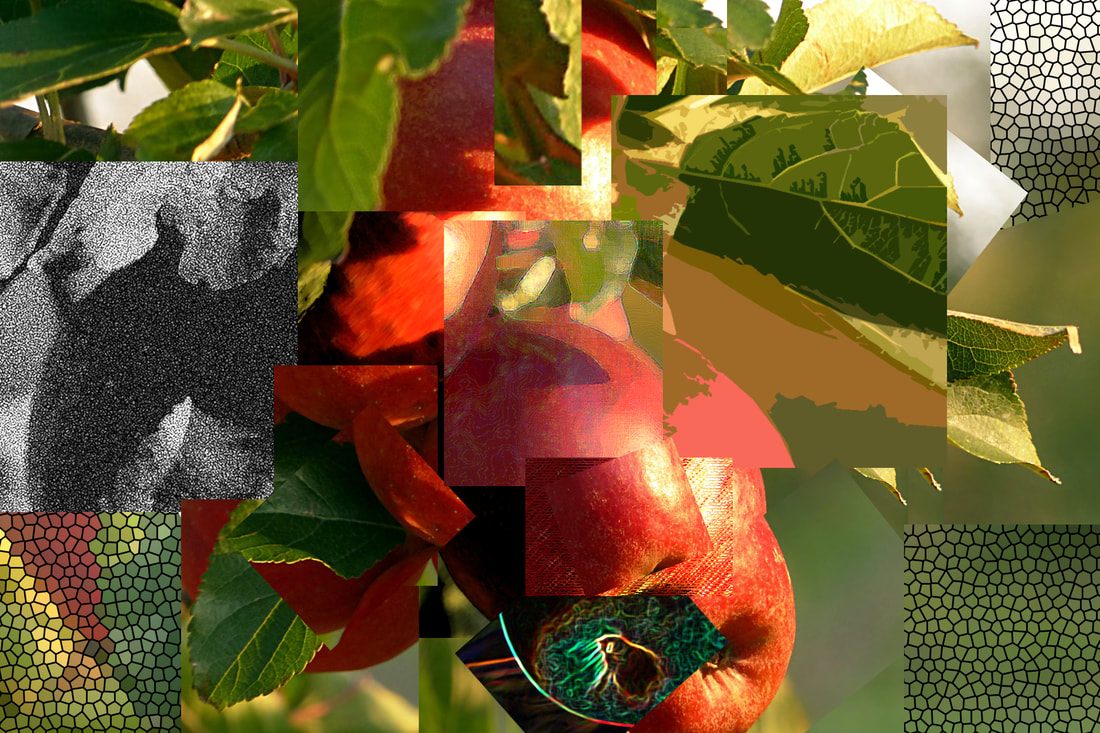
Using your photomontage from Assignment #2, create a visually enhanced or altered image using the filter tools in Photoshop. See instructions below on how to use filters. Choose at least half of the photos and experiment with many of the filters. Your goal is to make the photomontage look more like a painting or a drawing. The finished photomontage must have a uniform white border to frame the work. INSTRUCTIONS: HOW TO USE FILTERS 1. Open the psd file. You need the psd file because it has all layers saved. 2. Select one of the layers. 3. Go to FILTER, then go to FILTER GALLERY 4. The screen will look like this... 5. Click on the triangle (drop down) which will open up more filter options under each of the categories. 6. On the right side of the screen are more options for the selected filter. Change these settings to alter the filter. |
|
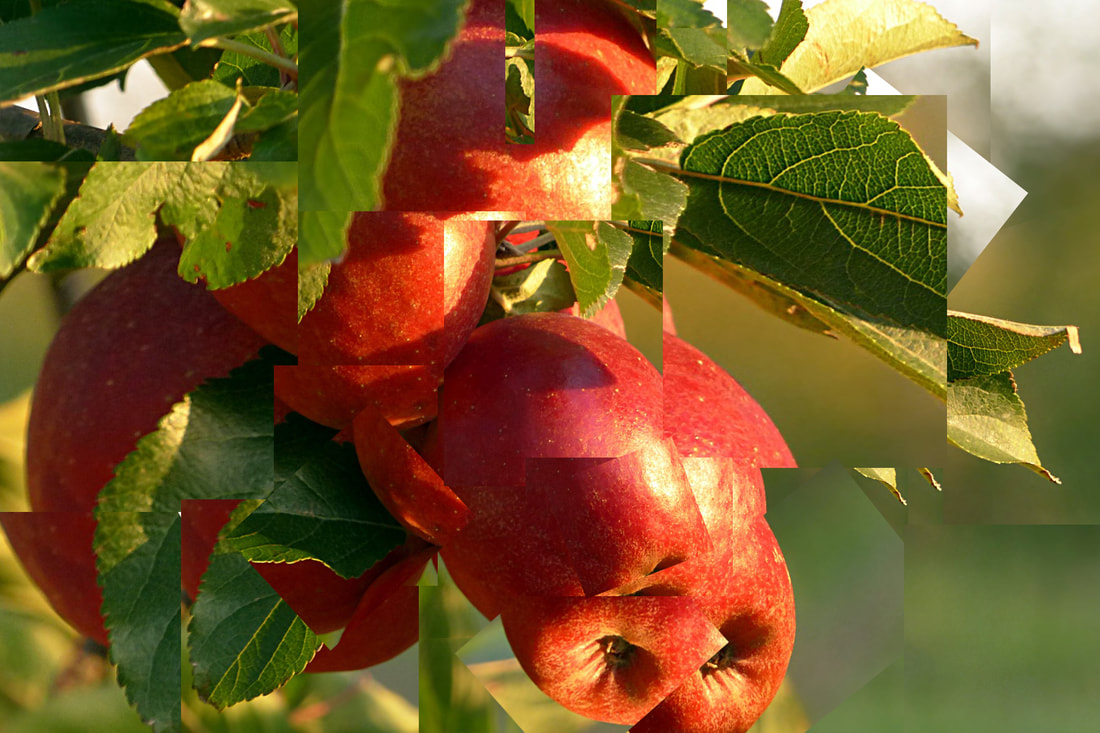
ORIGINAL ALTERED WITH FILTERS
|
|
