1. Add Texture
The following buttons are photos and textures needed for this tutorial. You can use your own photographs and find new textures at Pexels.com, if you prefer.
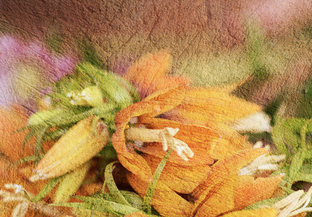
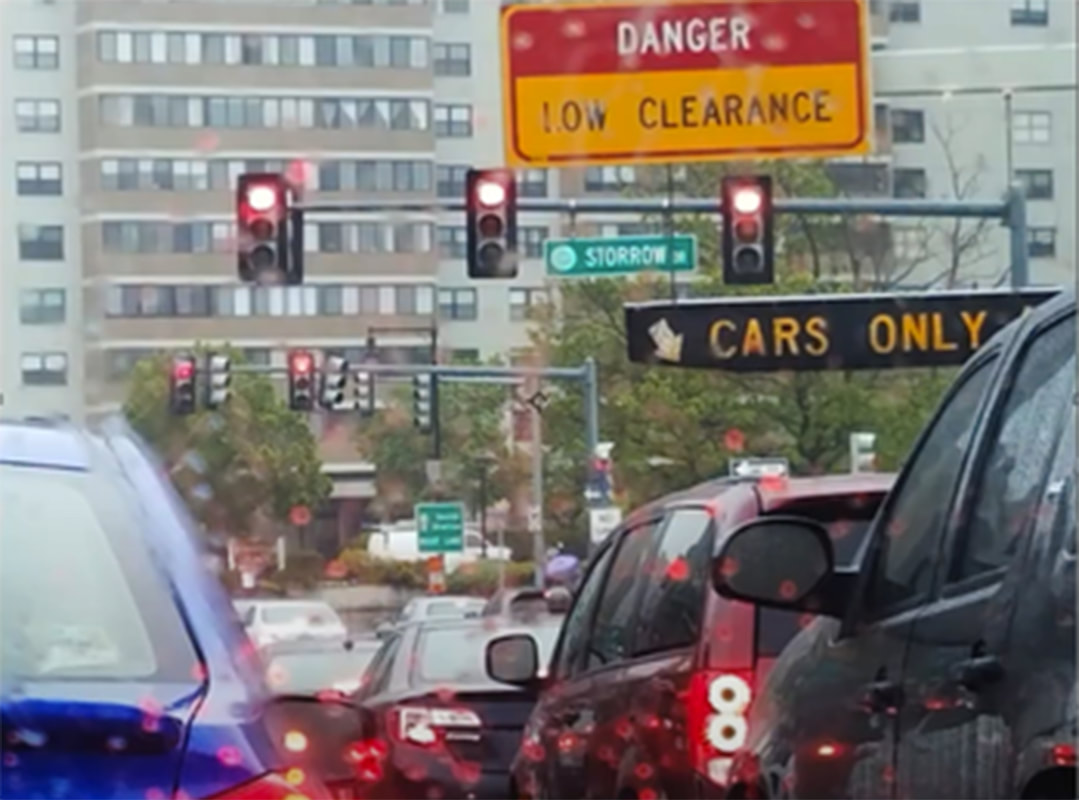
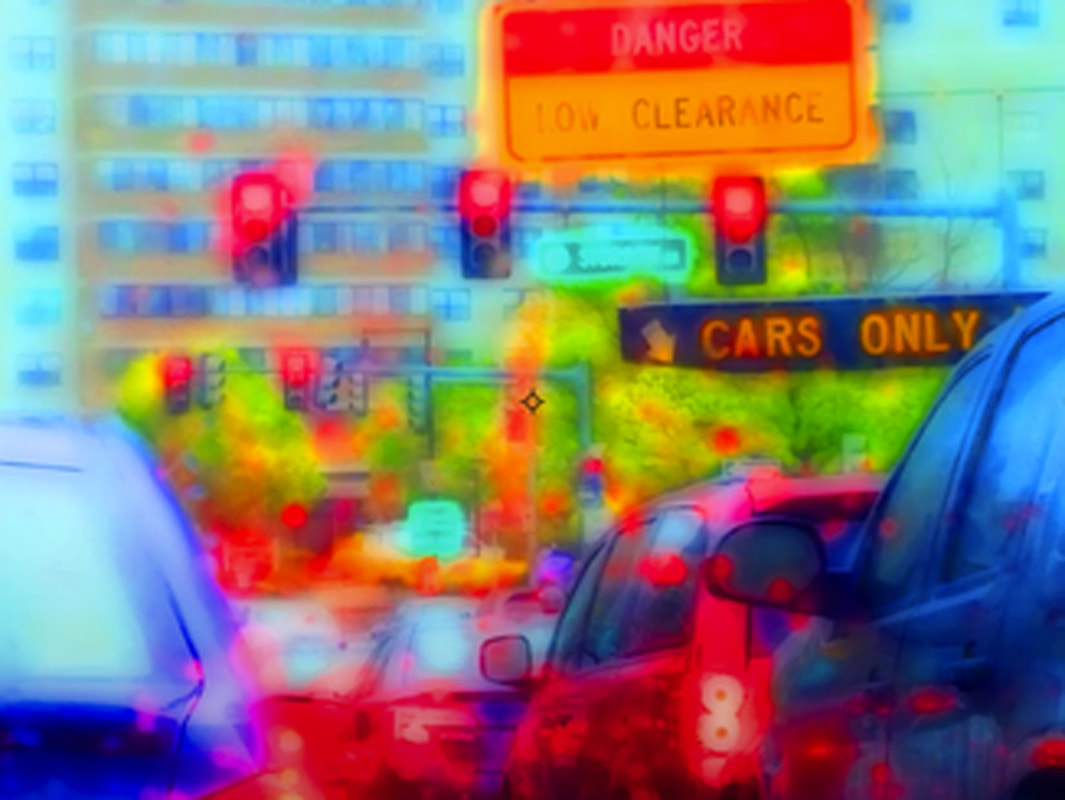
2. Orton Effect
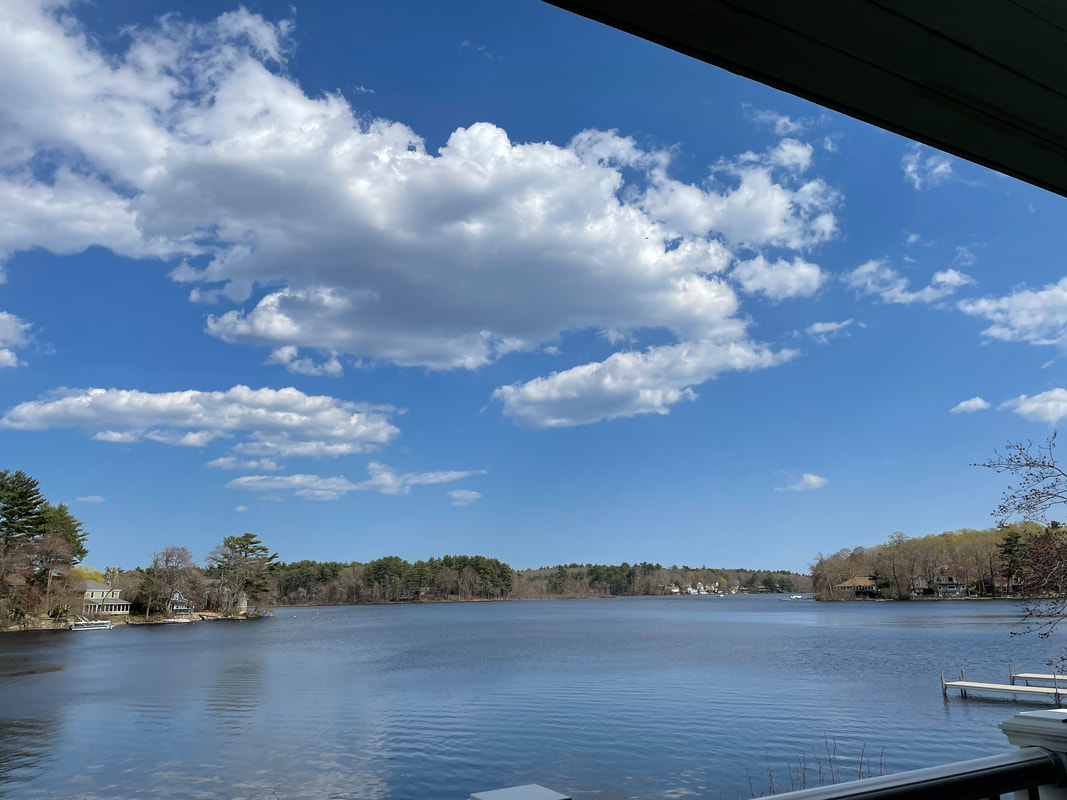
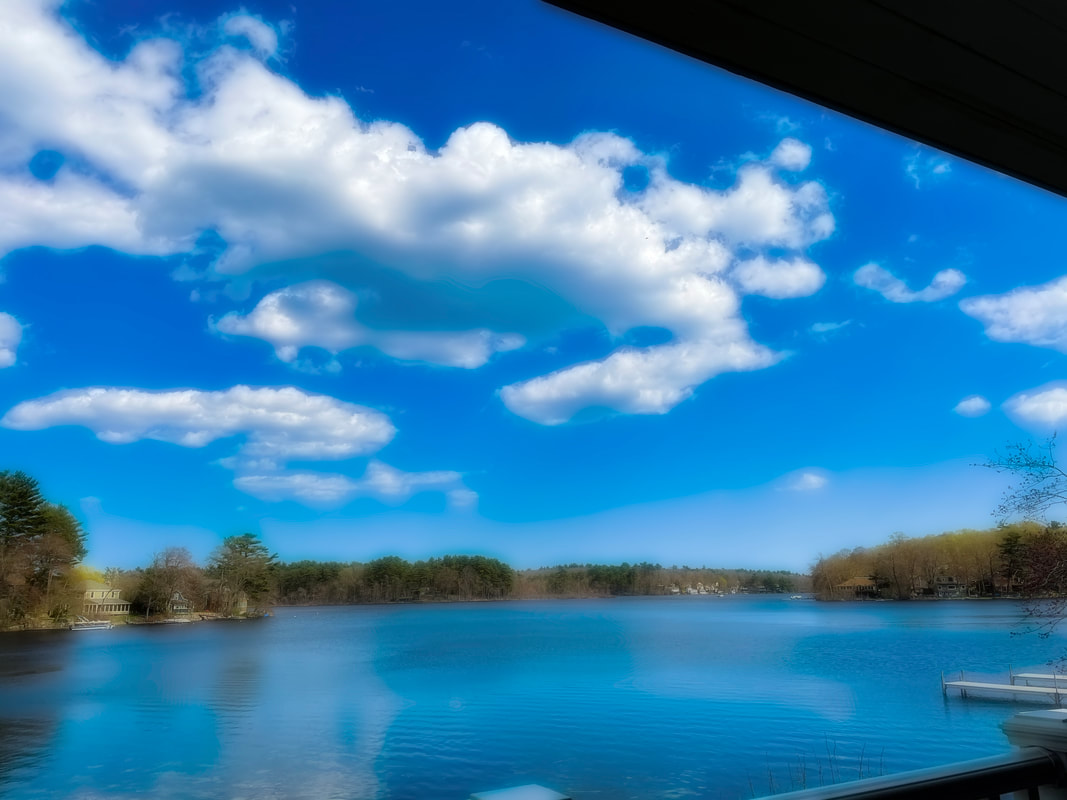
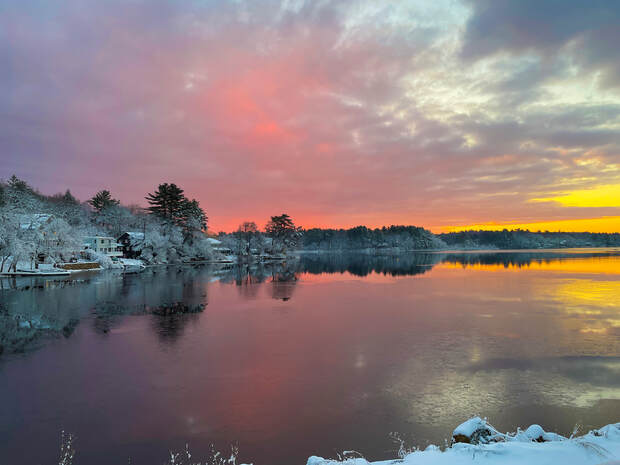
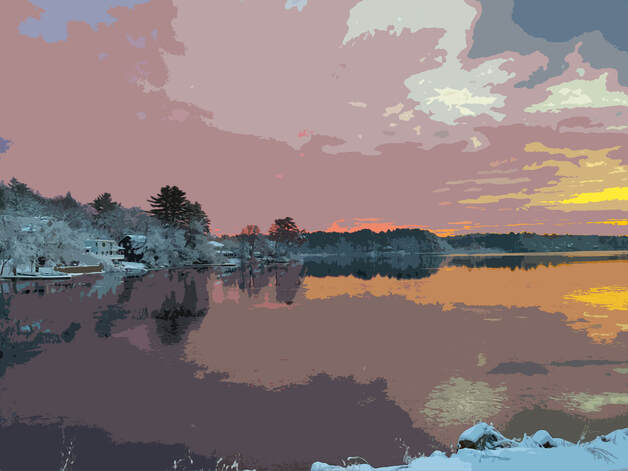
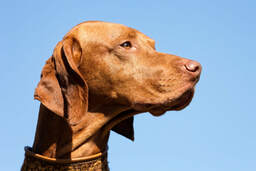
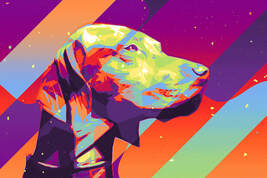
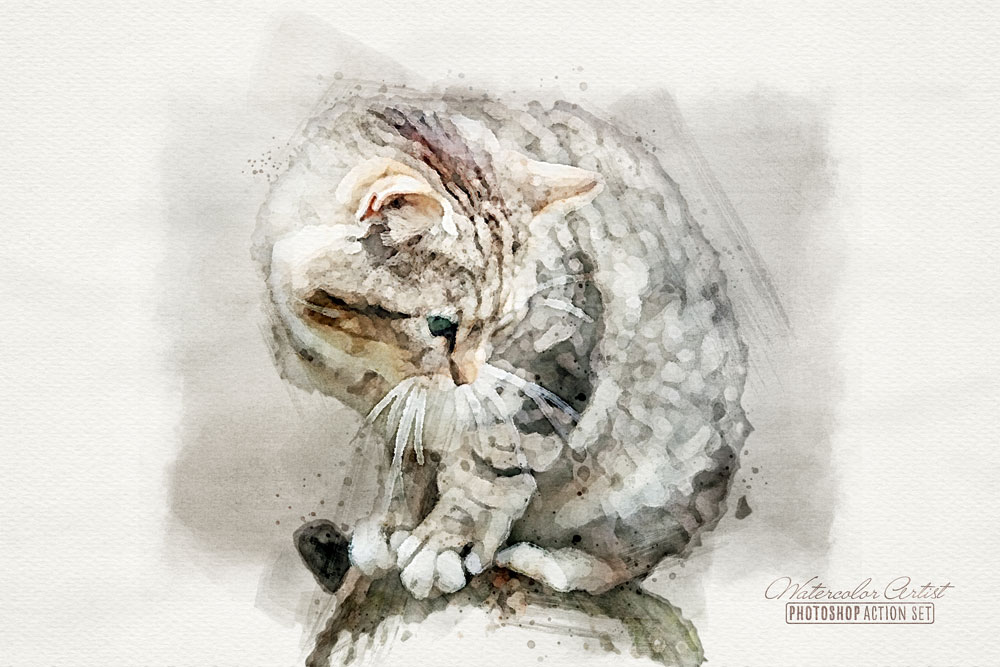
The Orton Effect is named after a photographer who used this technique to created an ethereal glowing effect in his landscapes. This technique can also be used creatively to make a boring and bland photograph look more interesting. Try this technique on one of your bland looking photos and see if you can create an exciting photograph.
Go from boring to ---------------------------------EXCITING!
|
1. OPEN a photo in Photoshop.
2. Duplicate the layer by pressing COMMAND and J. 3. Convert this layer to a SMART OBJECT by right clicking on the layer with your mouse and selecting CONVERT TO SMART OBJECT in the drop down menu. 4. Go to FILTER > BLUR > GAUSSIAN BLUR. Change the blur radius to an amount that makes the photo blurry. Select OK. (You can change it later if your unhappy with the results). 5. Go to FILTER > CAMERA RAW FILTER. Go to the BASIC settings. Change TEMPERATURE to +3. Change CONTRAST to +20. Change WHITES to +30. Change BLACKS to -30. Change VIBRANCE to +40. Change SATURATION to +25. Select OK. 6. Select the amount of this effect you want to add to your original photograph by changing the layer's OPACITY. Drag the OPACITY to 0%. Starting adding the OPACITY until you are pleased with the result. |
|
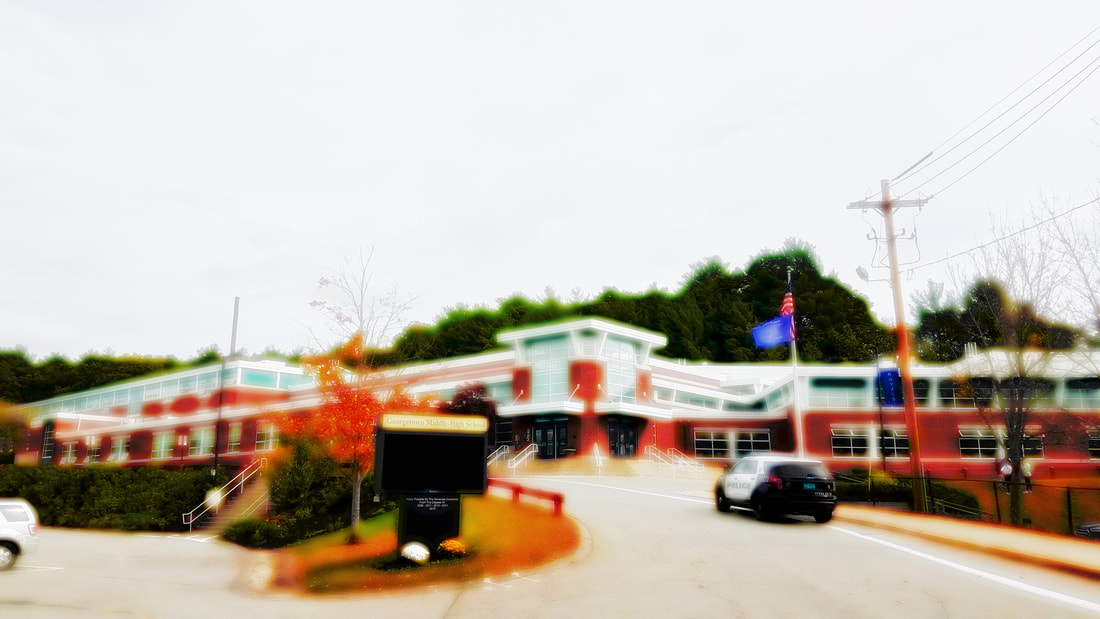
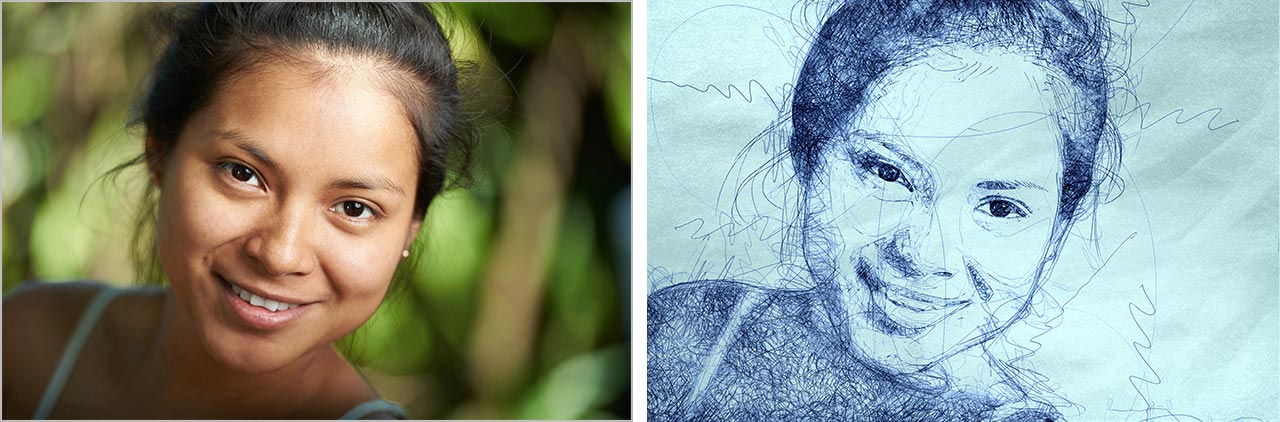
3. Cartoon Effect1. OPEN a photo in Photoshop.
2. Duplicate the layer by pressing COMMAND and J. 3.Apply first filter by selecting FILTER>STYLIZE>DIFFUSE and select ANISOTROPIC. 4. Press COMMAND and CONTROL and F (at the same time) 3 times. This copies the diffuse filter 3 times. 5. Select IMAGE > ADJUSTMENTS > SHADOWS/HIGHLIGHTS and make the image brighter by changing the shadow amount. Then click OK. 6. Merge the layers by selecting LAYER > FLATTEN IMAGE. 7. Add a painting effect by selecting FILTER > STYLIZE > OIL PAINT. I changed most of these settings to 6. Experiment with the settings and pick what you like. However, SHINE should be at 0. Click OK. 8. This last step darkens edges. Select FILTER > FILTER GALLERY. A new menu opens. In the ARTISTIC folder select POSER EDGES. I changed all these settings to 6. Experiment and pick different settings. The goal is to have black edges. Here is my image. 
|
|
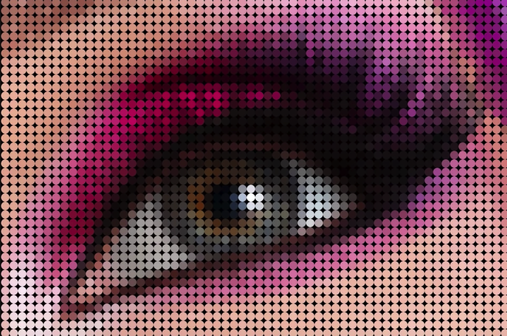
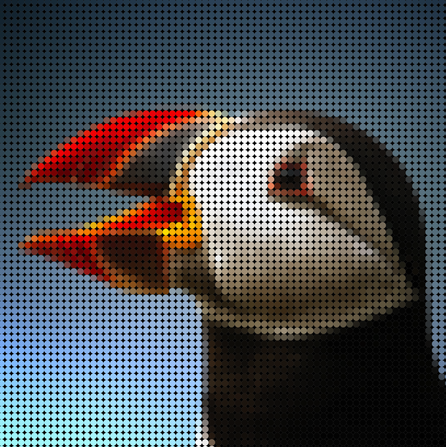
4. Dot Matrix Effect
Two different tutorials which will create a dot effect.
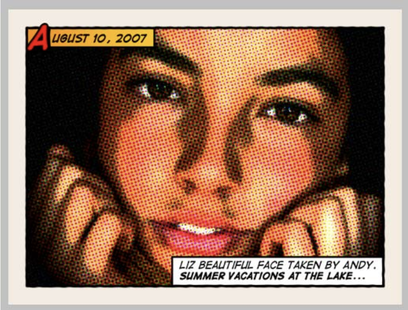
5. Retro Comic Book EffectYou may use any photograph for this tutorial.
Note: The instructions are not clear on how to add a stroke to a layer. There are two ways to open the FX Panel for stroke. Either double click on the layer, which will open the FX panel or select the FX icon at the bottom of the layers panel. Then select the Stroke option. 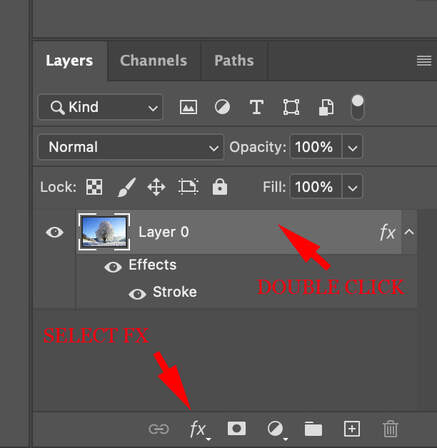
|
|
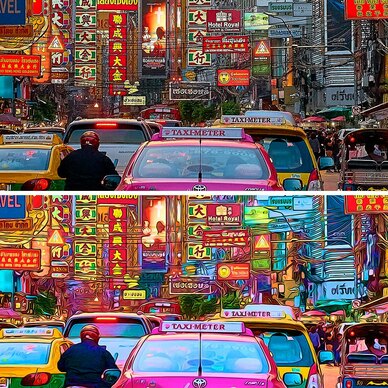
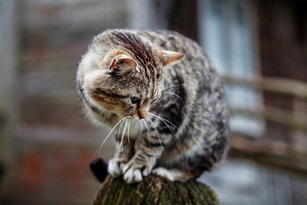
6. Cutout Effect
This effect is just one of many photo editing effects located in the Filter Gallery.
The Cutout effect replicates a cut paper look.
The Cutout effect replicates a cut paper look.
|
1. Open a photograph in Photoshop.
2. Go to FILTER > FILTER GALLERY. A window pops open with many filter options. 3. Select the triangle next to ARTISTIC. This menu drops down and shows more filters. 4. Select CUTOUT. 5. Change the NUMBER OF LEVELS. The higher the number the more color details will show. 6. Change the EDGE SIMPLICITY. Higher numbers create an abstract look. 7. Change the EDGE FIDELITY. Higher numbers have more detail. 8. Select OK. |
|
7. How to Change Color

|
