Convert Color to Black & White
INTRODUCTION TO EDITING
There are two methods to convert color photographs to black and white in Photoshop. One method is destructive and the other is non-destructive. Non-destructive editing can be done multiple ways. You will try all these methods in order to decide which method you prefer for your editing.
ASSIGNMENT PART1 INSTRUCTIONS
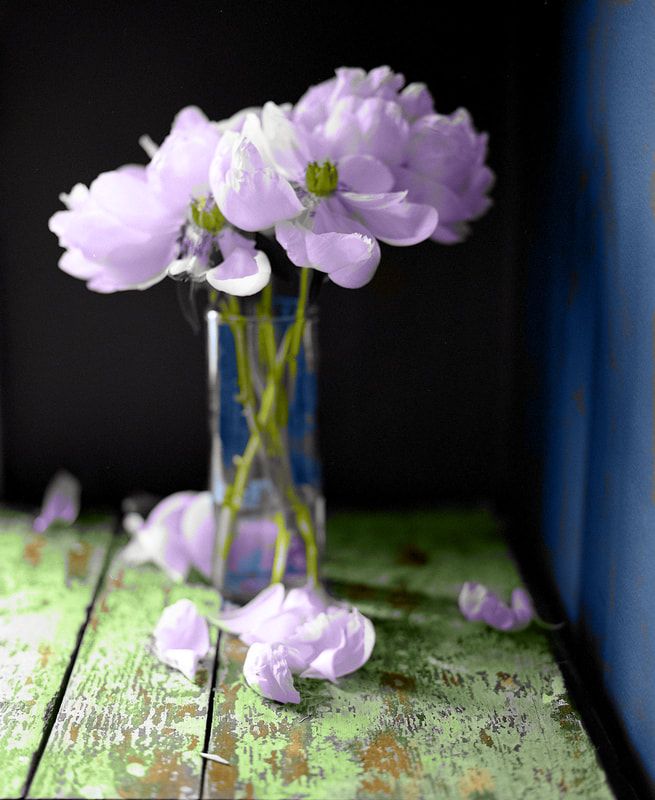
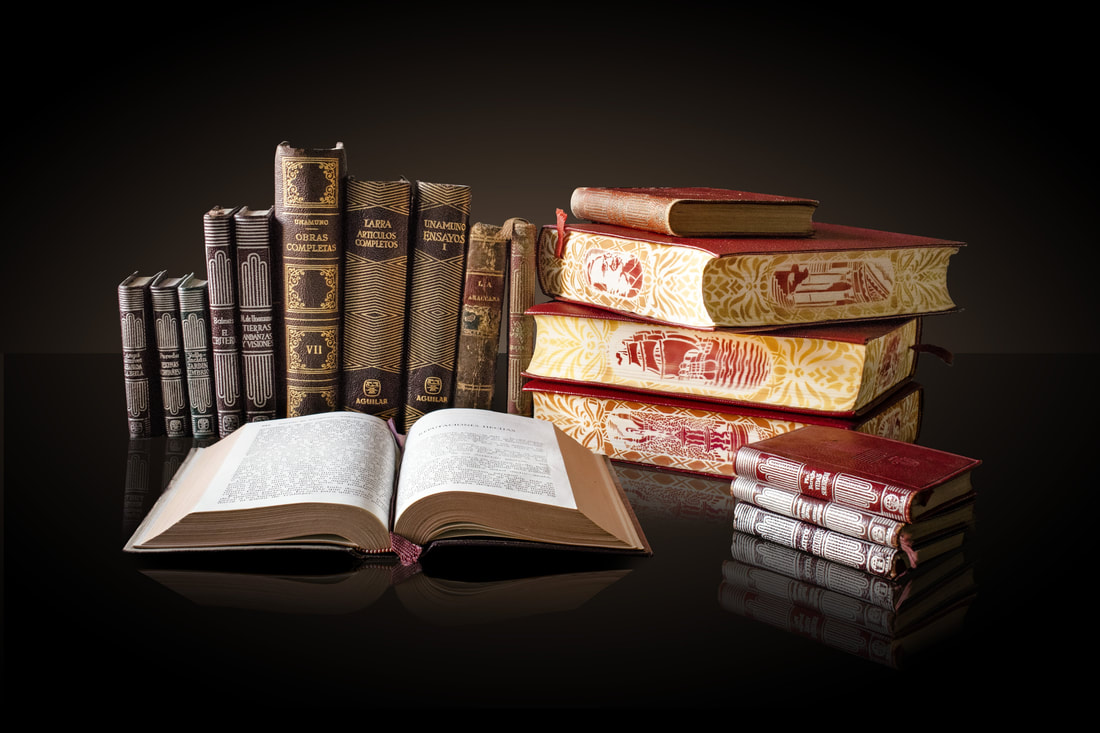
Select your favorite photograph from the Scavenger hunt to be used in a comparison of black & white editing. Use this one image to try the following 4 methods of B&W editing. Place the edited images, along with the original, in a GALLERY that is 5 spaces long. Title this GALLERY, "Edited Comparisons".
There are two methods to convert color photographs to black and white in Photoshop. One method is destructive and the other is non-destructive. Non-destructive editing can be done multiple ways. You will try all these methods in order to decide which method you prefer for your editing.
ASSIGNMENT PART1 INSTRUCTIONS
Select your favorite photograph from the Scavenger hunt to be used in a comparison of black & white editing. Use this one image to try the following 4 methods of B&W editing. Place the edited images, along with the original, in a GALLERY that is 5 spaces long. Title this GALLERY, "Edited Comparisons".
Edited Comparisons


|
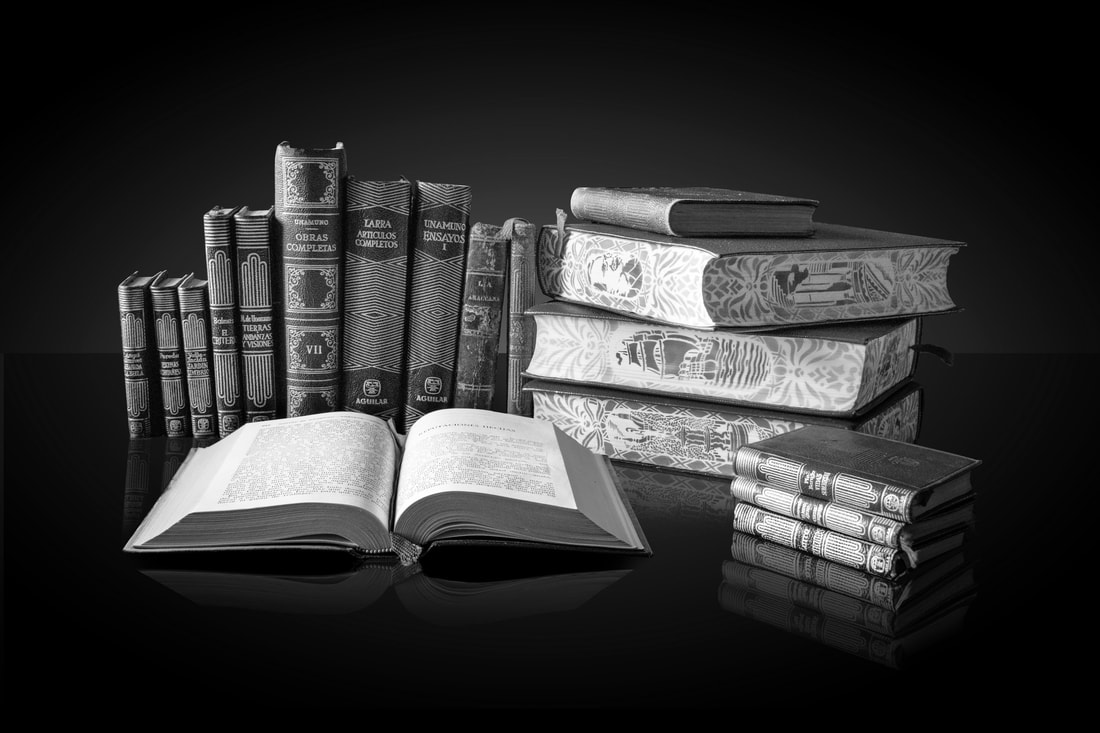
DESTRUCTIVE METHOD
The destructive method makes changes directly to the original image. The change permanently alters the image. Look at the image on the left. Notice how there is only one layer, the original photograph, and it has been changed to black and white. INSTRUCTIONS
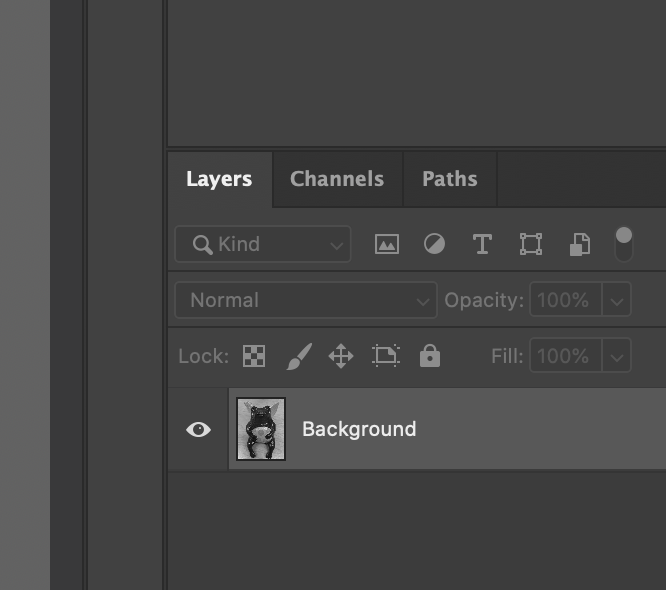
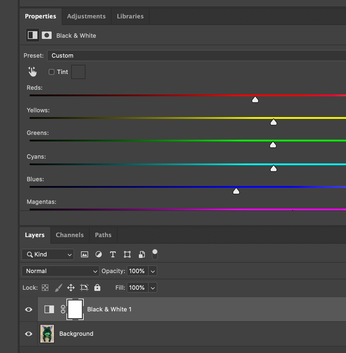
NONDESTRUCTIVE METHODS 1. This non-destructive method uses Photoshop's ADJUSTMENT LAYERS - BLACK AND WHITE. The changes are made in a separate layer, and the original photo remains unchanged. Look at the image to the left. Notice how there are two layers. The original photograph, which is unchanged, and the black and white adjustment layer. This method allows you the option of making changes at any time because each edit or change is on a separate layer from the original image. If you don't like a change you just delete the layer and the original image is still there. INSTRUCTIONS
2. This nondestructive method uses Photoshop's ADJUSTMENT LAYERS - GRADIENT MAP. A gradient map can be a single or multiple colors. You will use only black and white. INSTRUCTIONS
3. This nondestructive method uses SMART OBJECTS. INSTRUCTIONS
|
CONVERT SCAVENGER HUNT PHOTOGRAPHS
ASSIGNMENT PART 2 INSTRUCTIONS
1. Convert all of your Scavenger Hunt photographs to black and white using any of the non-destructive methods you just learned. Remember to FLATTEN the photo before you save it. Save each photo as a JPEG and change the name of each photo to BW1 thru BW20.
2. On your Weebly website add a new title, "Scavenger Hunt". Drag a gallery below the title and upload photos BW1 - BW20 to the gallery.
3. Press the Publish button on Weebly to make your changes live for viewing.
SAVING YOUR WORK
When you're done editing photographs or projects it is time to save your work. We use two different types of files.
When you're done editing photographs or projects it is time to save your work. We use two different types of files.
|
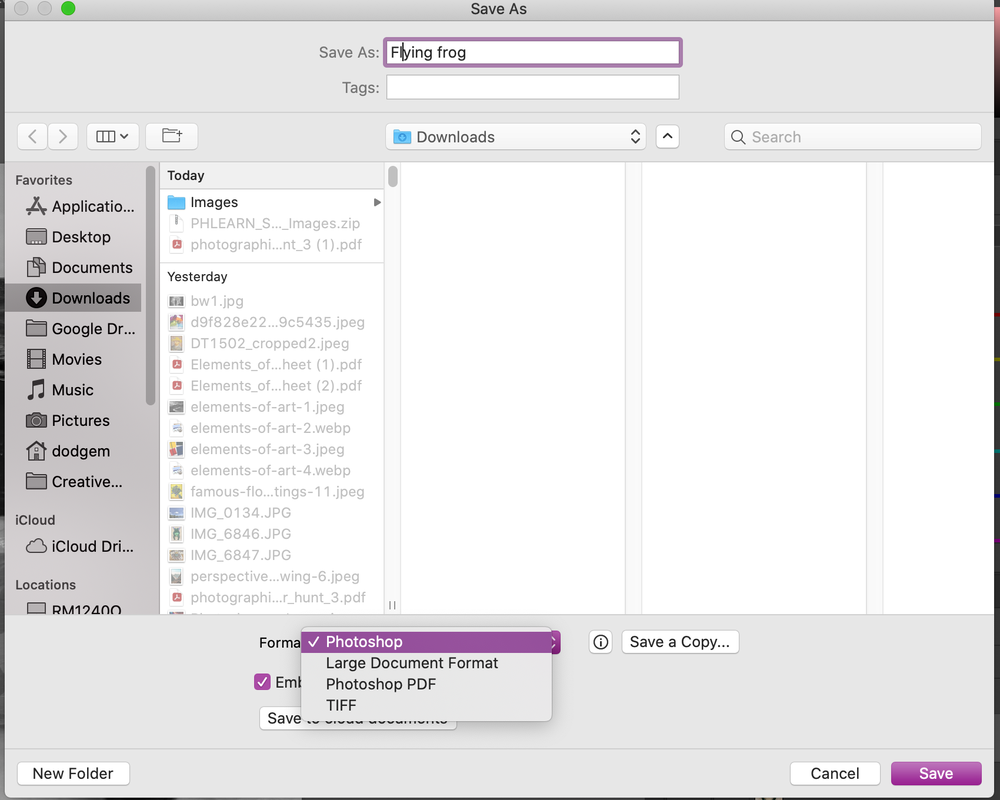
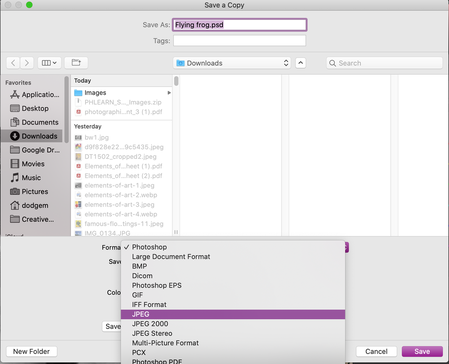
PHOTOSHOP/PSD = Not Done Save your work as a PHOTOSHOP or PSD file, if you're not completely done with your editing. This file saves all the separate layers. (When you go to SAVE AS and have layers Photoshop will only show file extensions that save layers.) JPEG = DONE! Save your work as a JPEG file, if you're completely done with your editing. This file compresses your work to one layer. You need a JPEG file to post to your Weebly Portfolio. FLATTEN LAYERS before you go to SAVE AS. IF you do not flatten your layers SAVE AS will not show you the JPEG option. |
|
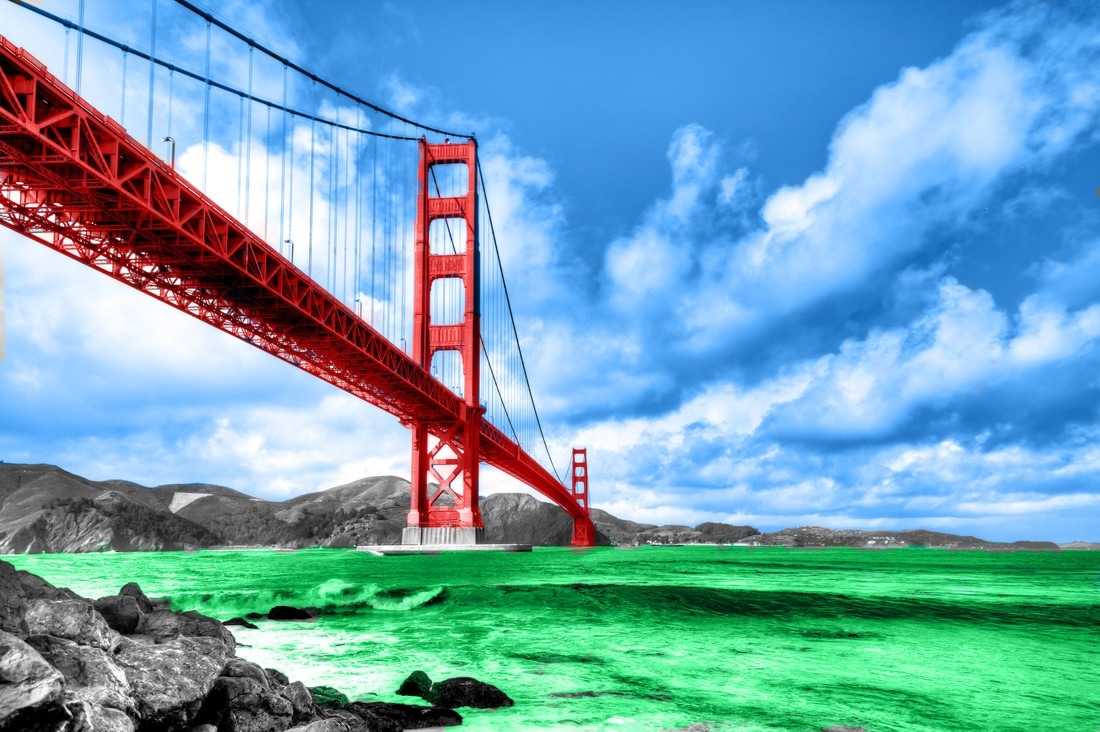
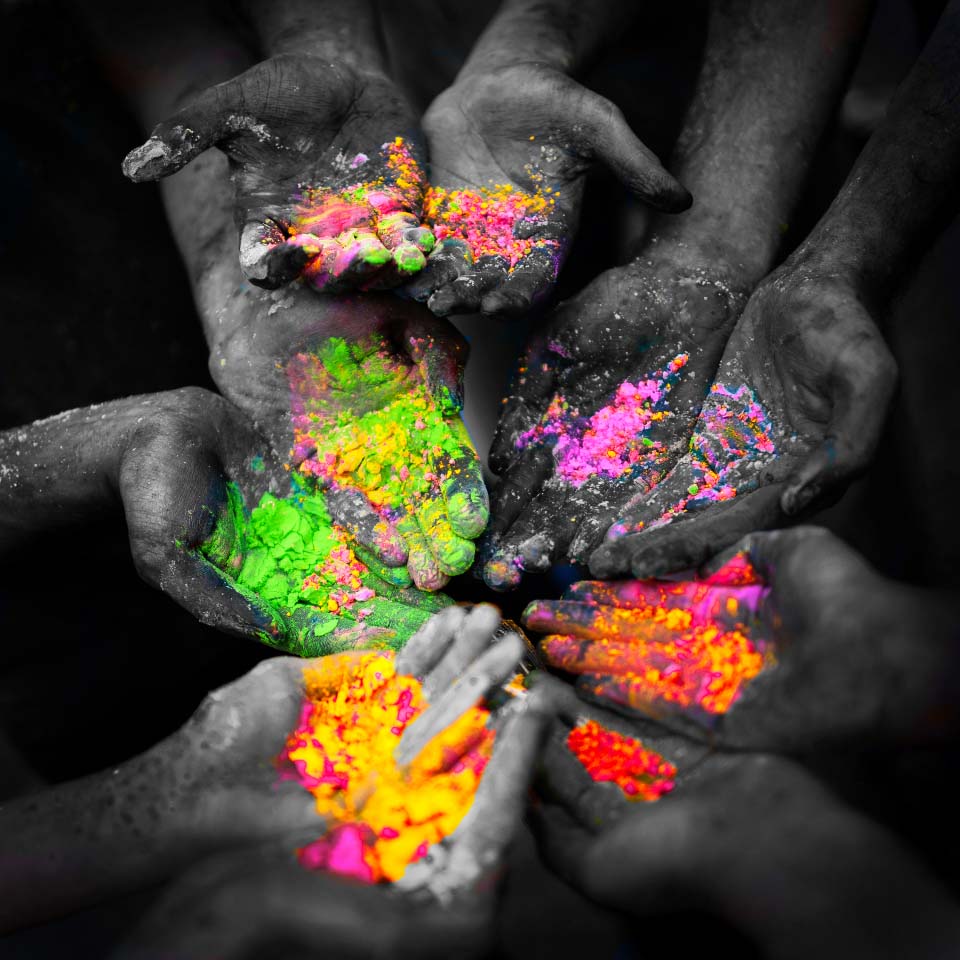
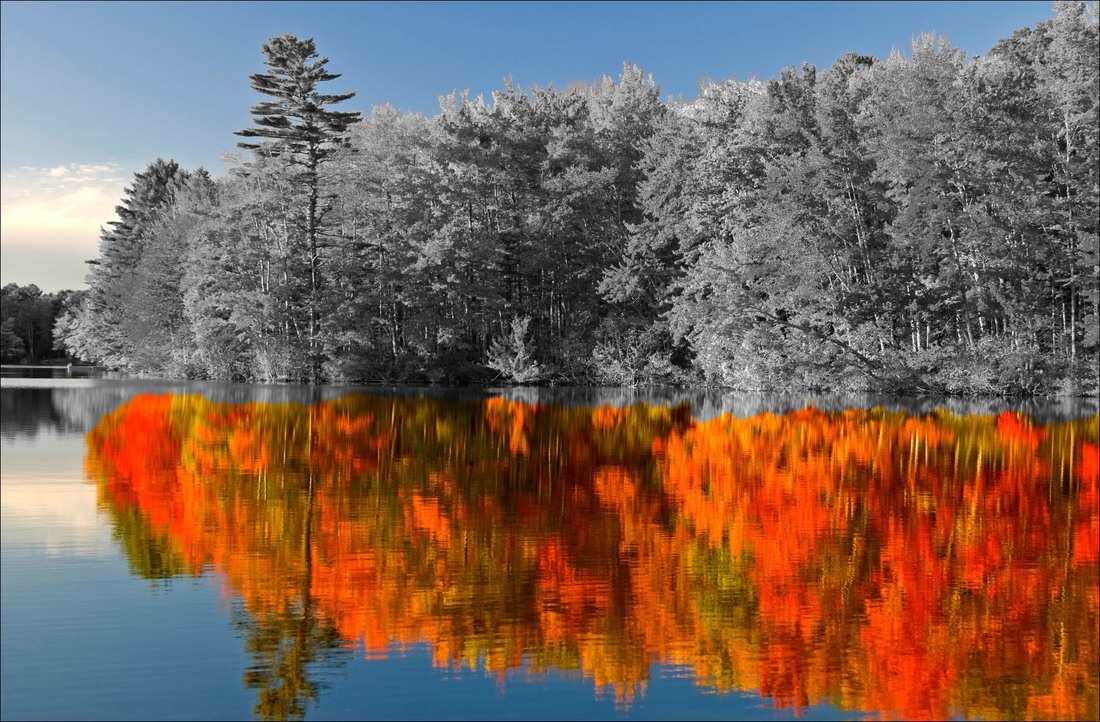
Color Replacement Tool
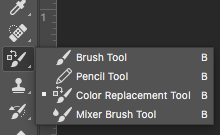
The Color Replacement Tool replaces color you paint with the foreground color, without painting over image detail.
Before you begin, make sure your image is in RGB mode and not Grayscale. Go to Image, then go to Mode. Select RGB, if Grayscale is selected.
Before you begin, make sure your image is in RGB mode and not Grayscale. Go to Image, then go to Mode. Select RGB, if Grayscale is selected.
- In the Toolbox, select the Color Replacement Tool.
- On the Options bar, set brush size and style.
- Paint to replace a color.
- In the Options bar, you can choose a sampling mode:
- "Continuous" replaces all the colors with the foreground color.
- "Once" only allows to replace color, that you first click on; for example, if you start a stroke on a red area the tool replaces only red pixels.
- "Background Swatch" only replaces pixels containing the current background color.
- Also on the Options bar, you can define blending mode, Tolerance (the tool's sensitivity) and Limits - the tool's range: all over the image (Discontiguous), only the adjacent areas (Contiguous) or the pixels inside only (Find Edges).